The Jedox Add-in for Excel 365 provides you and the rest of your company's planners access to the Jedox Enterprise Performance Management platform from your familiar Excel 365 desktop and browser application (Windows, macOS, or browser).
The Add-in for Excel 365 allows you to read and analyze data from your Jedox instance and store values and comments to the Jedox In-Memory Database while using Excel 365 desktop or browser, without requiring a local installation, simplifying deployment and access to the latest features.
The Add-in for Excel 365 is compatible with all supported Jedox Cloud versions and is not available for Jedox on-premises installations.
Details on the supported client systems can be found in Client Environments Supported by Jedox.
Installing Jedox Add-in for Excel 365
To install the Add-in for Excel 365, either a demo or a subscription for Microsoft 365 is required.
Once you have valid access to Jedox Cloud and Microsoft 365, there are three ways to obtain the Add-in:
-
From the Microsoft AppSource.

Next, click on the Continue button on the pop-up window, and then click on the Open in Excel button.
-
Via the Get Add-ins option, located within the Insert tab in Excel.
-
Via Centralized Deployment, if access to the store has been disabled by your organization. With this option, administrators can deploy the Add-in to specific users, groups, or even the entire organization in less than 24 hours. The Add-in will be available on any Excel platform you log in to (desktop, macOS, and browser). Note that it is not possible to centralize the connections management.
Note that users must have the appropriate permissions to use the Jedox GmbH app, otherwise the error message "Need admin approval" may occur. Administrators can find the option to grant admin consent for the Jedox Add-in for Word 365 under Enterprise applications > Security > Consent and permissions > User consent settings. We recommend to grant tenant-wide admin consent to Jedox GmbH. For more information on configuring the individual user consent settings, see Configure how end-users consent to applications.
After successfully installing the Jedox Add-in for Excel 365, the "Jedox Add-in" tab will be displayed within the Excel ribbon.
Getting started
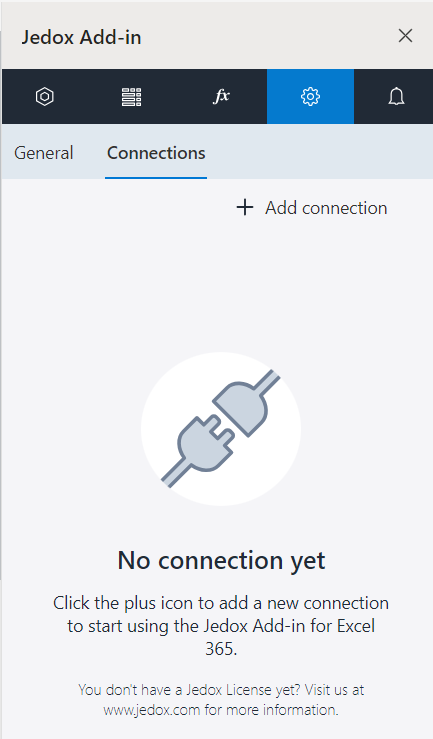
Click on Connections > Connect to open the task pane to create a connection.
To add, edit, or delete a connection, open the Connection Manager.

The information hub on the right side of the login dialog provides quick access to links on best practices, version information , and call-for-feedback.
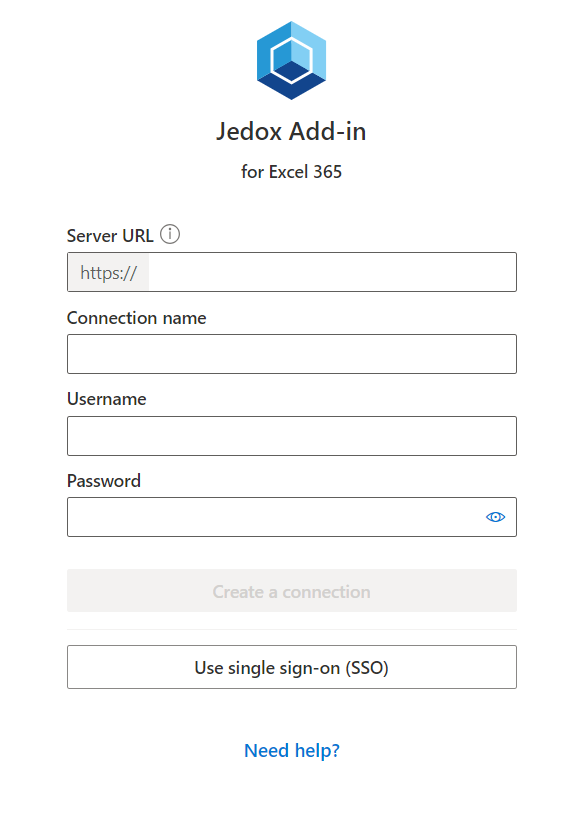
For the Address, enter the server URL of your Jedox cloud instance, e.g. https://<cloud-id>.cloud.jedox.com. To simplify the connection setup, the prefix https:// is added by default, and the connection name is automatically synced from the URL address.
You can either connect with username and password, or via the single sign-on (SSO) option.
As long as Excel is running, the session remains active. If Excel is closed, the active session will expire by default after one hour. This is configured for the cloud instance and applies to all clients. Once the session expires, you will have to re-enter your login credentials.
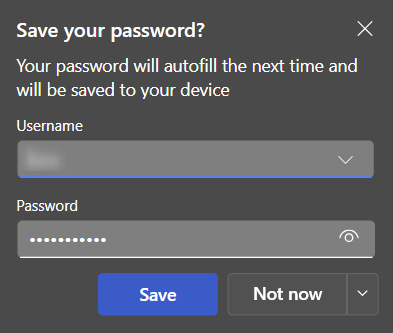
Users with username/password accounts can save their login credentials in Excel's built-in password manager to avoid repeated logins. This password manager is currently only available on Windows for Excel desktop version 2502 or higher.
To log in using SSO, the following is required:
-
Enable SAML on your Jedox Cloud.
-
Include the Add-in authorization endpoint URL (https://xladdin-prod.cloud.jedox.com/api/auth) to the redirect URLs in your tenant settings.
If you are unable to connect using SSO, contact your Jedox administrator to verify whether the above requirements are met.
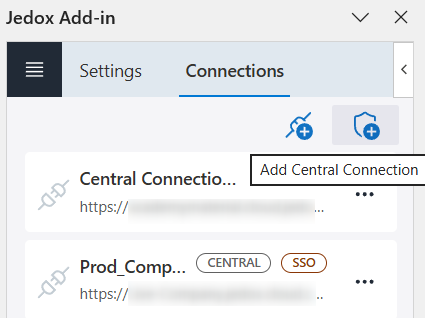
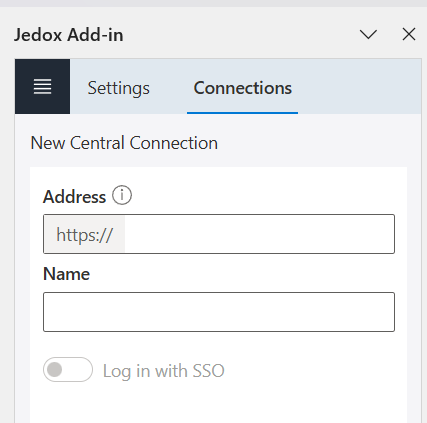
Central Connection
This feature optimizes connection management across your entire organization. It allows you to centralize the connection domain and name, and make it available to all employees in your organization for quick access without them having to configure it themselves.
Jedox administrators can create a central connection via Excel's connection manager. They will be required to specify the server URL, connection name, and authentication method.
Only users that belong to the default admin group or to a custom addin_admin group and are assigned to a license that includes the Excel Add-in can create, edit, and delete central connections. Note that the validation is based only on the group name (case-sensitive) and not on the role or permissions.
New users with an available central connection will then see the Connect button on the welcome screen instead of "Create a connection", with the central connection already selected.

Once the connection is established, you can use the Add-in for Excel 365.
Learn more about the Add-in for Excel 365 in the following articles:
- Features in Add-in for Excel 365
- Views in Add-in for Excel 365
- Custom Reports in Add-in for Excel 365
- Jedox Dynamic Array in Add-in for Excel 365
![]()
Notes
- The Jedox Add-in for Excel 365 is not available on Excel's mobile app.
- Add-in for Excel 365 updates will be automatically deployed by Excel to all users whenever a newer version is released.
- The Excel Add-ins FAQ article provides further information on how to ensure a smooth switchover between the COM Add-in and the Add-in for Excel 365.
Updated April 29, 2026