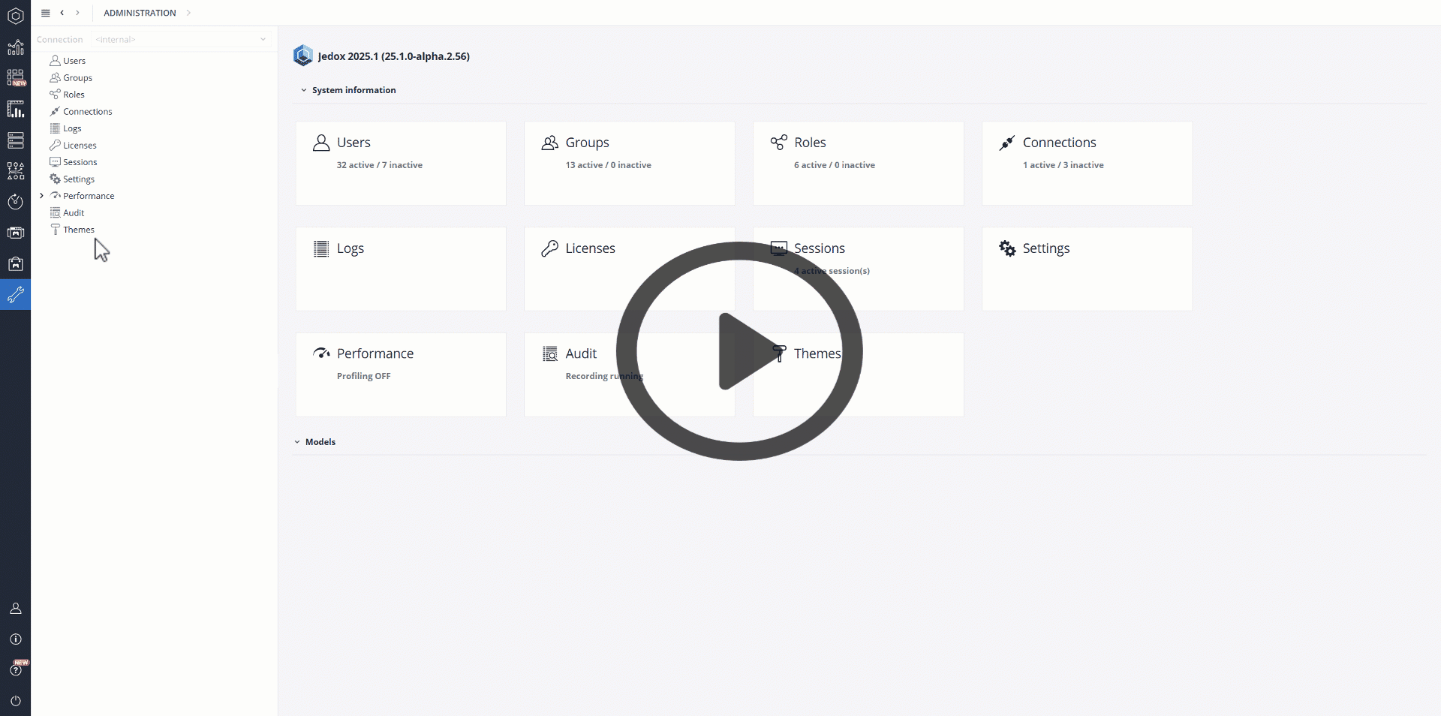
The Jedox environment is controlled through the Administration component. User rights, performance, licenses, and the UI can all be managed here. Access to the admin component is restricted to users with specific rights.
The Administration interface is accessed with the wrench icon in the Jedox navigation bar. Moving the cursor over any object on the Administration page activates its functionality. You can navigate to one of the displayed options or simply enter the object by clicking on the card.

Users, Groups, Roles
Edit users, groups, and roles for each configured Jedox OLAP connection for which you have authorized access.

You can add (1) or delete users (2), groups, and roles or change their details if you have at least D rights on the respective user management objects (user, group, password, and rights).
Use the "Search" button (3) to search for any entry in the current table.
The user table has the following columns:
- User name
- Full name
- Description
- Last login (refers to logins to Jedox Web or Excel Add-in)
- Creation time
- User status
In each column header, you can open a pull-down menu with commands to sort the column in ascending/descending order and with checkmarks to display/hide columns of the current table.
Selecting a row (5) displays the corresponding area for editing (6) to perform actions on the selected object. You can also select multiple rows by pressing the Ctrl or Shift key.
When assigning rights within roles, we distinguish between splash (S), Full access (D), Writable (W), Read only (R), and No access (N). For a legal object, only those rights that can actually be granted appear in the list.
Connections
In the Connections section, you can create and manage connections to various data sources. Connections of the type Jedox OLAP connect to the Jedox In-Memory DB, and can be used in Web Spreadsheets, in the Modeler, and in Jedox Integrator (as Jedox global connections in Integrator projects). Connections of the type ODBC can be used in Web Spreadsheets. All other connections can be used in Jedox Integrator projects. See Integrator Connections for more details.
The Add button opens the New Connection dialog.

After the selection of an existing connection you can delete it, edit its settings, or change the permissions for the different user groups.

Creating an OLAP connection
Jedox OLAP connections require specification of the network interface and port where the OLAP server is accessible. By default, the localhost connection already exists and points to the OLAP server set up for your company. Note that the interface entered for the connection must be exactly the same as the interface specified in the configuration file of your cloud instance. By "interface" we mean not only the same physical server, but the same "address" you are using, such as internal IP or internal/external DNS.
You can also create additional connections to other OLAP instances in your environment.
Connection settings
| Host | The hostname for the connection to the OLAP server. For the local server, the hostname is "jedox-olap". |
| Port | The port for the connection to the OLAP server. For the local server, the port is 80; for the external server, the port is 443. |
| User name | User name for the connection to the server. |
| Password | Password for the connection to the server. |
| Use login credentials | If enabled, the user will be prompted to log in using the credentials entered above. It is generally recommended to enable this option, as it ensures that each time this connection is used, it will be in the context of the currently logged in Jedox user, and the user's access rights will be applied. This option should be disabled in the following scenarios:
|
Creating an ODBC connection
When creating an ODBC connection, you can choose between three modes.

You can define such connections by referring to a Data source name (DSN), which is defined on the operating system of the Jedox instance. Alternatively, when connecting to a supported database you can specify the connection details such as the server or the port, in the connection itself. You can do this either Assisted, with the connection settings specifying individual fields, or Manual, by specifying a connection string.
The supported databases for ODBC connections are MSSQL, MySQL, Oracle, and PostgreSQL. All necessary connection information can be provided in the Connection Manager. Use the mode “Connection string (Assisted)” for the most intuitive configuration.
Before using the connection in a spreadsheet, you should first verify that the connection works by testing it:

Internal connection
This connection is defined in the configuration files of Jedox Web to the OLAP server with the metadata and the System database for the authentication of the users. This connection does not exist as an object in the section "Connections", and it cannot be changed.
You have access to the internal connection only if you have a role with full rights on all of the following objects:
- user
- group
- password
- rights
Notes
- If you have no "visible" access to a particular connection, you cannot use that connection in workbook formulas. Previously, such connections could be used for back-end purposes, such as changing a password via a static connection with admin credentials. On all levels, users are only able to work with connections they have access to.
- When you change the hostname of a connection, the password will be reset automatically.
Logs
Licenses
Here you can activate and manage your licenses. Click on the links below for more detailed descriptions about these topics:
Sessions
Here you can find the running sessions. Your own session is marked with a star. Double-click on a user session to get the current OLAP jobs and the license used.
To stop a job, select the corresponding user session and then the desired job in the "Active jobs" tab. Click on the "Stop Job" button (indicated below) to cancel it.

Settings
Here you can modify various Jedox Web settings as well as add new and even custom settings for your Jedox installation. For details, see Overview of Jedox Web Settings.
Performance
Jedox Performance Monitor can log and display information for several key performance measures, including system hardware resources, number of logged-in users, etc.
Audit
The Jedox In-Memory DB can store audit information for specific cubes. The audit information keeps track of all individual cell changes, such as the cell path, time of change, users, new values, operations (splashing, copy), etc. For details, see Audit Information.
Themes
The Themes section allows you to create custom palettes and upload fonts to personalize your Canvas charts. You can consistently apply these changes across your reports and dashboards, ensuring a cohesive look throughout their visualizations.
To create a color palette, click the Create Palette button. In the palette creation screen, you can rename your palette and select its colors. To rename it, click the pencil icon next to the Brand Theme label. To add colors, click Add Color and either enter the HEX code manually or select a color from the Color Selection Dialog.
To upload a font, click the Upload Font button. This opens the Upload Font dialog, where you can either drag and drop your font file or select a file by clicking Choose File. Once uploaded, click Save to apply the changes.
Palette and font constraints
You can create up to three color palettes, with each palette containing a maximum of eight colors. Additionally, you can upload up to nine custom font files at a time. To simplify the upload, you can compress the font files into a single ZIP file and upload the ZIP.
If you delete a color palette or font that is in use, any associated charts will automatically revert to the default Jedox Blue color palette and Inter font.
User access levels for managing themes
To add or modify themes, users must have the appropriate access rights (N, R, or D [W]) on the ste_settings right object. However, the level of access varies depending on the assigned rights:
-
N (No Access): Users with N rights cannot interact with this component in any capacity.
-
R (Read-Only Access): Users with R rights can view the "Settings" component but cannot make any changes, including adding, editing, or deleting settings.
-
D [W] (Full Access): Users with D [W] rights have complete control over the component, allowing them to add, modify, and delete settings as needed.
Updated May 29, 2026