The Settings section of the Administration component in Jedox Web enables administrators to modify various Jedox Web settings, and add / delete new settings for their Jedox environment. All settings can be customized for particular user rights groups by clicking the shield icon next to the setting:
![]()
Administrators can add keys for enhanced functionality. See Adding setting keys below.
Login page
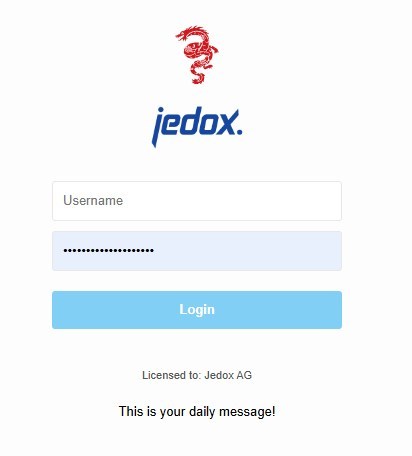
You can customize the logo, icon, and background color in the Settings section. The custom logo or icon replaces the "Jedox" logo or icon on the login screen and on the top-left corner of the end-user mode. Both SVG and PNG images are supported. The custom background color changes the default background color on the login screen. Logo size is limited to 140 x 65, and icons are limited to 64 x 72.
The daily message appears to users on the login page, below the Login button.
Studio
The studio banner appears at the top of the screen after a user logs in. It can be used to announce upcoming changes to users, such as server maintenance, or any general announcements. The banner looks like this:
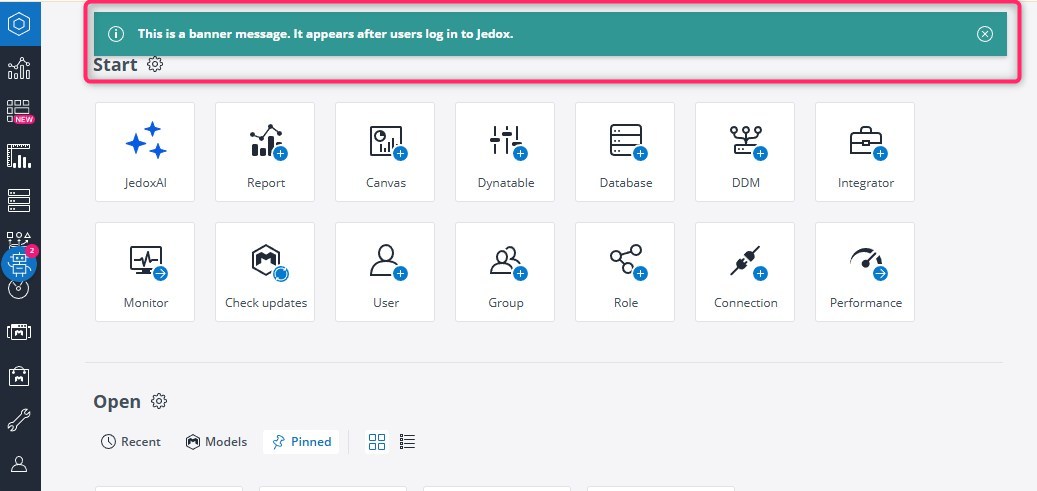
The banner can be set to appear only to certain users. Click on the icon to the right of the text field to set the permissions for the user groups that should see the banner:

Spreadsheet
The Spreadsheet settings define the cache for the initial viewport and the color palette for new charts. You can also enable/ disable the In-Memory DB Undo and Static Windows mode.

SMTP
To define the SMTP server for sending emails and notifications for versions 24.1 and earlier see Email Configuration in Jedox Web.
Collaboration
Here you can disable or enable the comments panel for all File Manager and Report Manager items.

Integrator (ETL)
Here you can set the cube bulk size for cube loads.

Canvas devices
Here you can add / delete or activate / deactivate the Canvas devices shown in the responsive display preview.

User settings & start page shortcuts
Here you can configure the default user settings and start page shortcuts on a global (server-wide) level. A user can inherit the default value from group user settings, and the group can inherit the default value from this global setting. Changes will be visible after the next login.

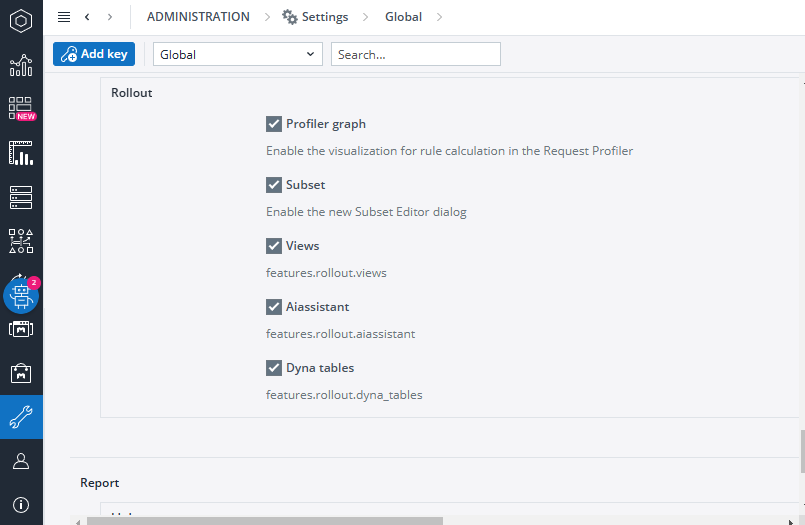
Features Rollout
Features listed here are in preview and can be enabled or disabled in the Jedox environment.
Modeler: define the default save path of the OLAP backup in Modeler in this section.

Scheduler: define the default save path of the OLAP backup in Scheduler in this section.

Adding setting keys
You can also add keys to the setting. To add a new key, first select the scope (1) of the key which you want to add, then click the Add key button in the toolbar. You can create keys for the Global scope, or for one of the installed Models. You should assign a type, such as string, integer, etc for each key. The type is used to validate the input for the value of the settings key. Values of type "password" will be encrypted.

If you want to edit a key value or to delete a key, click the icons next to the key field.
Below are some of the setting keys that can be added, deleted, or changed:
| setting keys | Setting Type | Description |
| tasks.smtp.allow_spoofing | Boolean | Enables sending email on behalf of someone else, particularly in an automated process, e.g. for a workflow process. |
| tasks.smtp.timeout | Integer | Enables defining a configurable timeout period (in milliseconds) for contacting the SMTP server when sending emails. The default value is 10 minutes. |
| studio.files.dbscript_max_editing_size | Integer | Enables increasing the value of maximum allowed size for editing a database script in Jedox Web. |
| integrator.proxy.timeout | Integer | Sets the request timeout value (in seconds) for the Integrator UI. Default is 30 seconds. |
| spreadsheet.widget.print_quality_factor | Float | Defines the print quality of widgets in PDFs. |
| olap.subset_preview_limit | Integer | Changes the default size limit for the preview in Subset Editor. |
| report.link.prevent_credentials | Boolean | Enables the administrators to toggle the Include credentials option off or on. |
Custom settings created in the Settings section can be fetched in Reports by using the spreadsheet function CONFIG.GET(). Additionally, some dialogs in Web Spreadsheet and Canvas, such as the Actions dialog, allow users to select a settings key directly. Note that for settings on the "Global" scope, these dialogs will only display custom keys that begin with the prefix custom.
Updated July 3, 2025