The Modeler allows you to add new databases (by creating or uploading them) and manage existing ones.
Adding a new database
You can add a new database to the server by creating it directly in the Modeler.
There are several start buttons to create a new database.
One button is on Jedox Start screen: 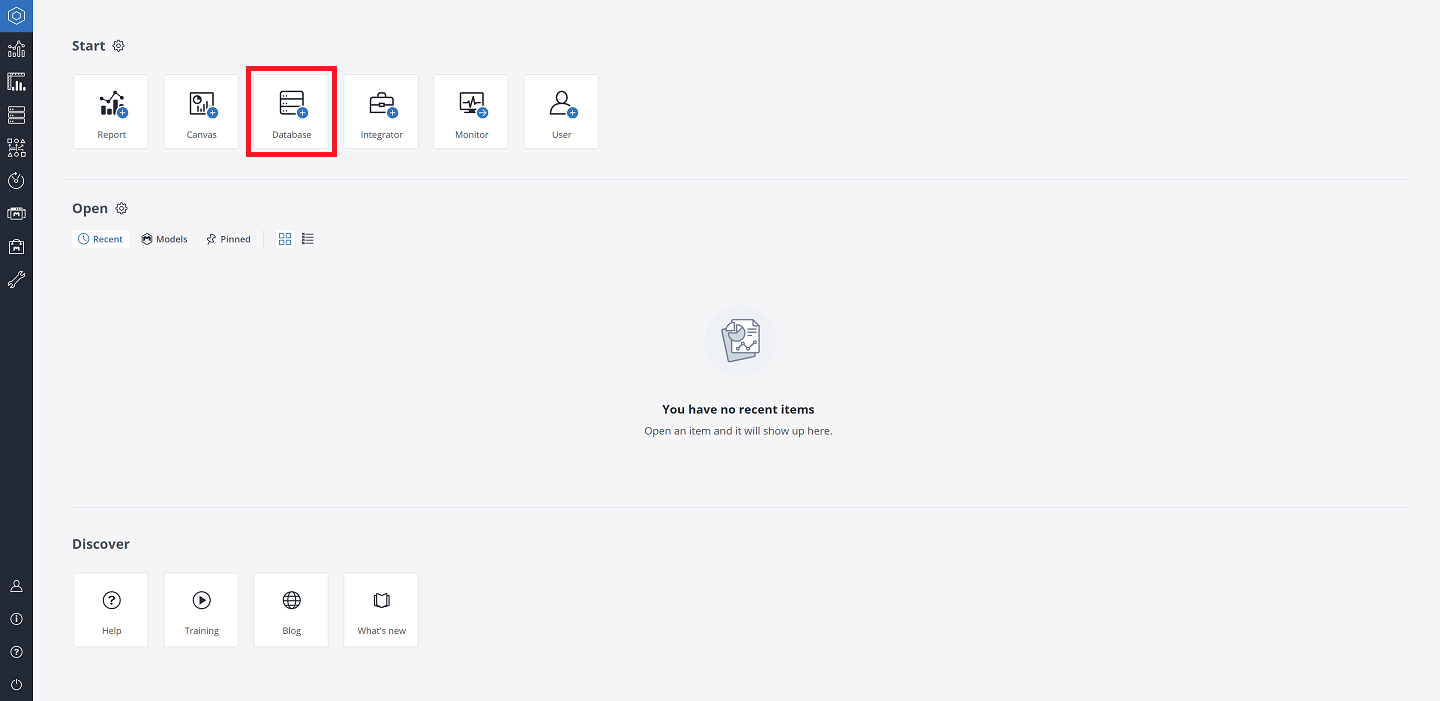
And further buttons are in the Modeler: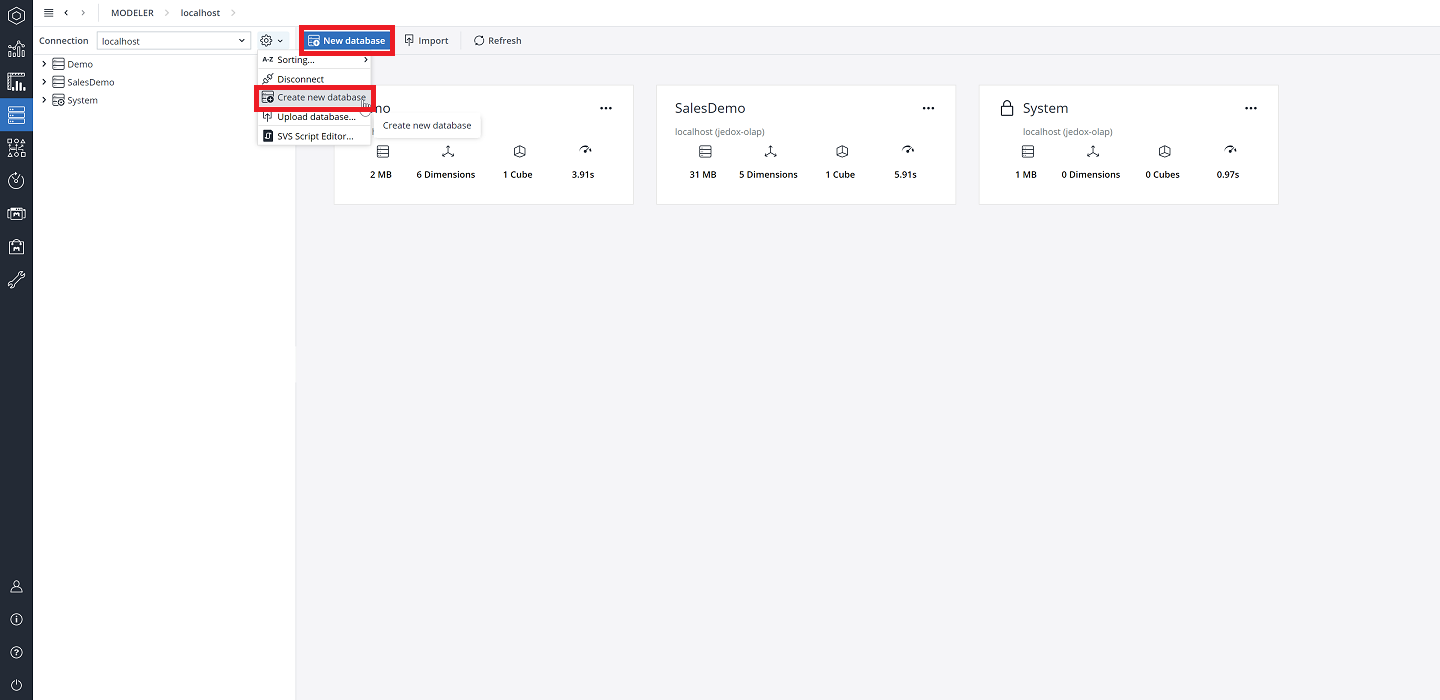
Then the New Database window is displayed prompting you to give your database a name. Use a name that follows the naming conventions in Jedox.
The database will be added to the server, together with attribute dimensions, rights, and system cubes when you click OK.
Uploading a database
Click in Modeler  (see screenshot above) and select Upload database. A dialog is displayed prompting you to give your database a name, a password (optional), to select the location of the file (local file system, Designer, or server file system) and the database file you want to upload. The database will be added to the server when you click Select.
Uploading from the Local / Server file system
If you want to upload a database from the local or server file system, make sure the file format is .zip (case-sensitive). You can either give the file path or browse your local system for it.
Uploading from Designer
The Upload Database window allows you to navigate the folder groups in the Designer and select database WinZip files for upload.
It is also possible to create a database using Data-Driven Modeling. The uploaded database can be viewed and managed in the Modeler.
Managing existing databases and their objects
|
|
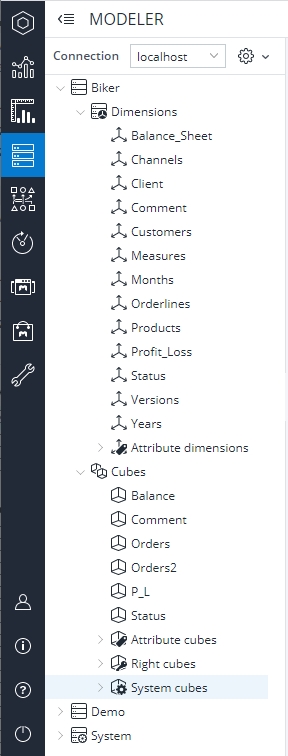
This area lists the existing databases of the connected Jedox In-Memory Database Server. You can expand/collapse each item to display the following:
After selecting an item, the corresponding details are displayed on the right of the screen. By right-clicking on a single object, you can access the corresponding context menu commands. |
Deleting a database
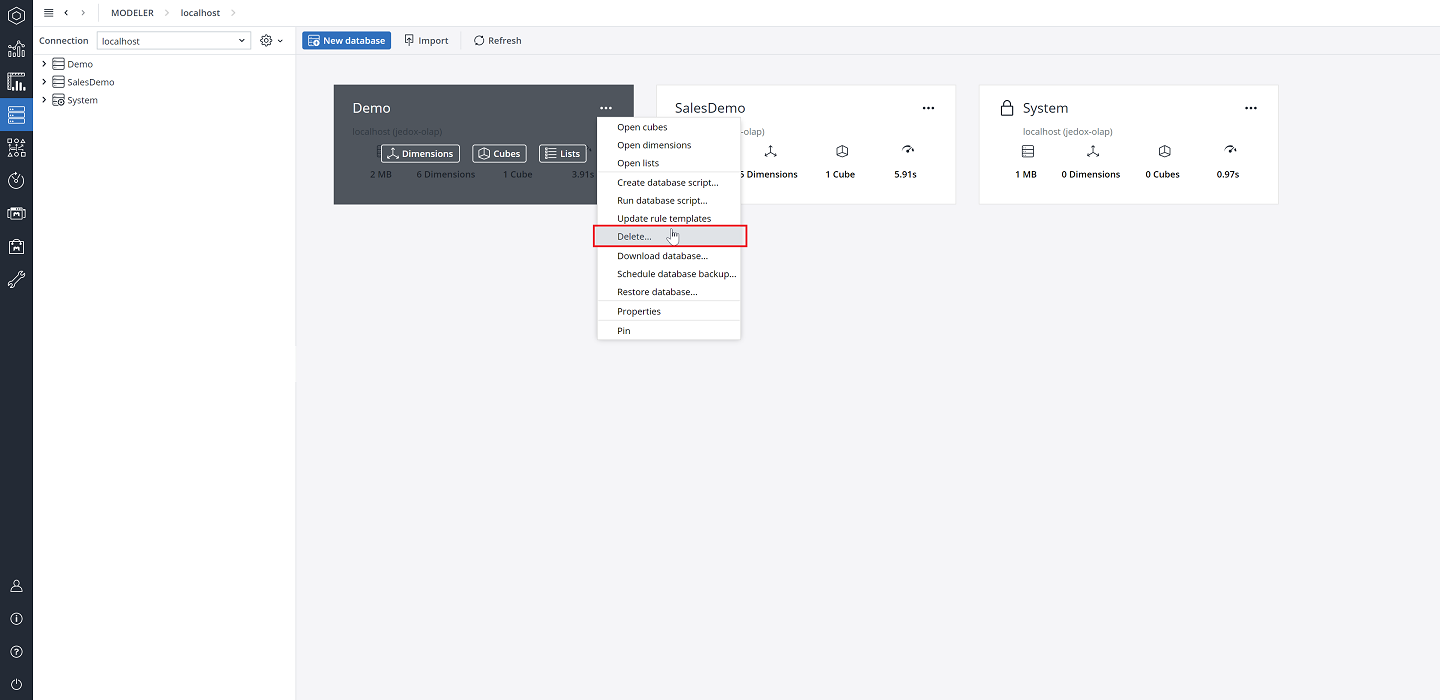
You can delete a database using the dots icon in the upper-right corner of a database card in the Modeler:
Or you can delete a database by right-clicking on it within the hierarchical structure and selecting Delete...
Both commands start the following confirmation dialog:
The database will be deleted from the server when you click OK.
Important: Deleting a database from the server cannot be reverted.
Restoring a database
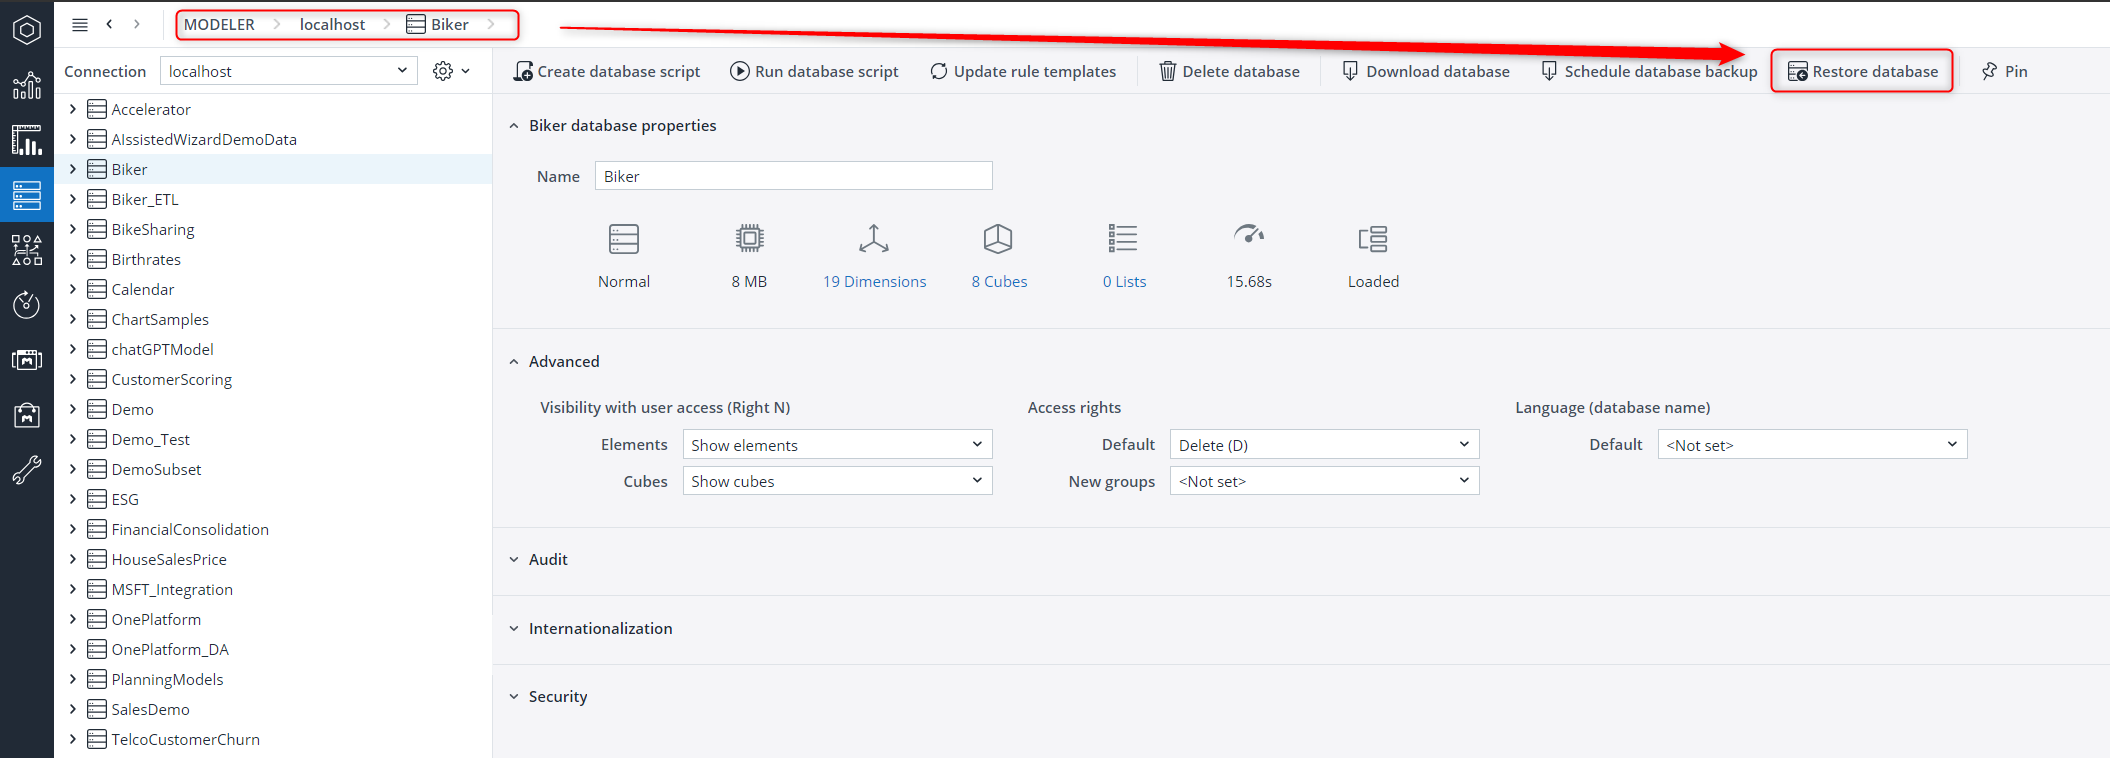
If an uploaded database needs to be restored, you can do so by clicking on the respective database and selecting the Restore database option.
Once selected, a dialog will be displayed prompting you to enter a file password (optional), select the location of the file (local file system, Designer, or server file system), and select the database file you want to restore.
This option will restore / overwrite the following settings entirely:
- Database properties (Advanced, Audit, Internalization)
- Cube properties (Name & Description, Dimensions, Audit, Drillthrough, Views, Advanced, Internalization, Security)
- Dimension properties (Name & Description, Attributes, Audit, Settings, Subsets, Advanced, Internalization)
Database Security settings will not be restored. If required, contact Jedox Support.
Undo locks are not retained on server restart and will not be restored.
The settings for Integrator drillthrough data will also not be restored and should be adjusted within the Integrator project.
Rights for downloading and restoring databases
Jedox uses rights objects for granting access for general functionality to user roles. For more information, see Rights Objects in Jedox and Backup in Jedox Cloud.
Updated July 21, 2025
