Cube interfaces provide an easy way for uploading data into a cube or downloading data from it once or repeatedly. The interfaces can use various file-based sources (e.g. CSV or XLSX files). You can initiate the upload/download from the Modeler. Additionally, you can execute the process once or retain as an Integrator job and schedule it as a repeating task.
You can call up the interface for uploading/downloading cube data from the Jedox Web Modeler, via the context menu of a specific cube.
Note: if the cube already has cells with values, and the uploaded file contains values for the same cells, the values in the cube are overwritten by the values in the uploaded file. The uploaded values are not simply added to the values in the cube.
Uploading data into a cube
To upload data into a cube, follow these steps:
- In the Jedox Web Modeler, right click on a cube to display the context menu and select Upload File...The Cube Upload Wizard is displayed.
- Select the source location. This can be the local file system of your PC or the Jedox Report Designer.
- Specify the file type: Text, Excel or WSS.
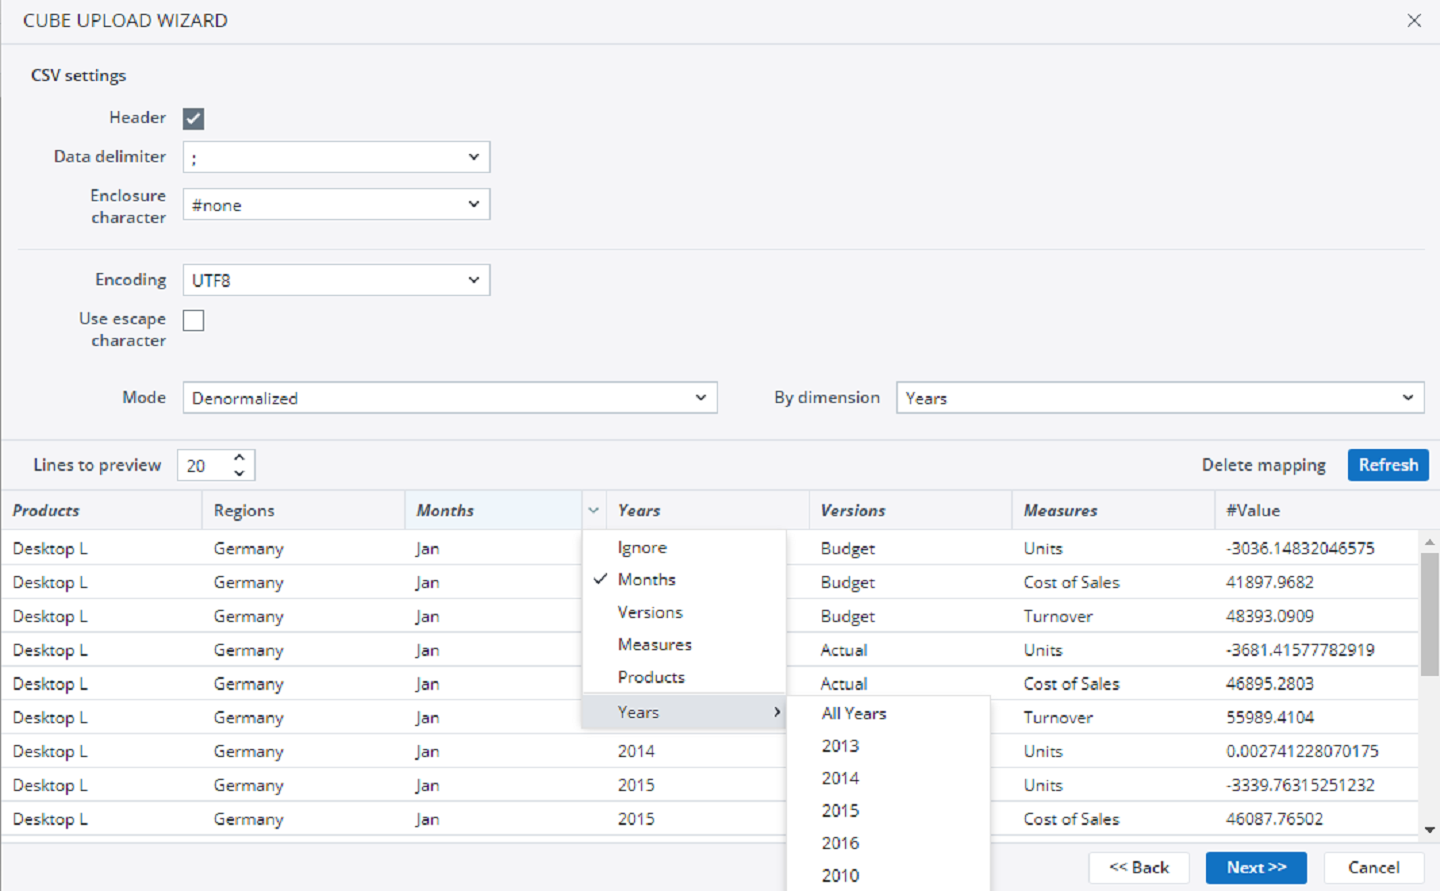
- Click Next to upload the file in the Report Designer and get a preview of the file columns with the default settings. Click the dropdown of each column heading to change the suggested mapping. You can generate a new preview by clicking Refresh. Additionally, in the Range field, you can specify the cell range you want to read data from if you upload an xlsx file using an Excel-like syntax, such as
Sales!A1:D30.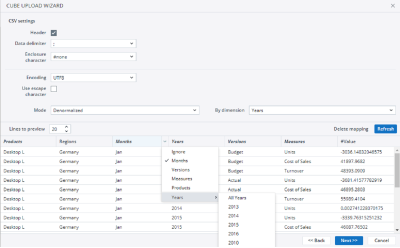
- Select whether you want the data in the table to be Normalized or Denormalized and the cube by which you want it denormalized in case you choose this option.
- Click Next to select whether to run the upload once or as an ongoing Integrator job. Additionally, you can decide whether a recurring scheduled task is generated from the execution.
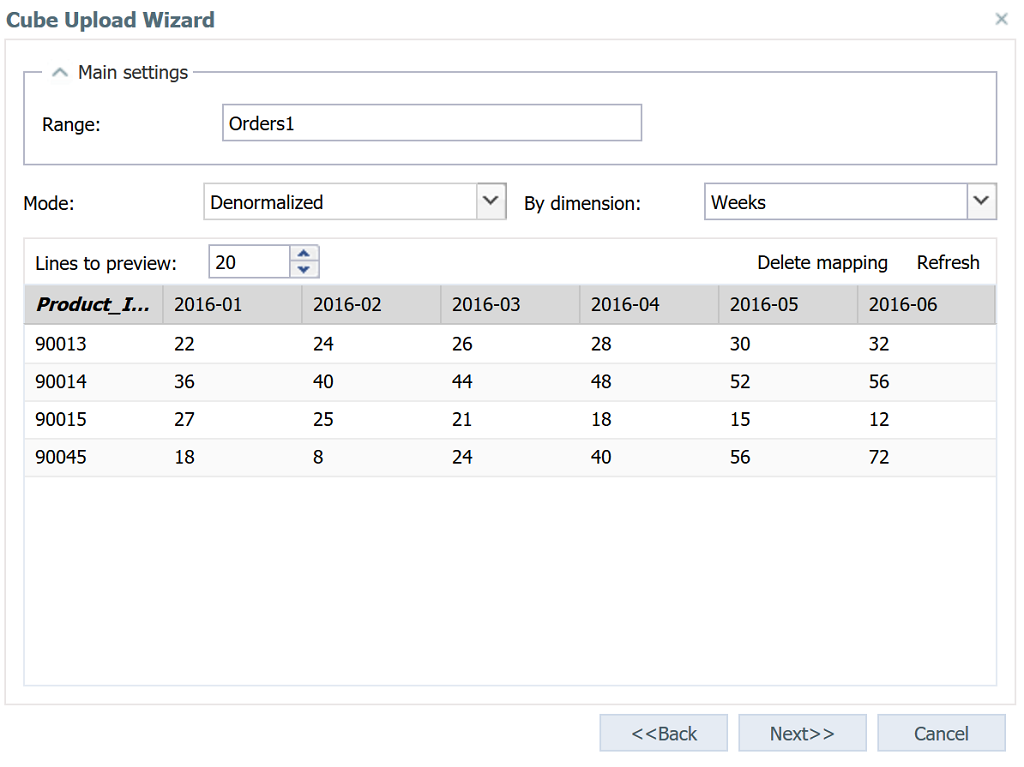
Example: Upload with denormalized data
This example describes how to perform an upload with denormalized data using the spreadsheet Orders1 in the file Orders.xlsx.
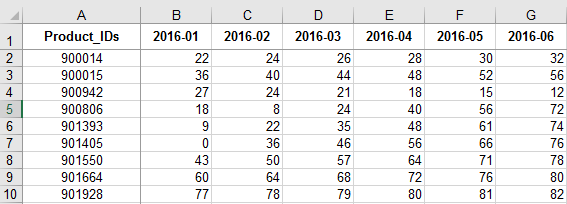
Column A displays the product ids and the range B1:G1 displays weeks of the year 2016.
- Create the dimensions Product_IDs and Weeks. For more information, see Creating New Dimensions.
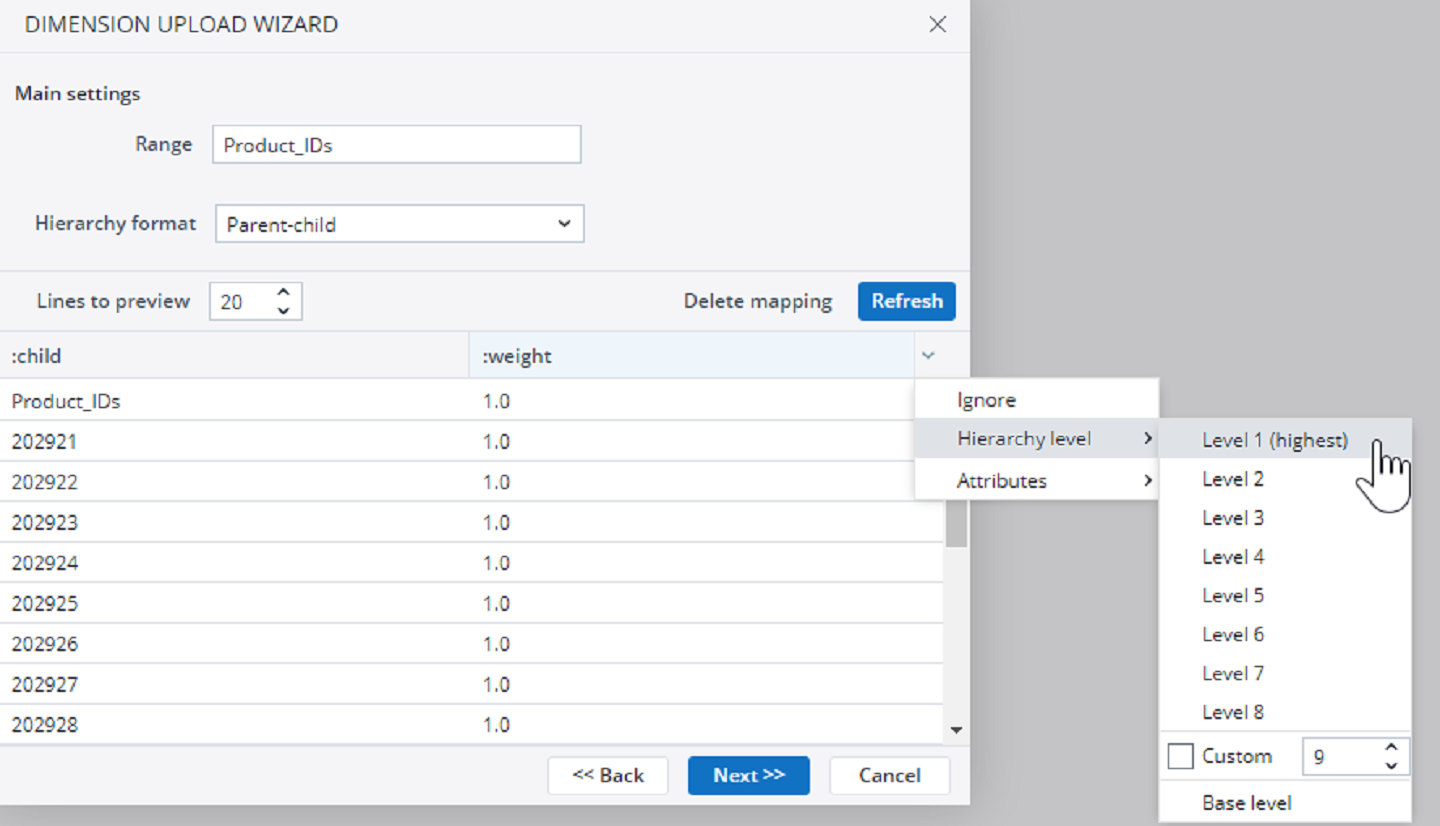
- Create a new xlsx file called Product_IDs. This file must contain the first column of the file Orders.xlsx and name the A1 entry and the stylesheet Product_IDs.
- Upload the file to the dimension Product_IDs.
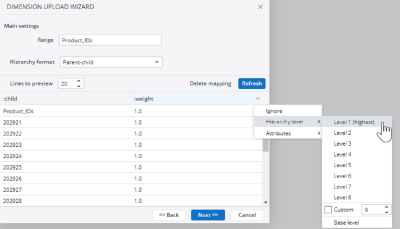
- Map the Product_IDs column to Level 1 (highest).
- Create a new file named Weeks.xlsx and call its first sheet Weeks.
- Copy the first row from Orders.xslx into the first column of Weeks.xlsx.
- On A1, overwrite Product_IDs with Weeks.
- Upload the file to the Weeks dimension.
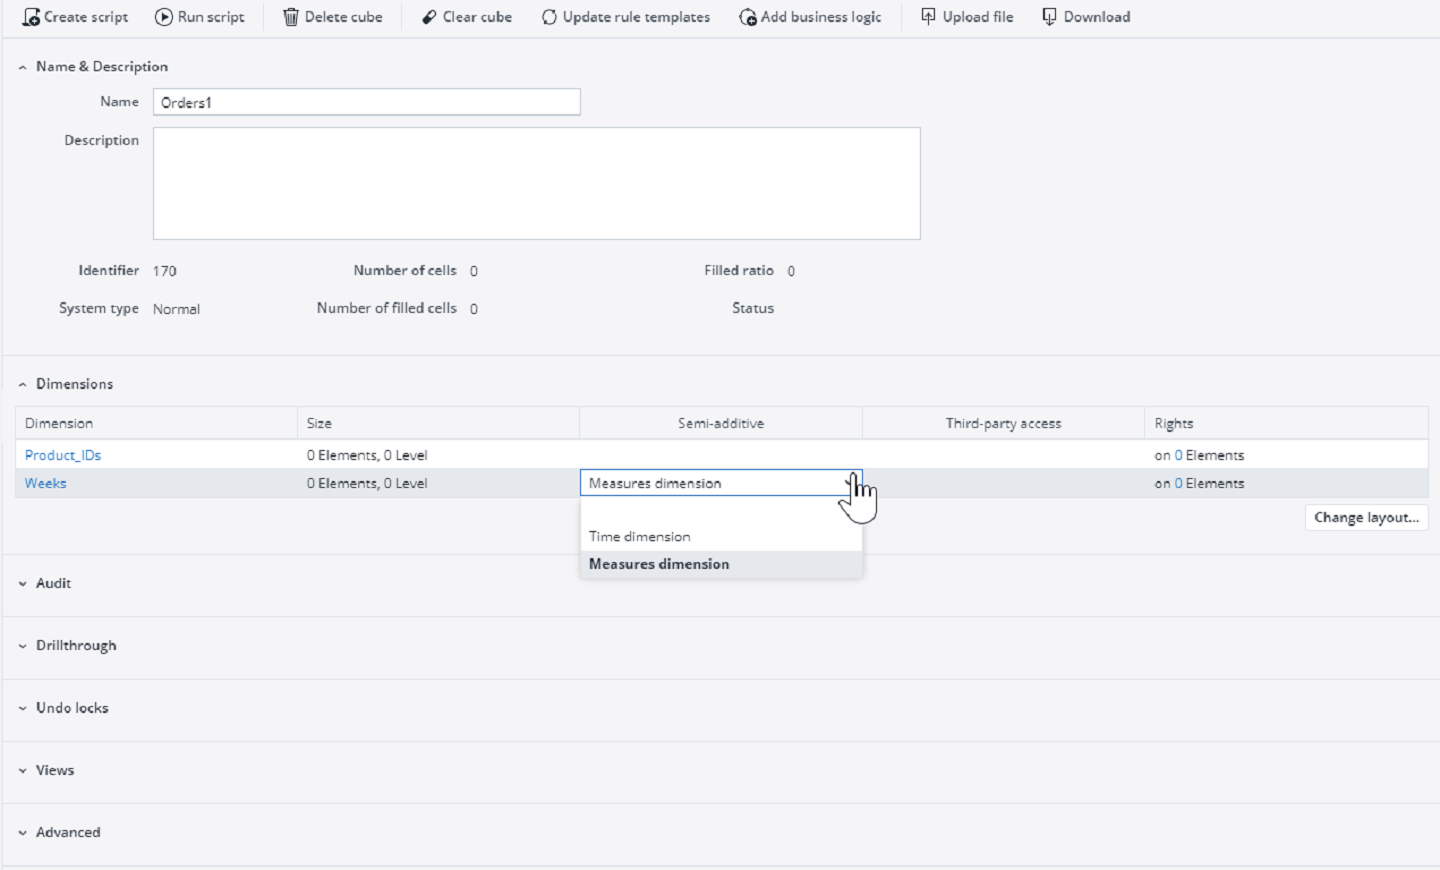
- Create a cube called Orders1. For more information, see Creating New Cubes.
- Add the Product_IDs and Weeks dimension to the cube.

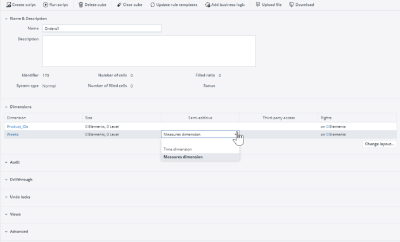
- After the cube is created, set Semi-additive Measures dimension for the Weeks dimension.
- Upload Orders.xlsx to the newly created cube.
- On the Cube Upload Wizard, set the Mode to Denormalized and set the dimension cirteria to Weeks.

- Refresh the preview to automatically map the weeks.
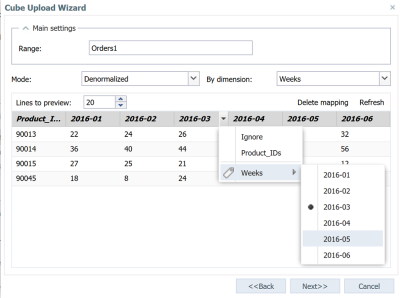
- Click Next and select Run Once. The values are loaded into the cube Orders1.


Downloading data from a cube
To download data from a cube, follow these steps:
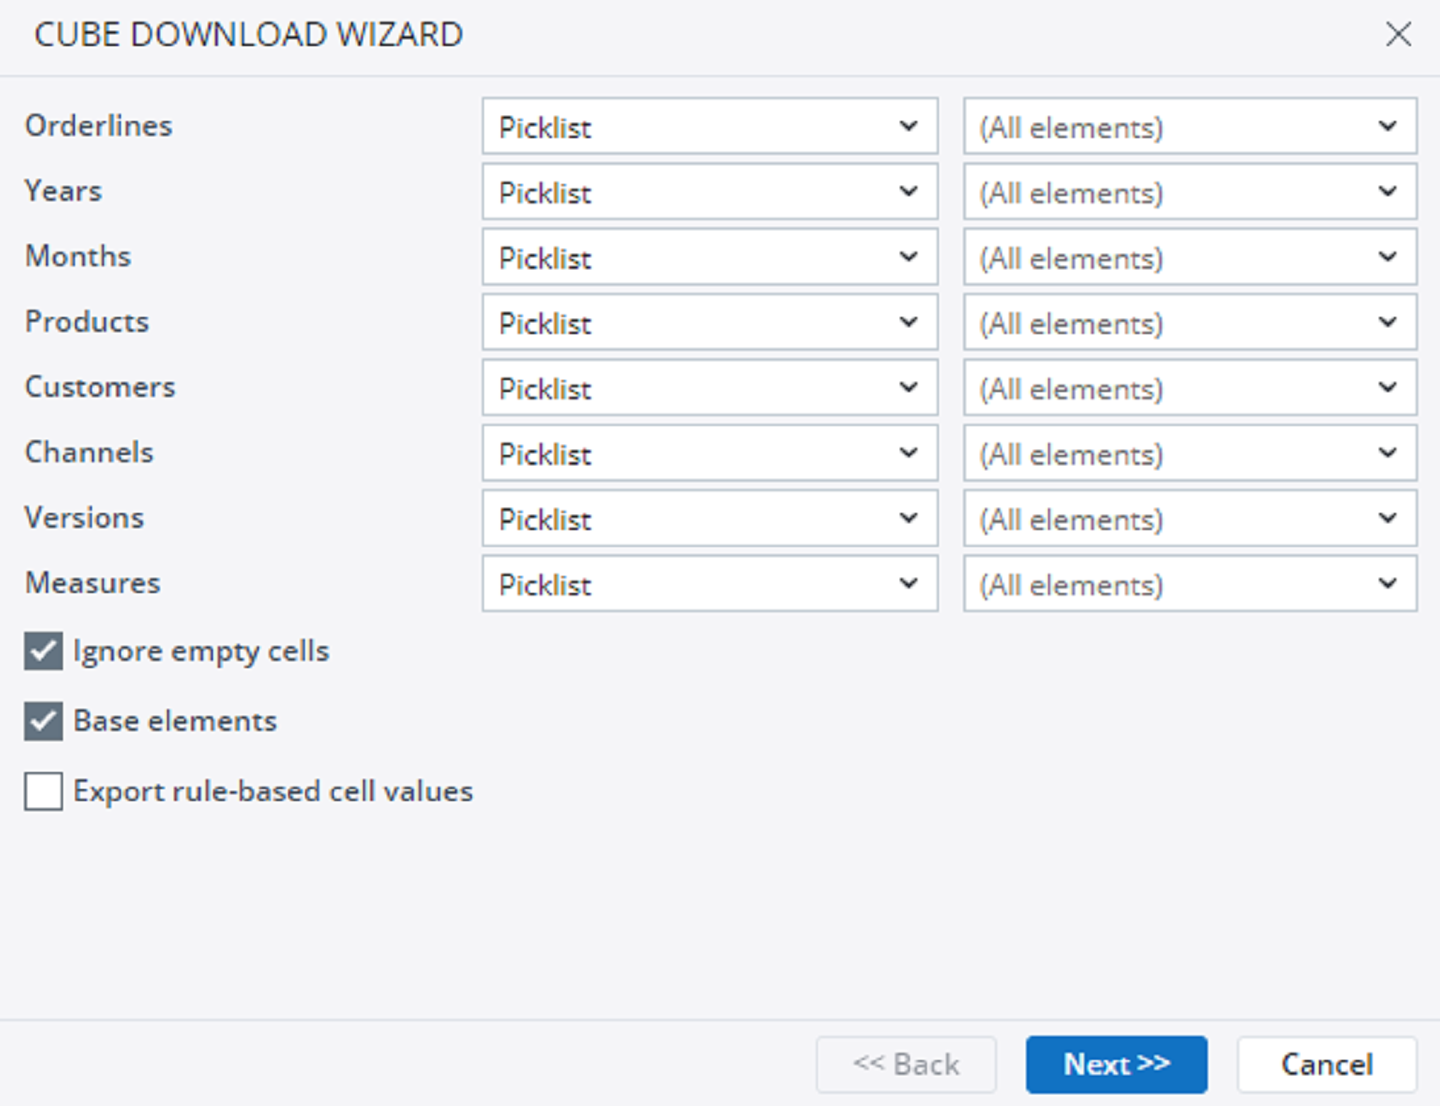
- In the Jedox Web Modeler, right click on a cube to display the context menu and select Download File...The Cube Upload Wizard is displayed.
- Select the elements you want to download from each attribute. The following options are available:
- Picklist - allows you to select specific elements
- Range - allows you to select numerical values in a particular range. Syntax example:
[2014,2016] - AlphaRange - allows you to select alphanumerical values in a particular range. Syntax example:
[A100,A200] - Ignore - allows you to ignore exclude a dimension from the download file. To use this option, you must specify a Default read element for the dimension that is ignored. The downloaded file uses the values of this element.

- Click Next to select the data format and the file type that you want to output.
- Click Next to select the CSV settings and to get a preview of the columns you want to export.
- Click Next to select whether to run the upload once or as an ongoing Integrator job. Additionally, you can decide whether a recurring scheduled task is generated from the execution.
Updated August 28, 2023