You can create a Scheduler task to back up a database by right-clicking the corresponding database in Modeler.
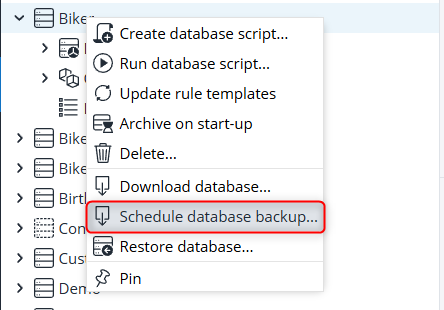
Select Schedule database backup.... A dialog opens, prompting you to select the storage location for the backup file.
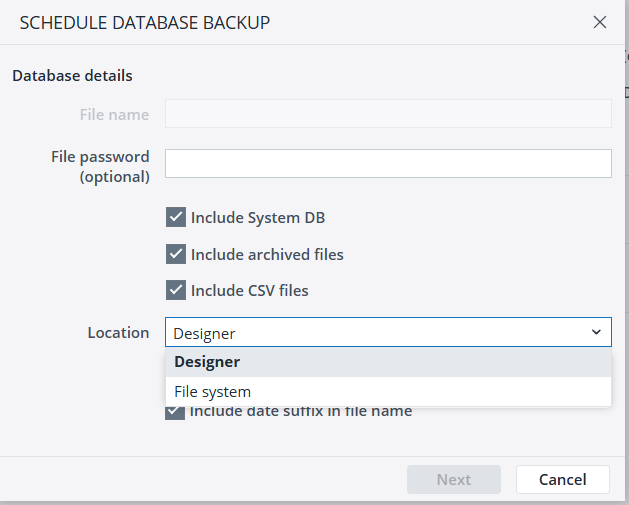
The following storage location options are available:
Designer: Stores the backup file within Jedox Web Designer. Use the Browse... button to define the location and name for the backup file.
You must have at least W rights on rights object "dimension element", and at least R rights on the following right objects: database, cube, and dimension.
File system: Stores the backup file on the server's file system. Specify the file path in the name, pointing to the Storage directory or one of its subfolders, for example /storage/Backups/Biker — the .zip extension can be omitted. You must have at least R rights on the following rights objects: database, cube, dimension, and dimension element.
Note: in cloud environments, the file system is only accessible via SFTP. For more information, see SFTP Connections to Jedox.
Example: if you enter BikerBackup in the File Name field, your backup file will appear in the storage as BikerBackup.zip (or BikerBackup_<timestamp>.zip, if the date suffix option is selected).
You can set a password to protect the file. You can also choose to include the system database and archived files.
By default, the backup includes CSV files. If you uncheck this option, the backup is created with binary (.bin) files.
In the next dialog, enter the task name, job type, and any additional properties.
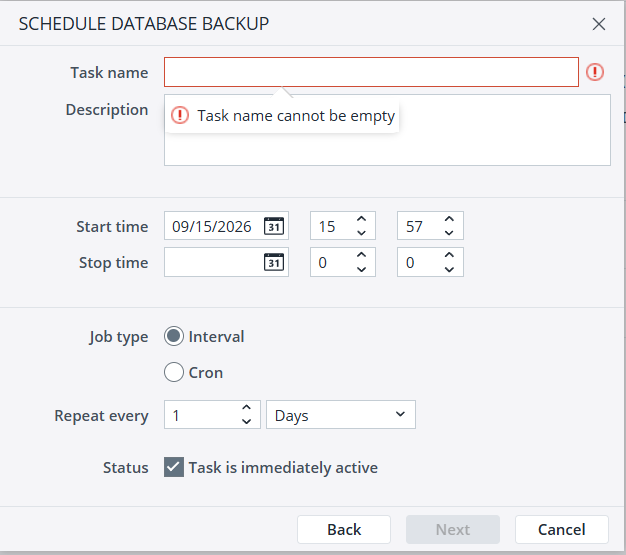
For example, if a Jedox server is physically located in Bucharest (UTC+2) and a user in Berlin (UTC+1) schedules a task to begin at 18:00, the task will start at 18:00 Bucharest time — which is 17:00 in Berlin. For more information, see Time Zones in Jedox.
Click Next. In the following dialog, select the job owner and the users who should receive job reports.
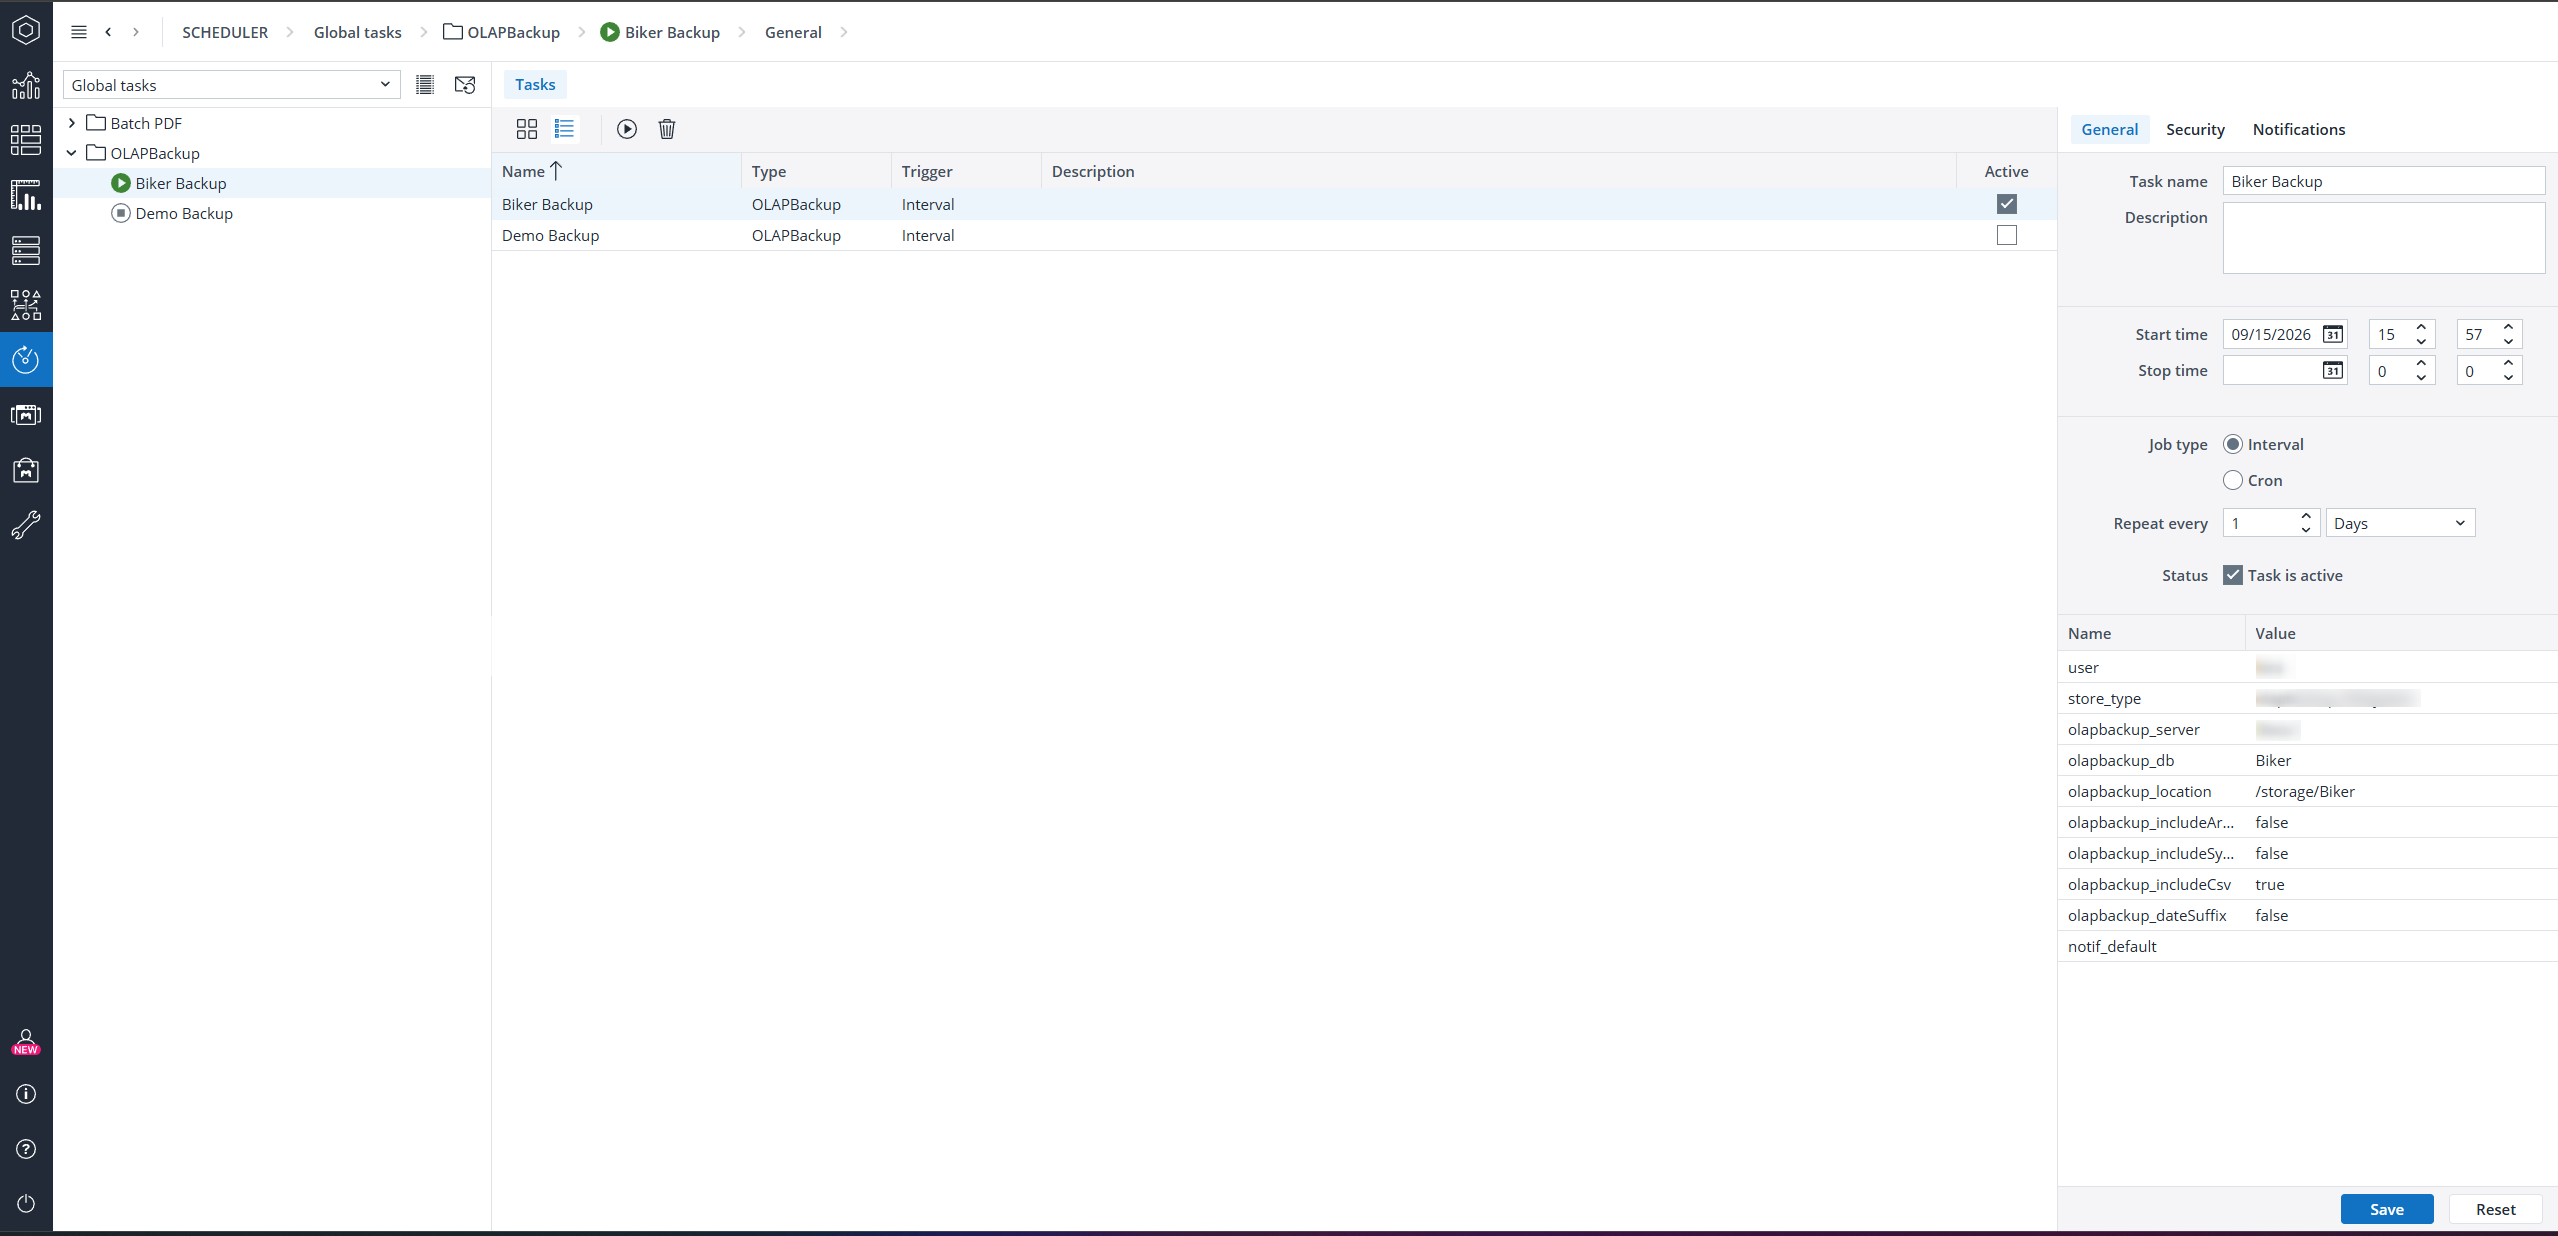
Once you have completed the task creation dialog, the new task appears in Scheduler, where you can activate, deactivate, or edit it.
Updated October 5, 2026