Jedox OData Hub Connector can be used with the Salesforce Connect OData 4.0 adapter.
Creating an external data source
To connect to the Jedox OData Hub from Salesforce, go to Setup. In the left panel, navigate to External Data Sources and click on New External Data Source:

At the next dialog, choose a name and enter it in the fields External Data Source and Name. For Type, select Salesforce Connect: OData 4.0.
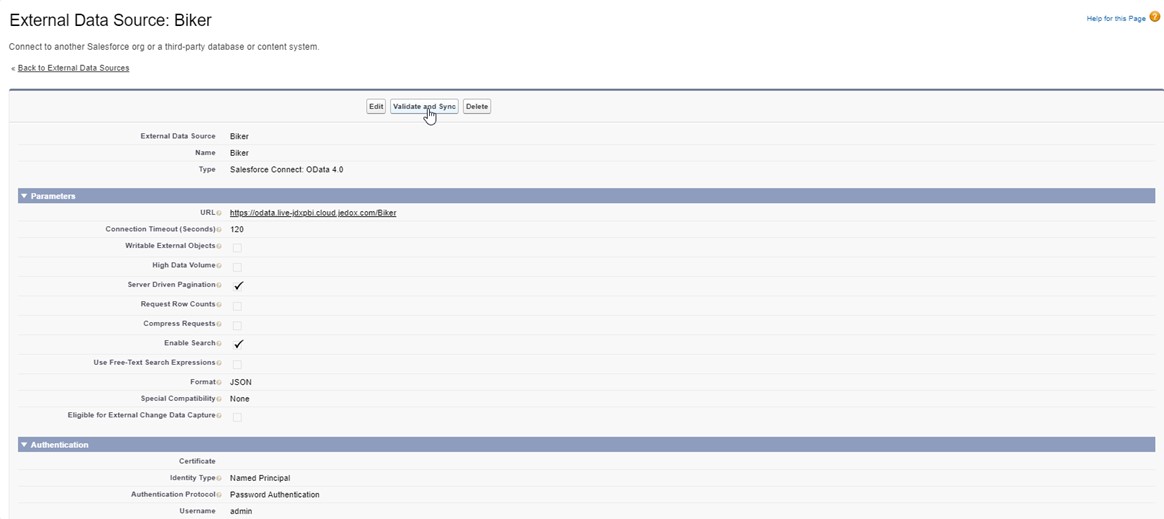
Under Parameters, enter the Jedox OData Hub service URL followed by the database name, using the following syntax:
https://odata.{InstanceId}.cloud.jedox.com/{DatabaseName}Disable the option Request Row Counts and enable Server Driven Pagination.
Under Authentication, select Identity Type Named Principal or Per User. Set Authentication Protocol to Password Authentication and enter the credentials for your Jedox instance.

Note: when working with Stored Views that contain many cells, Salesforce may run into data limits with the Jedox OData Hub. To prevent reaching the data limit, you can enable the option High Data Volume, but you will not be able to use the external data source in reports and dashboards.
Click Save and then on the next dialog, click Validate and Sync to connect to the Jedox OData Hub.
Select the views that you want to sync with Salesforce. Note that the name of the external object must be under 40 characters. If the name of the view is too long, rename it in Jedox Web.
Click Sync to sync the selected view(s) with Salesforce.

The view(s) will now be available for use in Salesforce. However, if you want to use them in a Salesforce report, you need to mark the external object for usage in reports first. Click Edit next to the external object that you want to use:

At the next screen, check the option to Allow Reports and click Save.
For more information on the Salesforce Connect OData adapter, visit the Salesforce documentation.
See also Salesforce Connection
Updated April 29, 2026