Return to Models Overview
Purpose
You can customize the design elements of your model reports to reflect your own unique corporate identity. Design elements can include a logo and customized cell properties.
Changing the logo
You can replace the Jedox logo with your own custom logo. Your company logo will appear at the top of your cost center model. Create your logo in PNG or JPG format and no larger than 50 pixels high and 200 pixels wide for the best resolution.
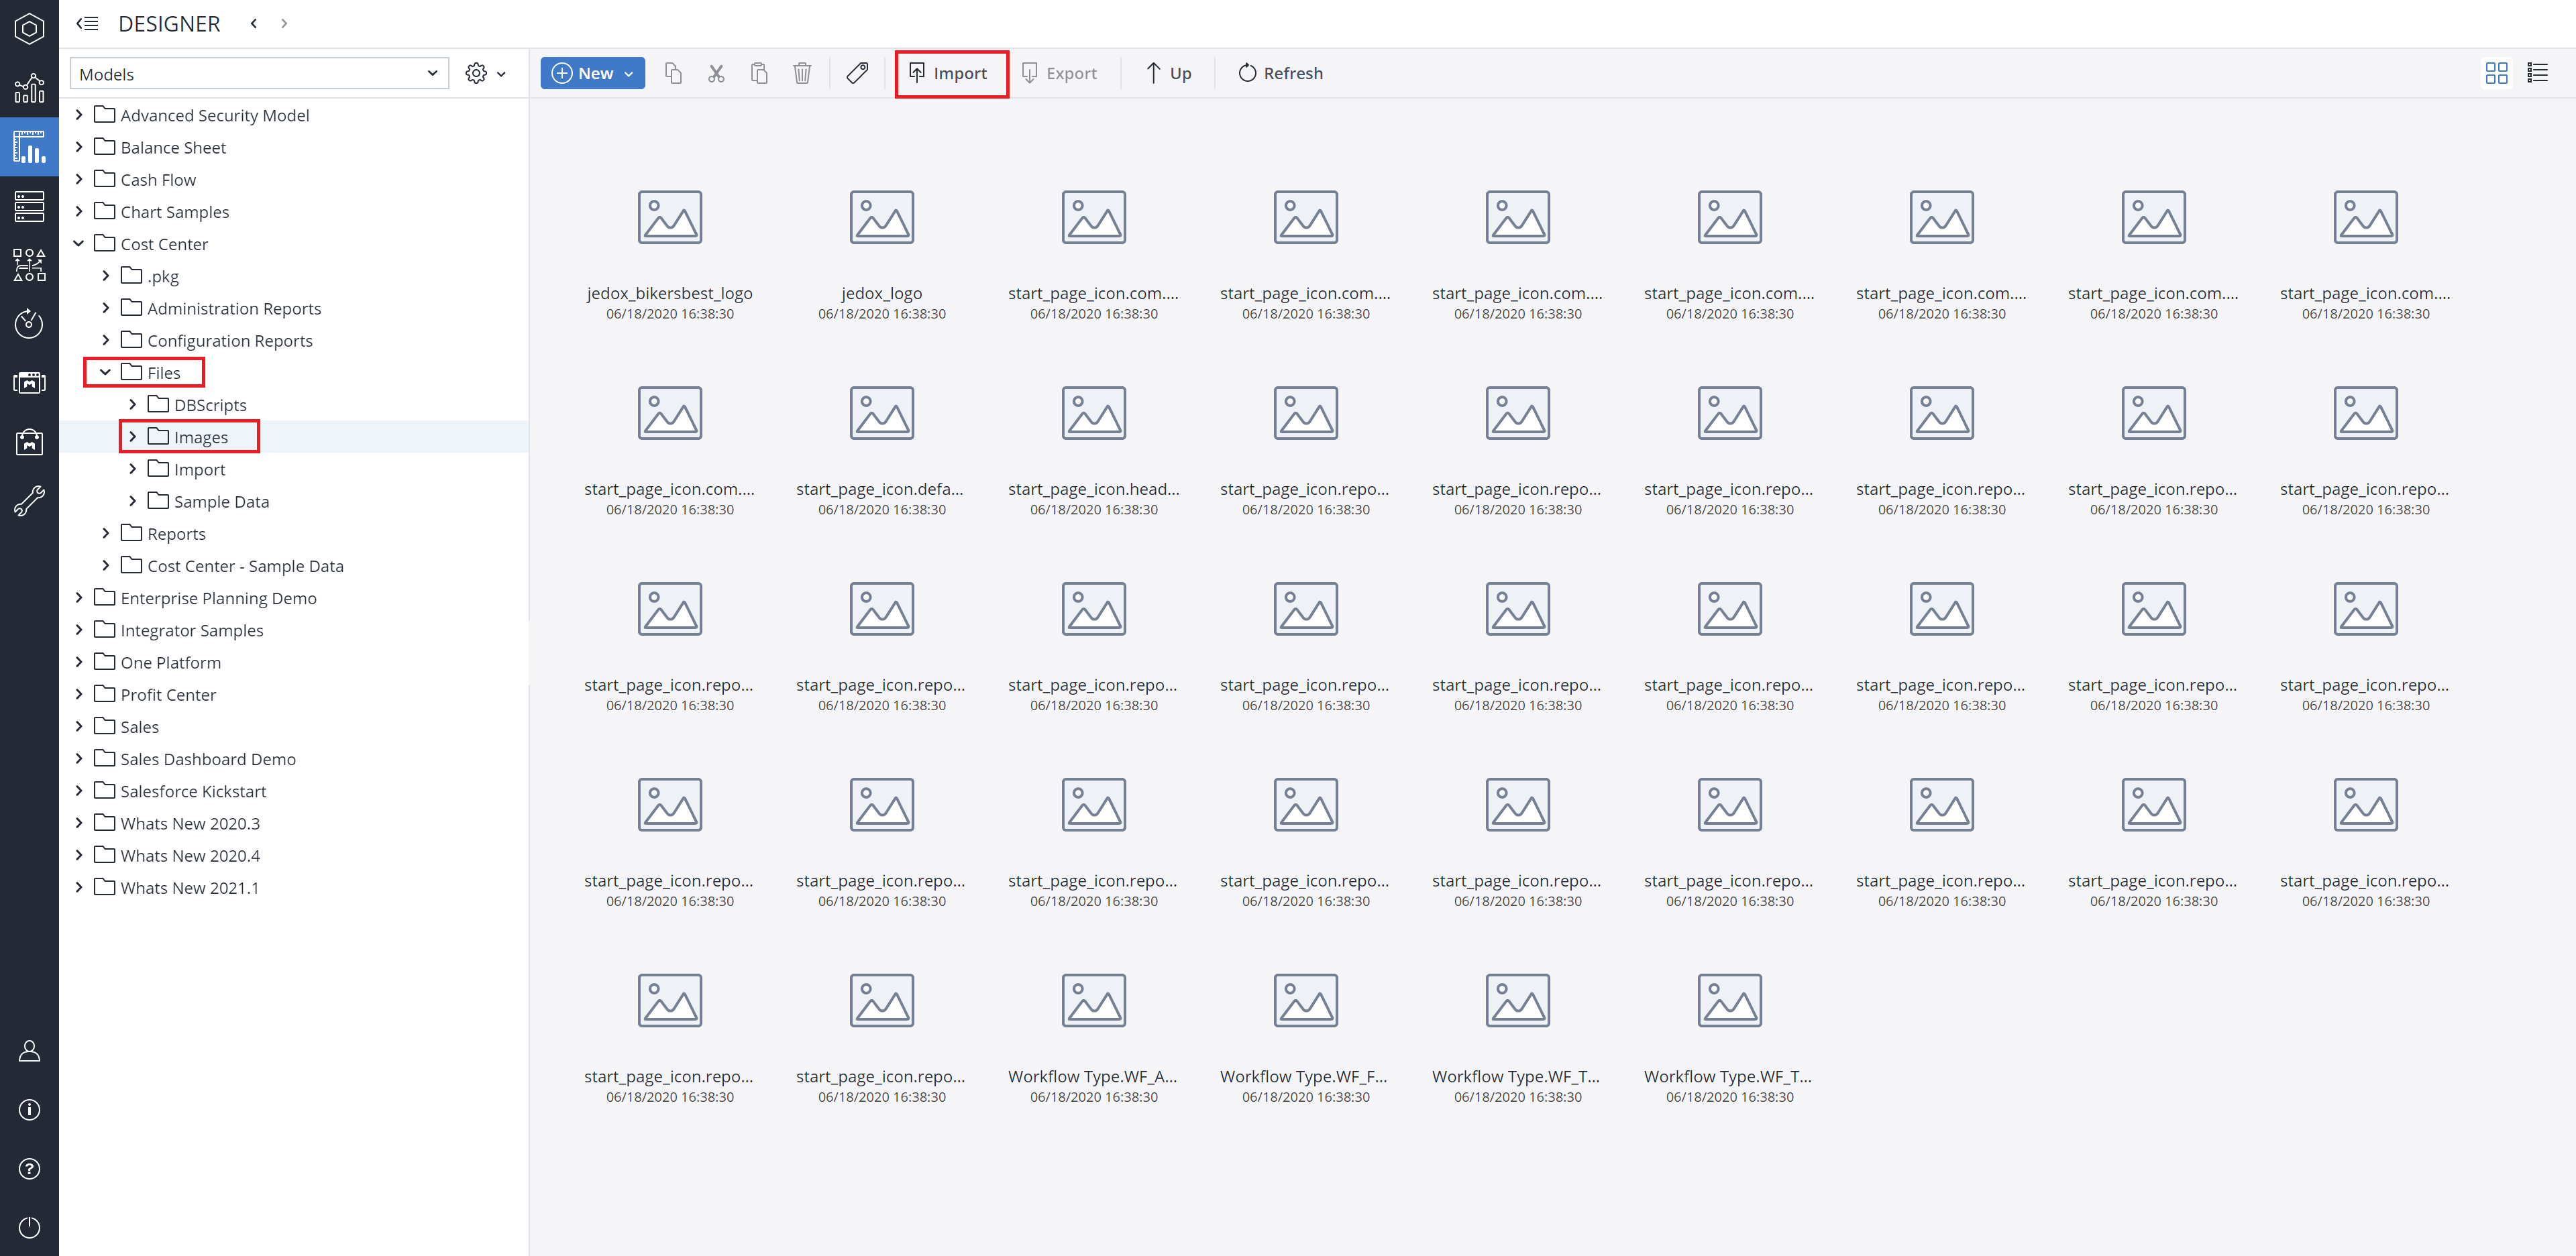
- In Report Designer, navigate to Model <name> > Files > Images. Click Import and in the Import Wizard page, click Browse to upload your logo and click Finish.

- In Administration, navigate to Settings > <model name> > Configuration. Double-click on Logo and change the file name to the image file that you imported. Be sure to include the full path (i.e., "Files/Images/") and the extension (*.jpg or *.png).
Changing cell styles
Cell styles in Jedox models can be modified much the same way as in other spreadsheet programs. You select the area you wish to apply a style to and click on the Cell Styles icon in the toolbar: ![]()
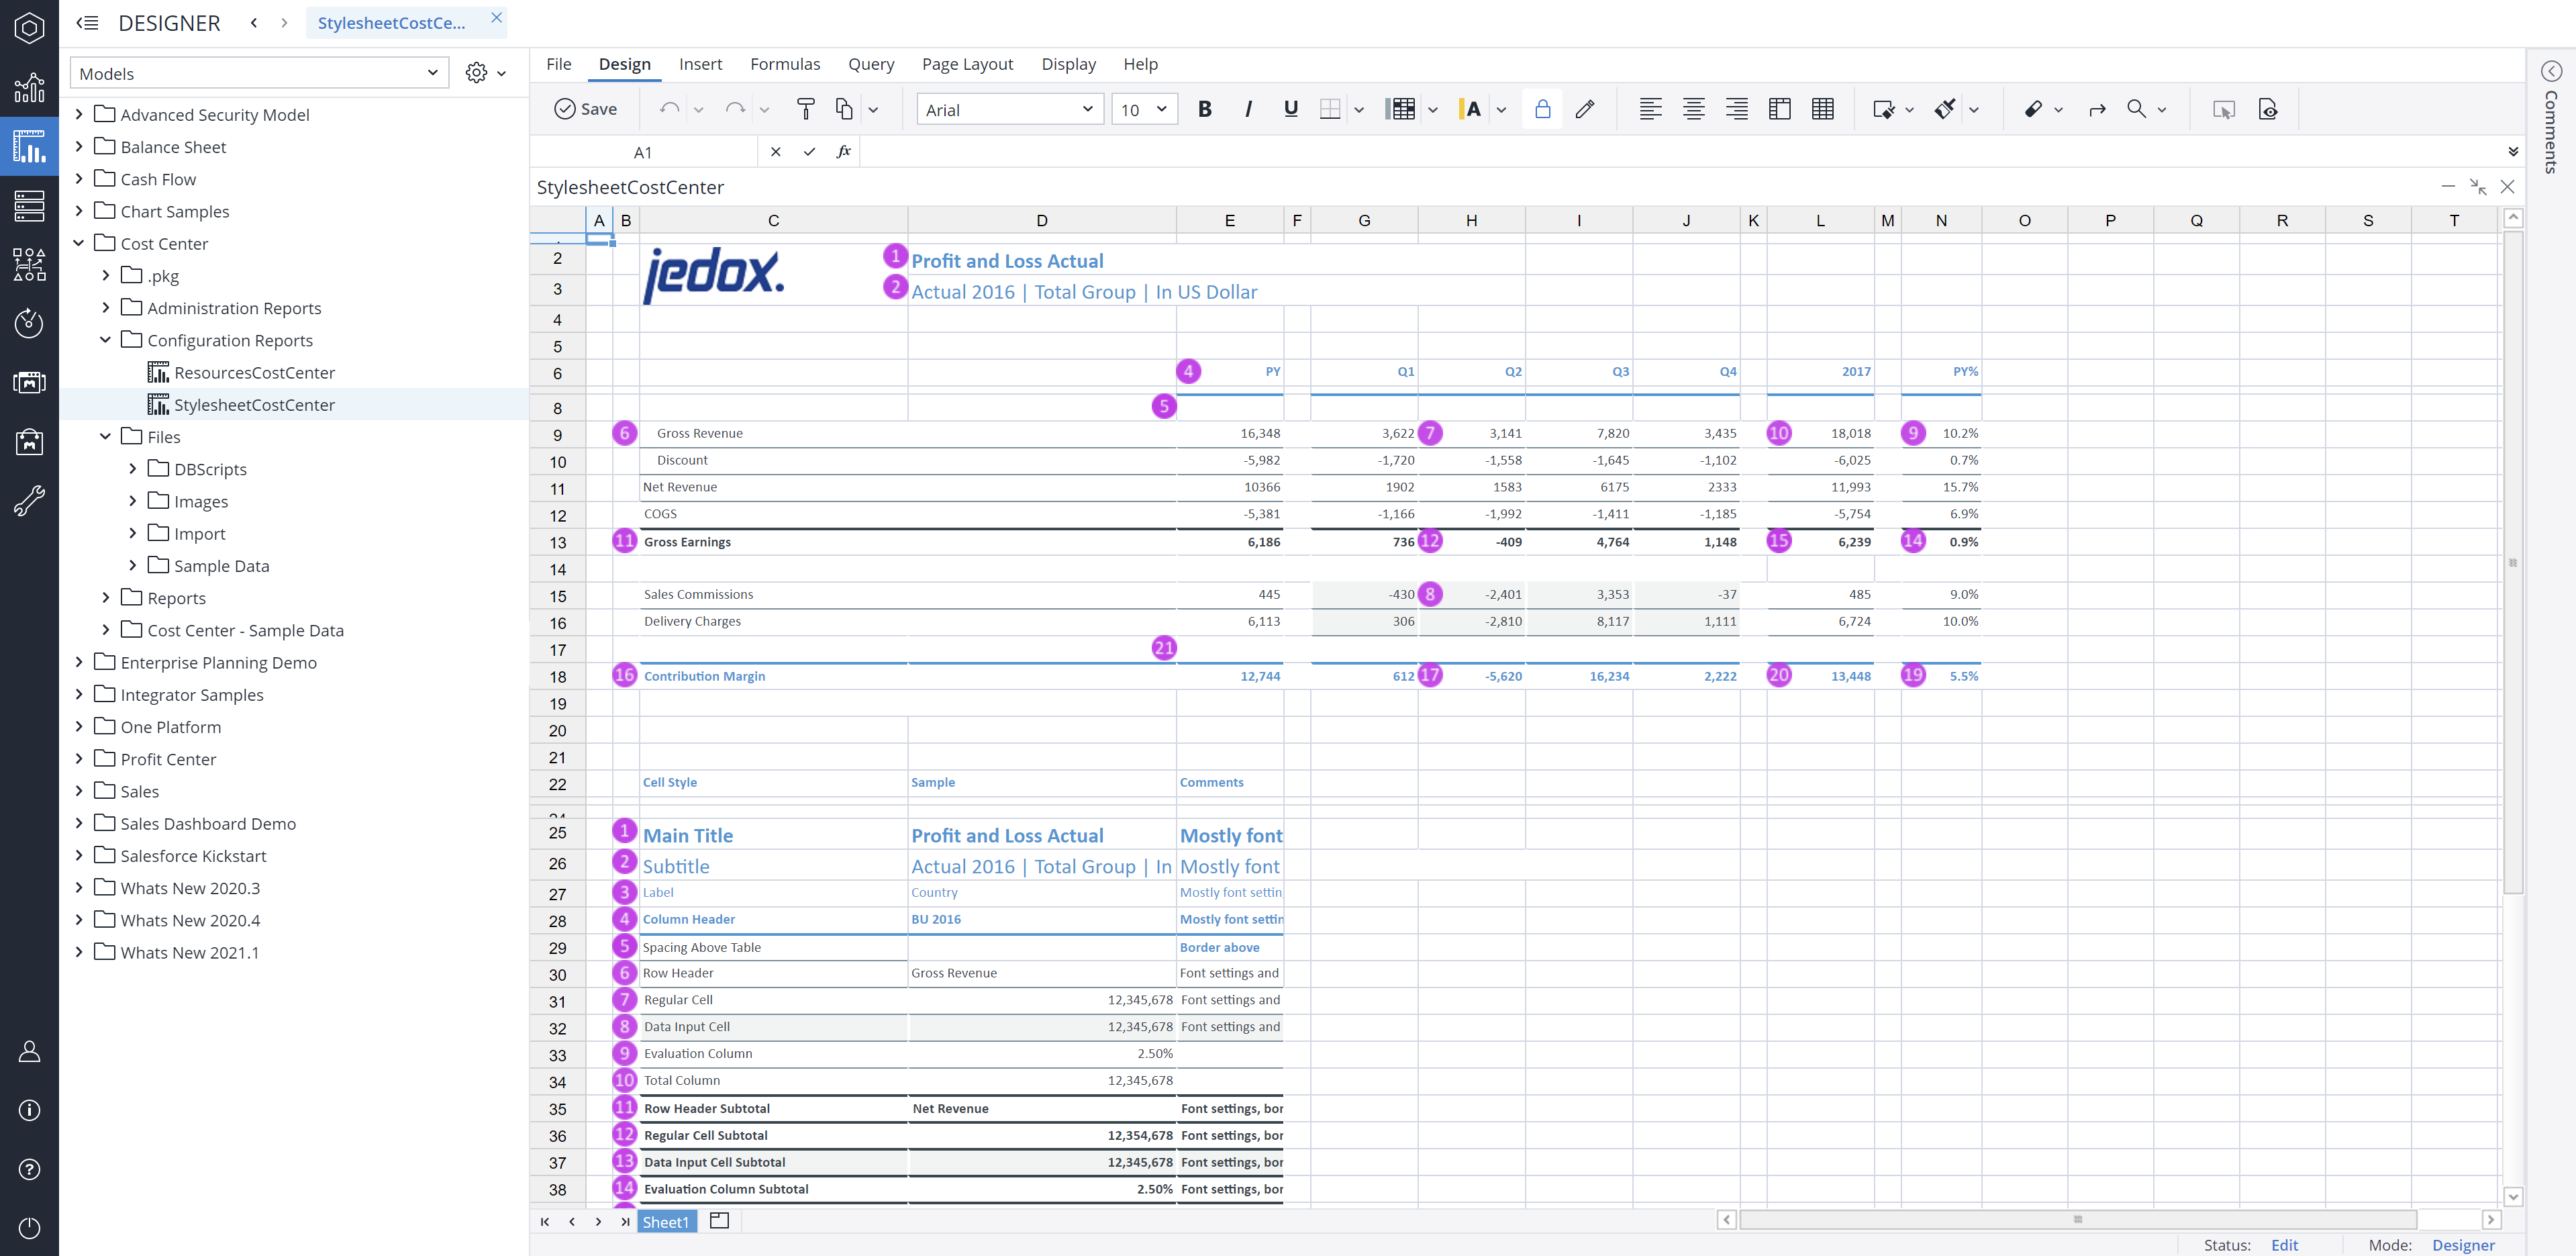
- In Report Designer, navigate to Model <name> > Configuration Reports and double-click Stylesheet<model name>. At the top of this sheet, you will find a sample report showing all of the current styles. Below the sample report is a listing of the style names and their functions:
- Click on the Cell Styles icon in the toolbar
 . Right-click on the style you wish to change and select Modify.
 - Repeat step 2 for all other cell styles to be changed. You can preview the results in the sample sample report at the top of the worksheet.
- Save the spreadsheet to apply the changes to all reports of the selected model.
Updated September 25, 2024
