Return to Financial Consolidation Model Overview.
This article describes a possible approach to user rights configuration for Financial Consolidation models and gives an overview of the possibilities to trace user activities.
General Administration Concept Overview
There are Roles, Groups, and Users in the Jedox user administration concept. For a single user, access rights are inferred from the rights and roles of the group(s) the user is a member of, and from the roles of these groups. See the Administration of User Rights for more details. Below you can see some of the important administration concepts.
-
Between Groups and Users exists an “n to m” relationship, meaning users can belong to different user groups.
-
Between Roles and Groups exists a “1 to n” relationship, meaning every role can be used in many groups.
-
There are no rights defined on the user level. A user always belongs to at least one group. Rights are set up on a group level.
-
Namespaces allow independent handling of test/productive environments, different applications, or different administrative subgroups within the company.
This results in following recommendations:
-
Create a separate namespace for every application you have.
-
Every namespace should have its own user groups and roles.
Naming Conventions
General naming convention:
-
Start user group names with a capital letter, e.g., Group Accountant
-
To distinguish between applications, use an application name as a prefix, separated from the group name by a hyphen, e.g., Financial Consolidation – Group Accountant
-
Having more than one user group with similar rights, e.g., accountants responsible for different scopes, use the scope name as a suffix, separated from the group name by a hyphen, e.g., Financial Consolidation – Group Accountant – AMER.
-
Connection:
<Namespace> - connection for general users,
Before Installation
Before the first installation, define how many different name spaces and user groups you need. The following questions can be helpful.
-
How many applications are installed? It makes sense to create every application in a different namespace.
-
Who is allowed to execute integrator processes?
-
Who is allowed to configure your application – create charts of accounts, change the scope of consolidation, plan and control planning and reporting events, add new legal or partner entities, and upload files?
-
Who is allowed to do user administration?
-
Who is allowed to modify and develop the application?
-
Who is allowed to see reports/ cubes/ dimensions/ hyperlinks?
First Steps
After installation, the first step to secure the system is to delete the pre-defined example user groups and users. Also, change the default password for the Admin user.
There are two methods for starting with the rights’ configuration:
-
A new user is assigned all the rights first, and then is restricted level by level. Note that there could be a big security gap here and that is the time required to restrict the user’s rights.
-
The new user is assigned the minimum access rights, which get extended according to his position.
There are also different ways of restricting user access – showing the user just allowed elements or showing #NV for not allowed elements. There is a possibility to hide elements of the database that should not be visible. In this case, the user risks obtaining reports that are not working. Almost every dynamic Jedox report uses such functionality as Subsets to restrict dynamic report elements. Subsets are used in Comboboxes or DynaRanges. Hiding a parent element (e.g., in Legal Entity Dimension) will cause a broken Subset, so that no report will be opened.
See Access Rights Within Specific Databases (Level 3) to understand how initial rights can be set up.
Security & Traceability
Login
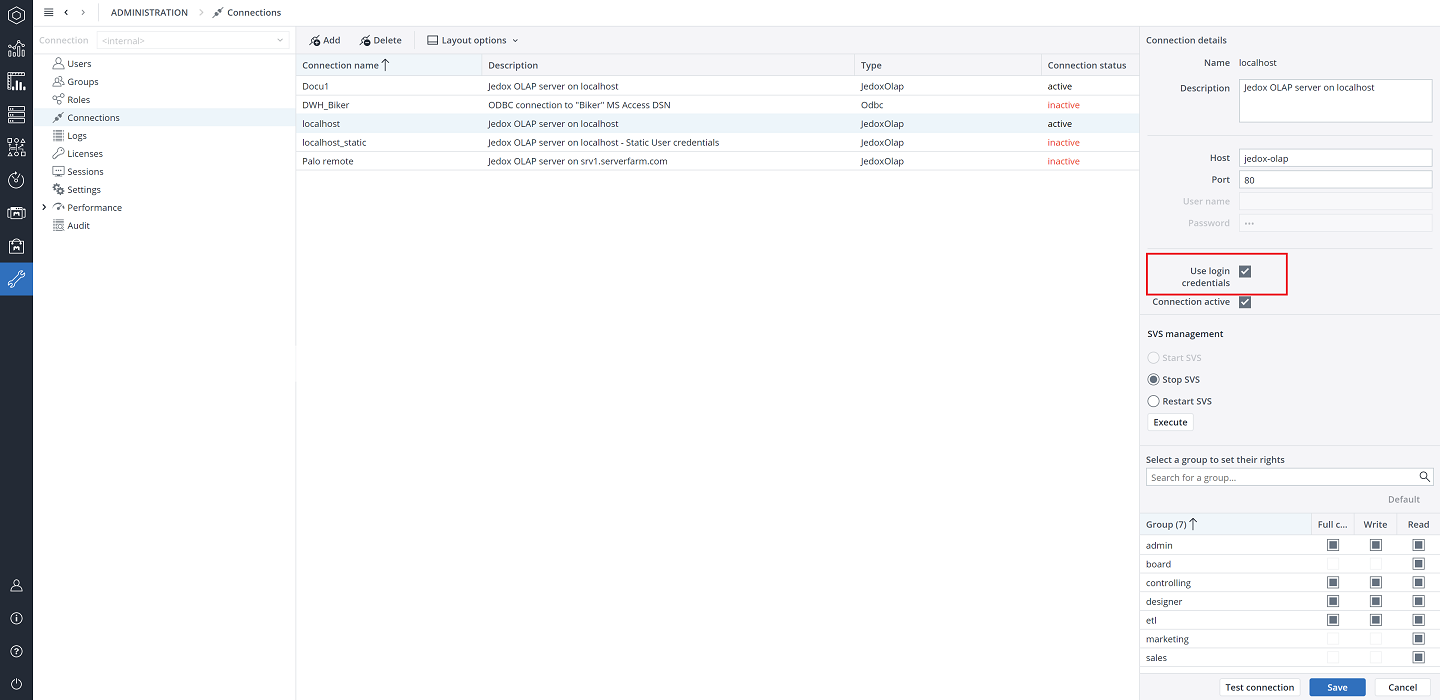
Users must use just their own login credentials to support the traceability of user actions. See Admin User Login & Password Management for more details.
Audit
To ensure data credibility, audit is an important feature that helps you in understanding which changes have led to the current state of your data model. Jedox allows you to audit certain areas of the model, as described below.
In Jedox you can track manual changes made to cube data. That means, any data entry done by a user can be logged and stored for up to 365 days. Furthermore, it is possible to track structural changes. This includes the changes within a database (creation and deletion of a dimension or a cube), changes within a dimension (creation and deletion of elements, moving elements etc) and changes of business rules (creation and deletion of rules, modifications of rules). Structural changes cannot be enabled via the given UI.
Read how to enable and view auditing in the following article Jedox Audit.
Note that it is strongly recommended to enable auditing.
Cube Data Entries
Audit logs of cube data entries are available in the audit section within Jedox Web. Next to timestamp and user you will see all the relevant details like cell coordinates, value and some technical information on kind of data entry (e.g., type of splashing/data entry). The UI allows application of some filtering and sorting options. Note, that only the time period and cube slice filters are directly forwarded to OLAP and therefore affect the result size and can improve the performance of this screen. Sorting and filtering in the table itself are done after sending the request to OLAP.
Attribute, Right and System dimensions cannot be audited.
Model settings
Activate configuration.keep_reversed_automated_journal_entries setting in the model settings to keep reversed journal entries.
Rights Objects
Every role you define has a set of rights objects which grant or restrict access to different components of the Jedox application. Read the Rights Objects in Jedox article for further details. In this article, the Financial Consolidation specific rights objects are explained.
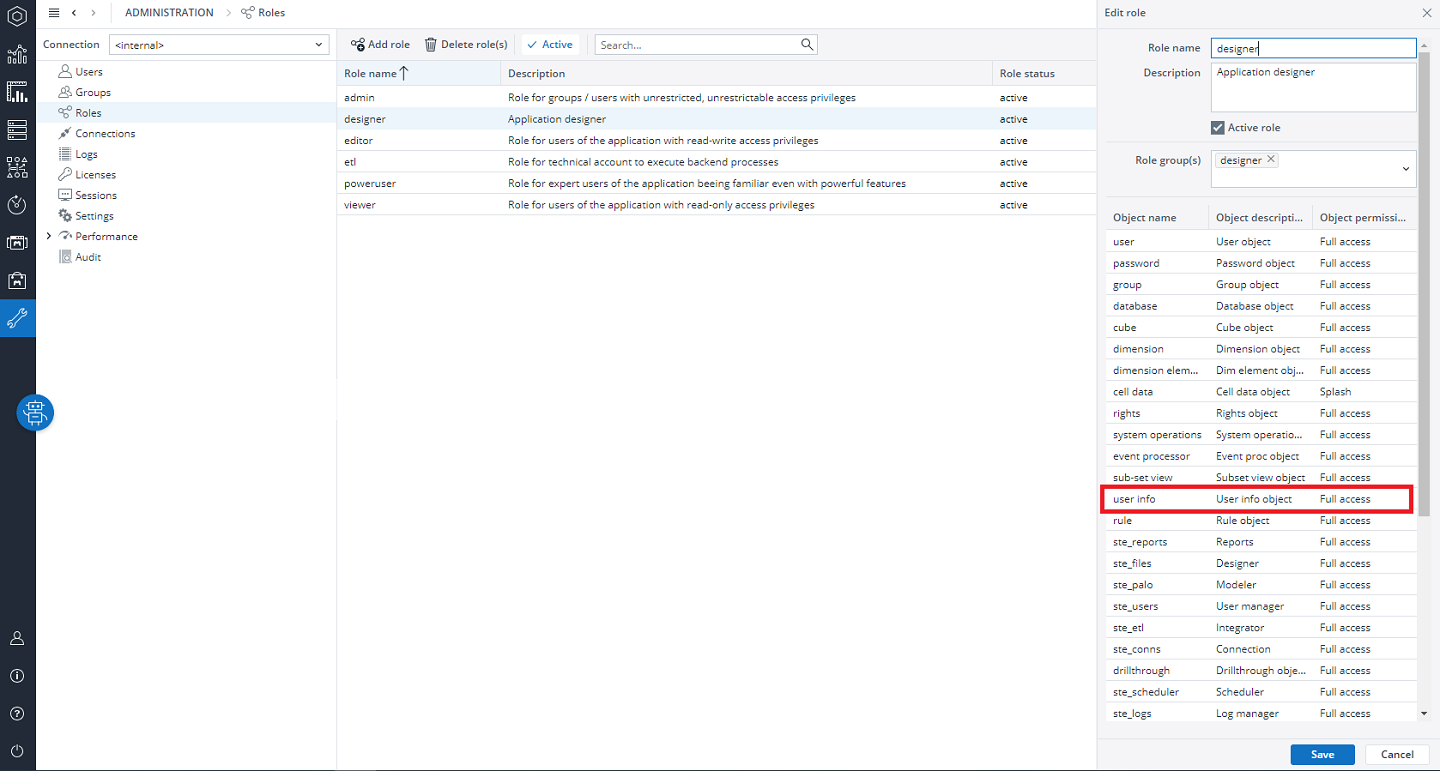
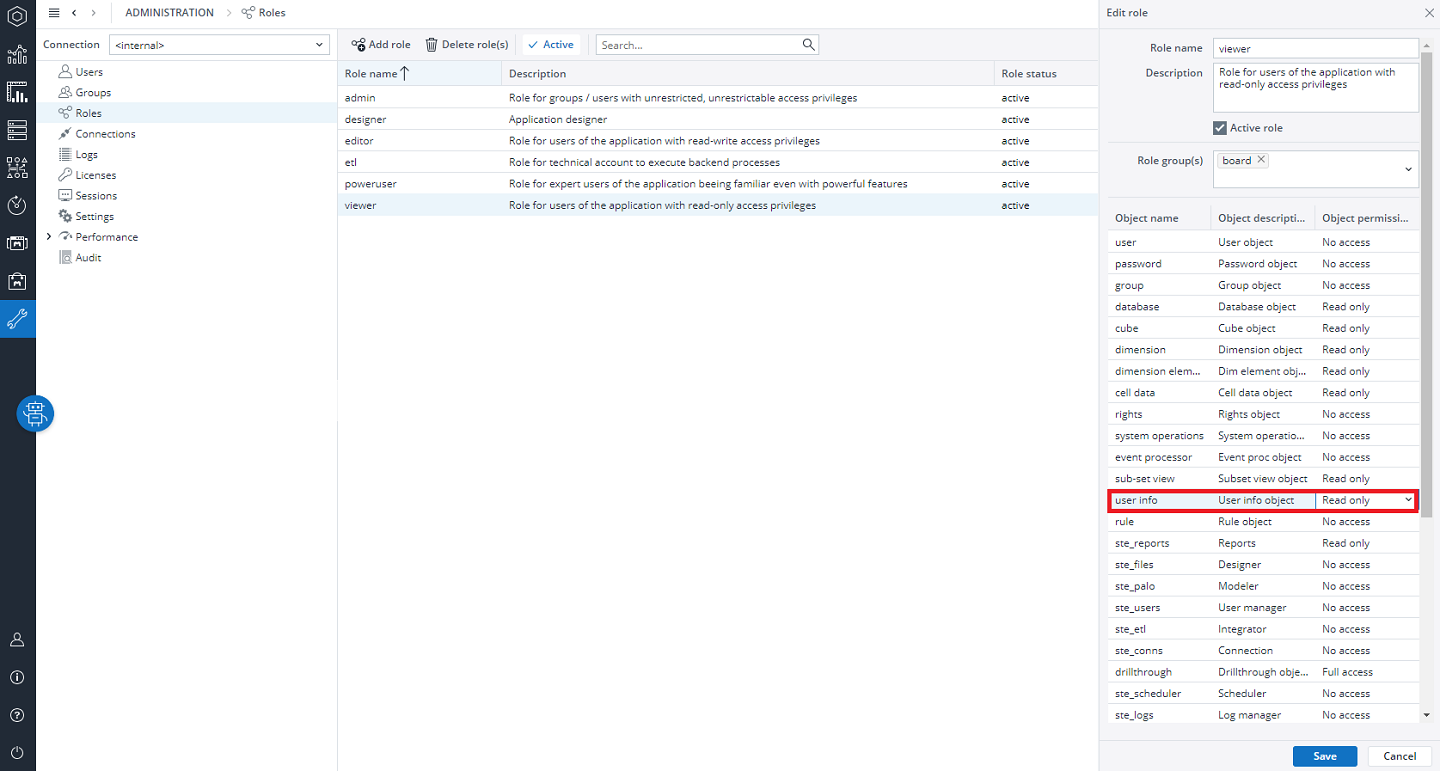
User info
For Financial Consolidation, you must set access level "D" = "Full access" for all users who need to run the Consolidation process or create manual journal entries, and at least access level "R" = "Read-only" for all users who need to have access to their results (i.e., to Posting Journal).
Example User Setup
Financial Consolidation Model requires a more elaborate concept of user rights due to the simultaneous handling of different legal entities or subgroups.
The example below is based on the sample data. For a better understanding, just a single namespace is used, and the example is restricted to just two legal entities. You can adjust this example to your requirements by scaling it and creating as many namespaces, user groups, and legal entities as you need.
Moreover, the example is restricted to just two legal entities and one scope, of course, in the real world we would need as many user groups as the separately administrated entities.
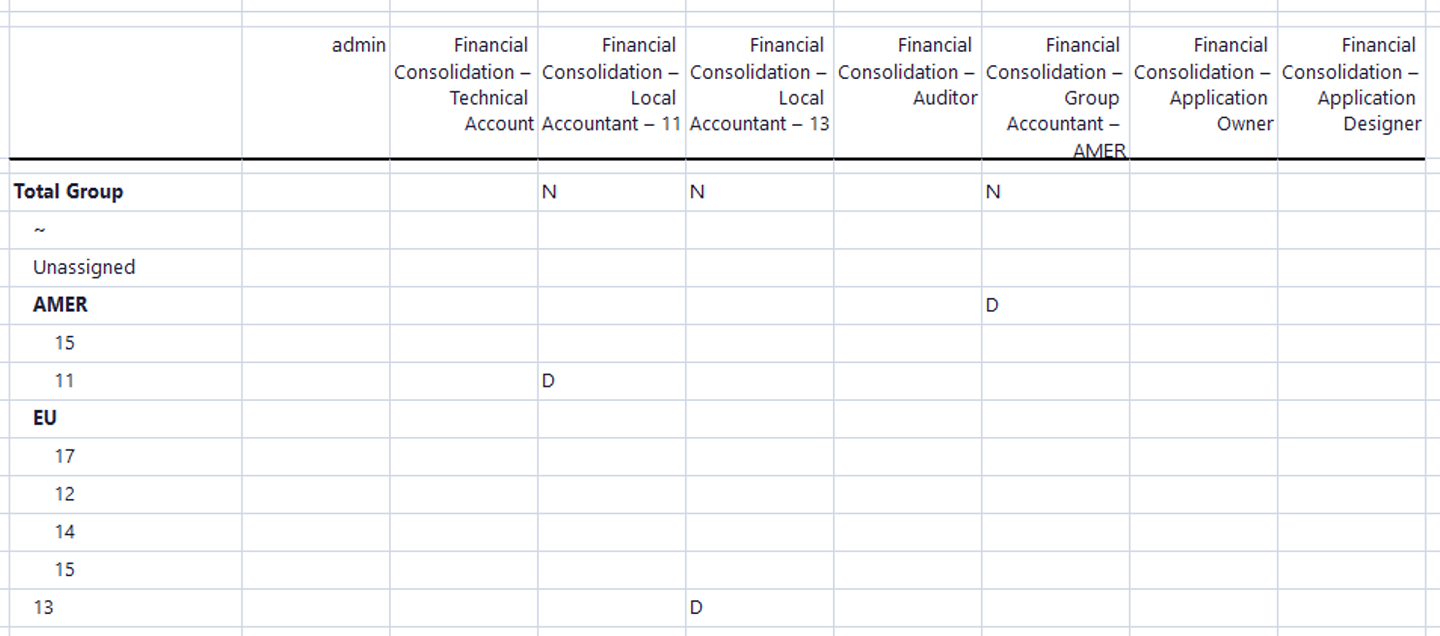
Let’s assume a company with two legal entities (11 and 13) and one Scope - AMER. It needs at least following user groups:
-
An Auditor user group is granted read only access to the application. Such users as auditors or higher management positions can be assigned to this user group.
-
Local Accountant user groups grant access to single legal entities. Users in these groups should be able to upload separate monthly statements and create manual journal entries for their own legal entity. For this reason, they need write access to the following cubes: Balance Sheet and Balance Sheet (Segment) Cubes, Profit and Loss and Profit and Loss (Segment) Cubes, Cash Flow and Cash Flow (Segment) Cubes and Posting Journal Cube.
-
Group Accountant user groups grant access to single scopes or the total company level. Users in these groups should be able to upload data, make adjustments and create manual journal entries. For this reason, they need write access to the following cubes: Balance Sheet and Balance Sheet (Segment) Cubes, Profit and Loss and Profit and Loss (Segment) Cubes, Cash Flow and Cash Flow (Segment) Cubes and Posting Journal Cube.
-
An application owner is allowed to customize the application – to plan and control planning and reporting events, do user administration, create charts of accounts, and customize configurable dimensions.
-
An application designer is allowed to develop and change the application.
-
An admin user is used only for initial application setup.
Following the above argumentation, we need the following user groups.
-
Financial Consolidation – Auditor
-
a) Financial Consolidation – Local Accountant – 11
b) Financial Consolidation – Local Accountant – 13 -
Financial Consolidation – Group Accountant – AMER
-
Financial Consolidation – Application Owner
-
Financial Consolidation – Application Designer
-
Admin
Follow the instructions in the next chapter to set up the defined user groups.
Technical Explanations
Restricting access to dimension elements
You need this for groups “Sales Legal Entity A”, “Sales Legal Entity B”, “Controlling Legal Entity A” and “Controlling Legal Entity B” to restrict access just to one element in the legal entity dimension.
A user can be granted access to single-dimension elements via a view based on user management cubes.
-
Create a new spreadsheet
-
Click on Query>Create View
-
Select “User Management Cubes” right in the dropdown menu “Select cube”
-
Select required cube - For dimension element restriction select #_Group_DIMENSION_DATA_Dimension Name
Restricting access to cube cells
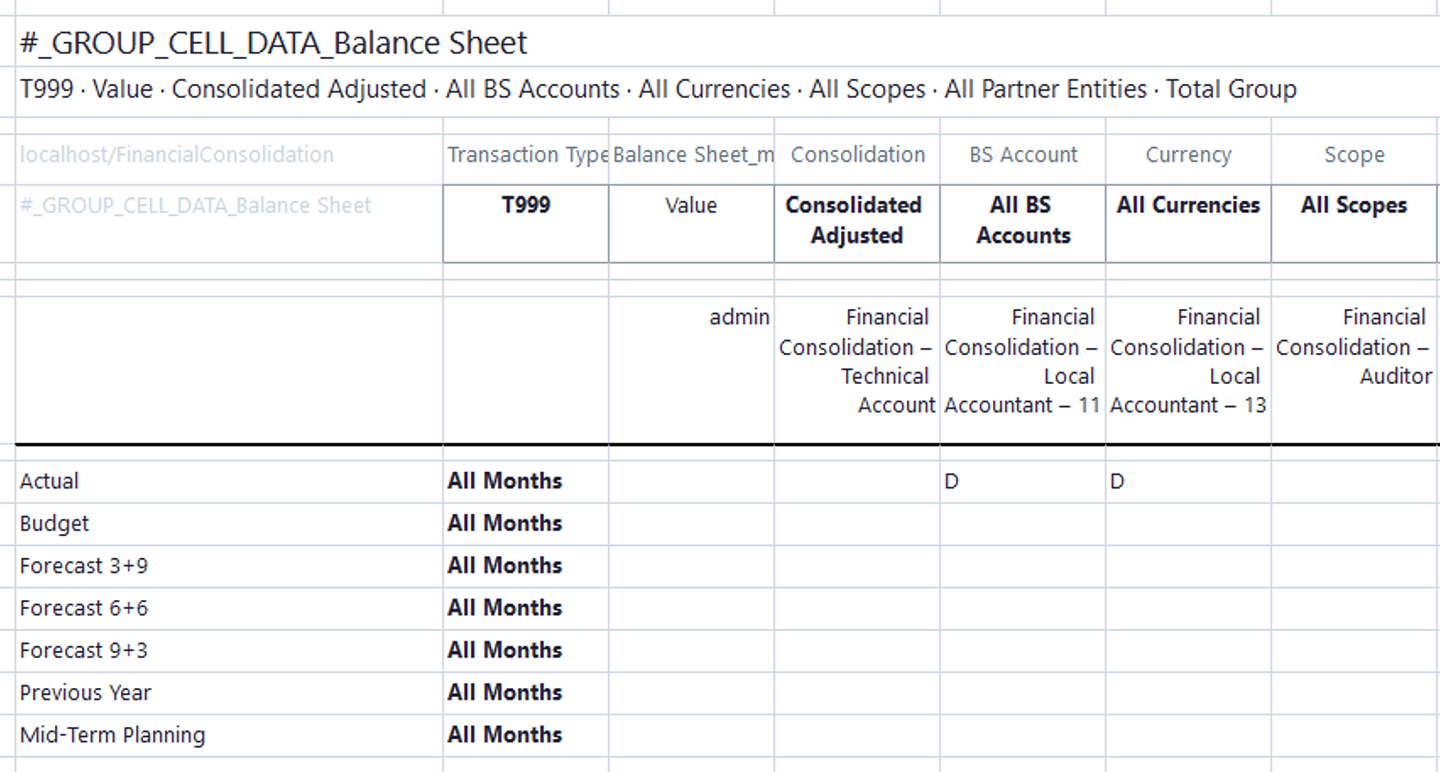
If you want to open and close reporting periods, you need to restrict access on a cube cell level, as shown below.
For cube cell restriction select #_GROUP_CELL_DATA_Cube Name
Restricting access to the cubes
To restrict cube access, go to Modeller -> Application Database -> Cube -> Security tab.
Restricting access to a database
If a user is not allowed to access a certain database, e.g., a test environment, you can restrict their access on the database level. You can restrict a user’s access to a database in the Modeler> Database> Security tab.
Defining user groups access to connections
You can define which connection is used by which user group in Settings> Connections> connection name
Restricting access to reports or groups of reports
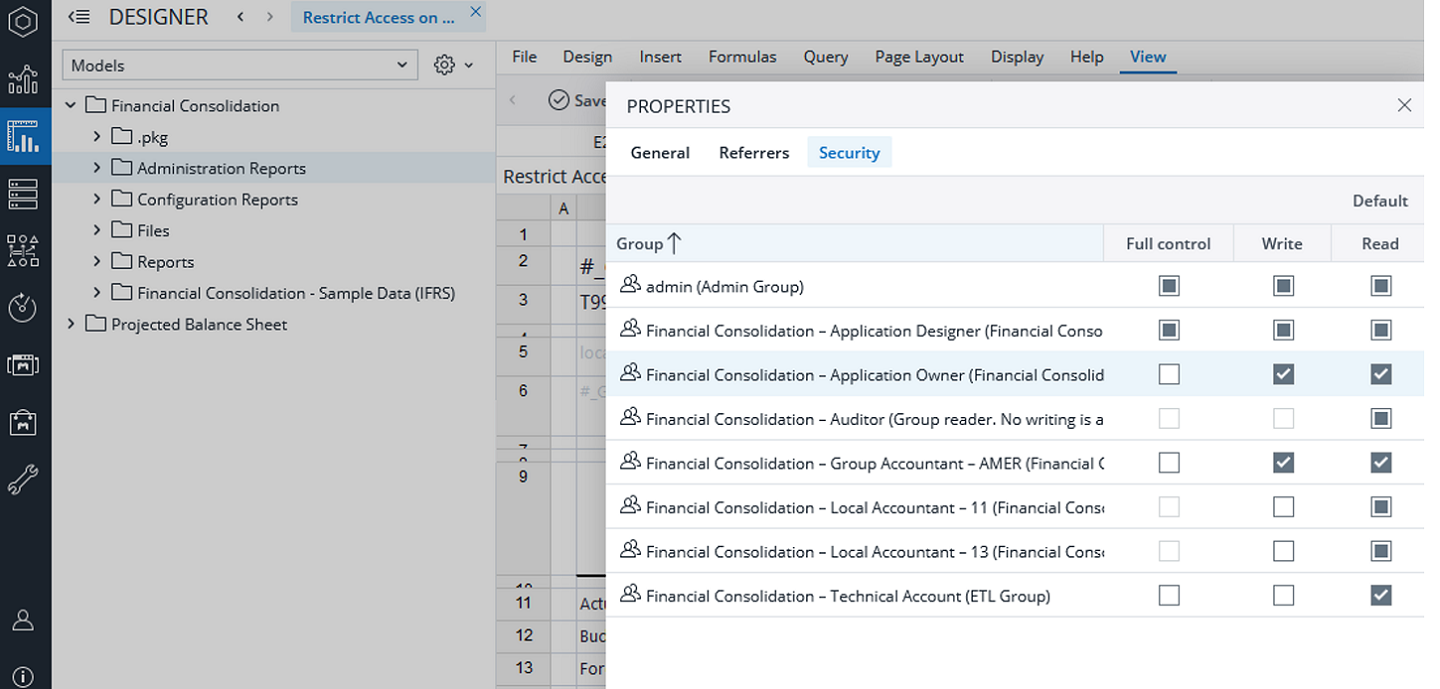
To restrict access to reports or groups of reports go to Designer -> right click on the required element and select Properties. Then select Security tab.
Restricting access to reports on the start screen
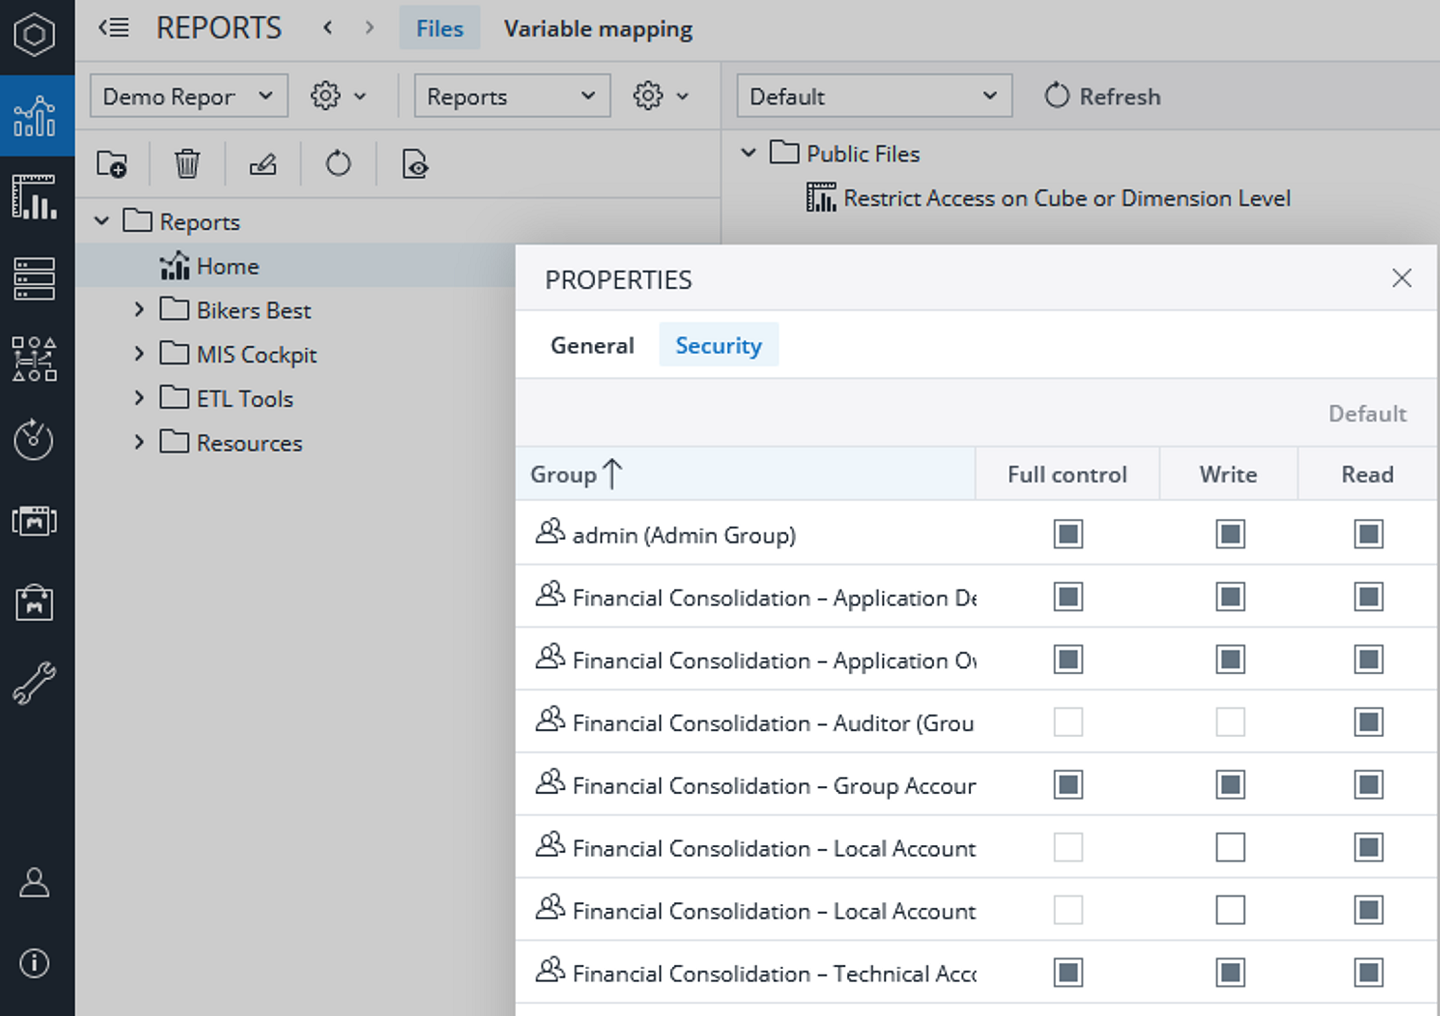
To restrict access, select Reports -> change into Designer view -> right click on the report -> Security tab.
Local Accountant in Financial Consolidation Model
For information about local and group accountants, please refer to Local Accountant in Financial Consolidation Model
Updated September 12, 2025
