Return to the Financial Consolidation Model Overview
The Jedox Financial Consolidation Model is a pre-built, configurable OLAP-based application from Jedox designed to support group-level financial consolidation and reporting (e.g., according to IFRS, US GAAP, German GAAP). It is available in the Jedox Marketplace.
This article provides guidance on installing, repairing, and removing the Financial Consolidation mode.
 Installing the Financial Consolidation model from the Jedox Marketplace
-
In Jedox Web, open the Marketplace panel. Find and select the Jedox Financial Consolidation model. Select "Install Trial" for the Financial Consolidation model.
-
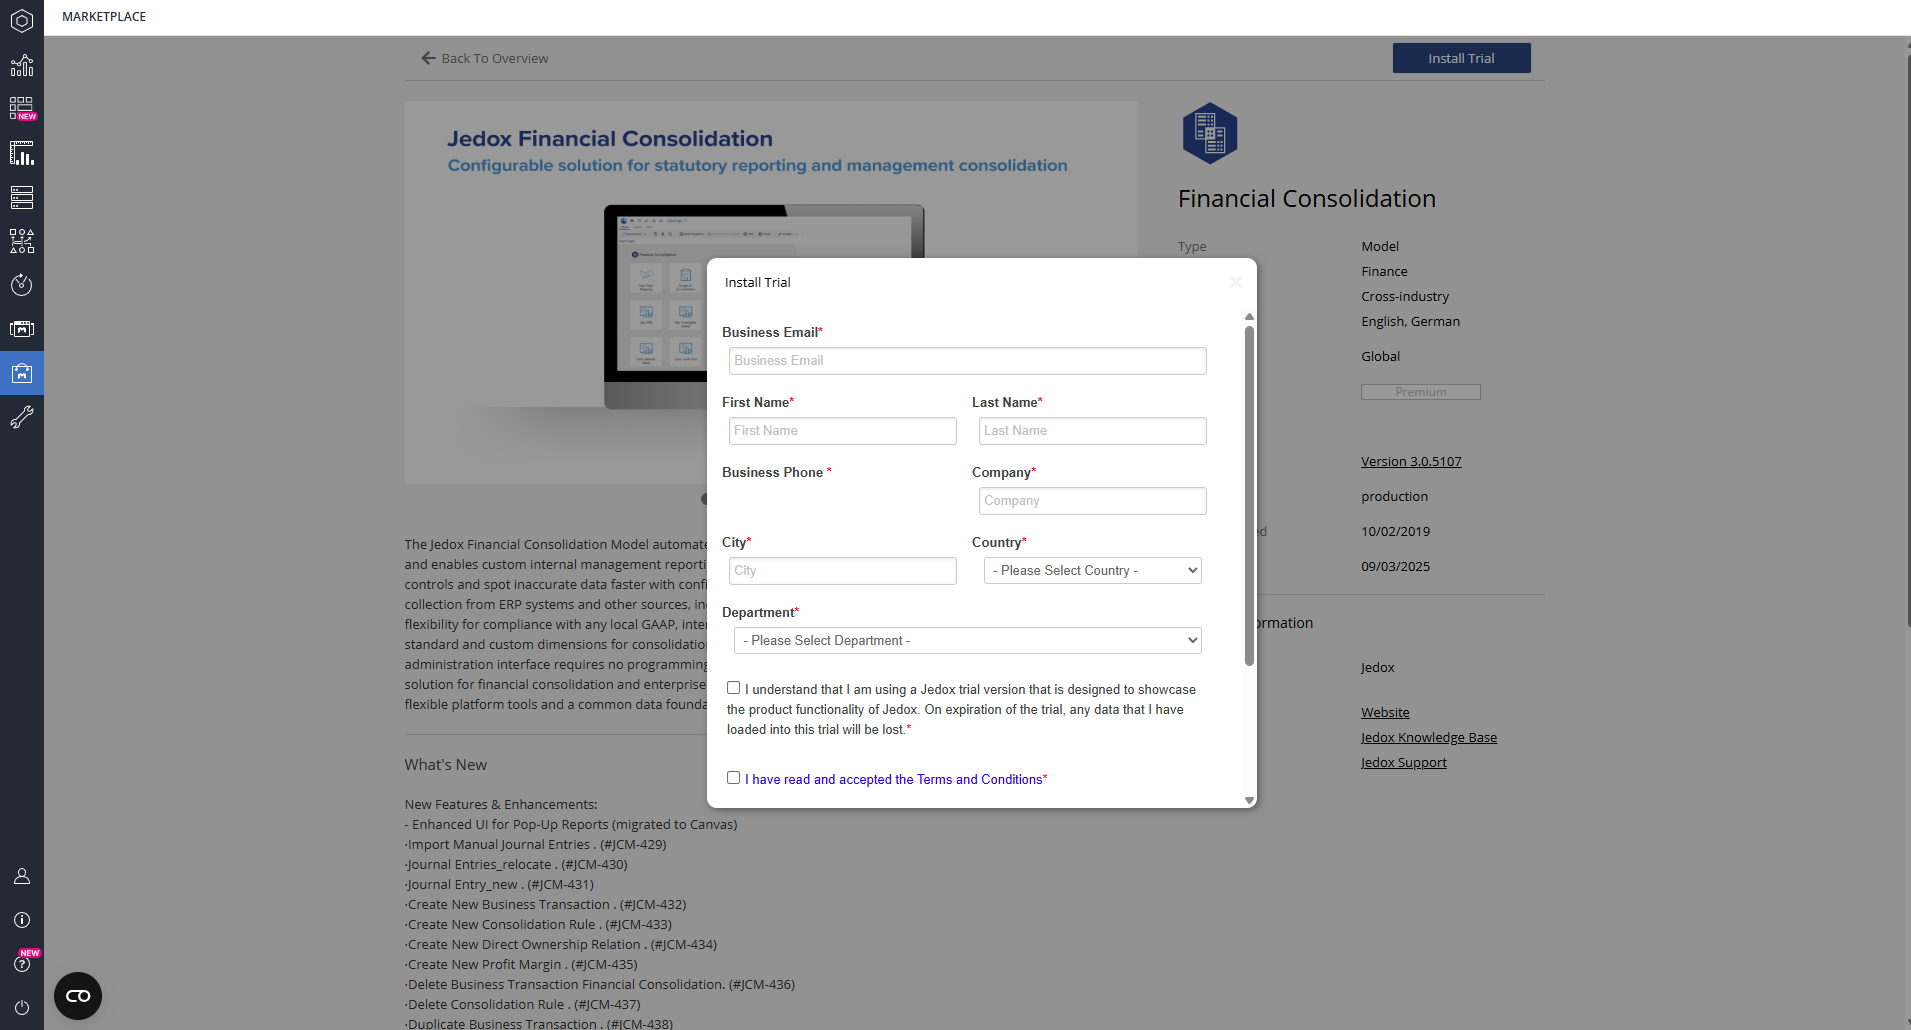
The Install Trial window will appear. You must enter the required information on this page. After reading and accepting the Terms and Conditions, click on Install Trial.
-
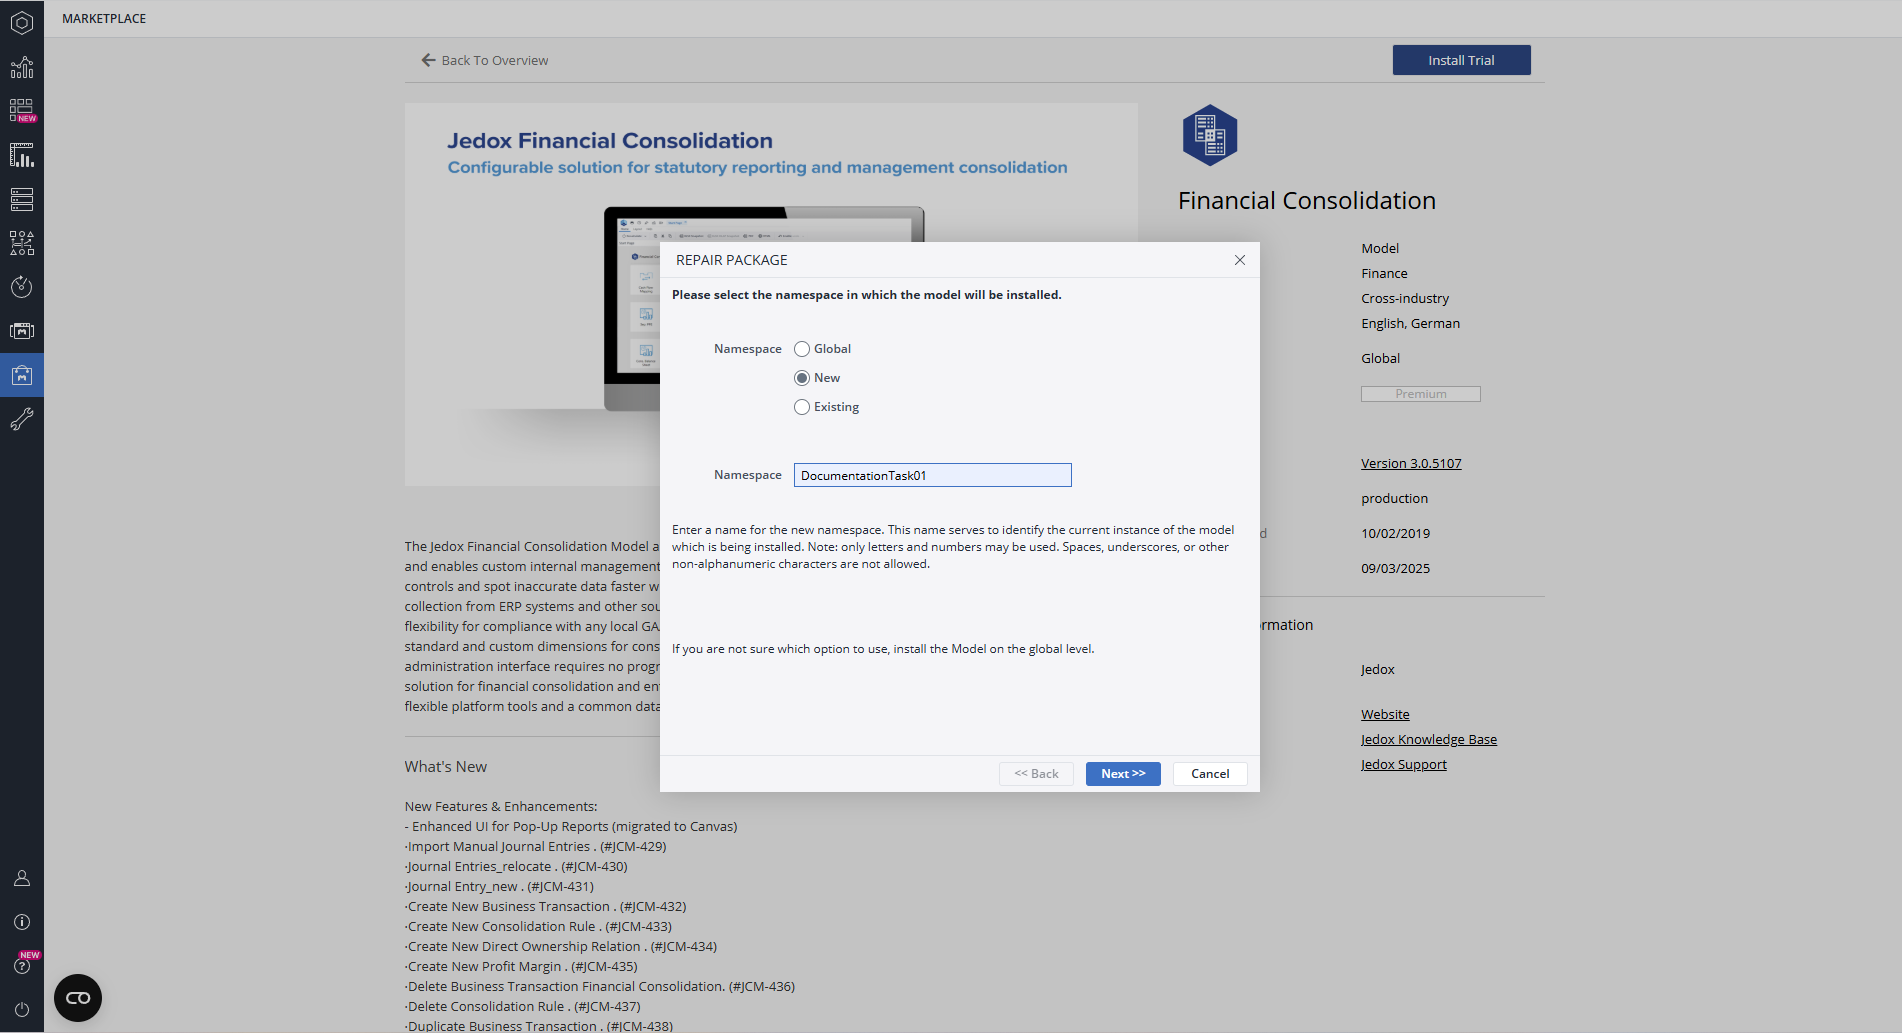
The Install Package window will appear, allowing you to choose between a Global, New, or Existing namespace. This name identifies the current instance of the model being installed. Please note that only letters and numbers are permitted; all other characters are not allowed. If you're unsure which option to select, it's best to leave it set to the default option, which is Global.
-
The Install Package wizard shows the mandatory and optional packages for the model:
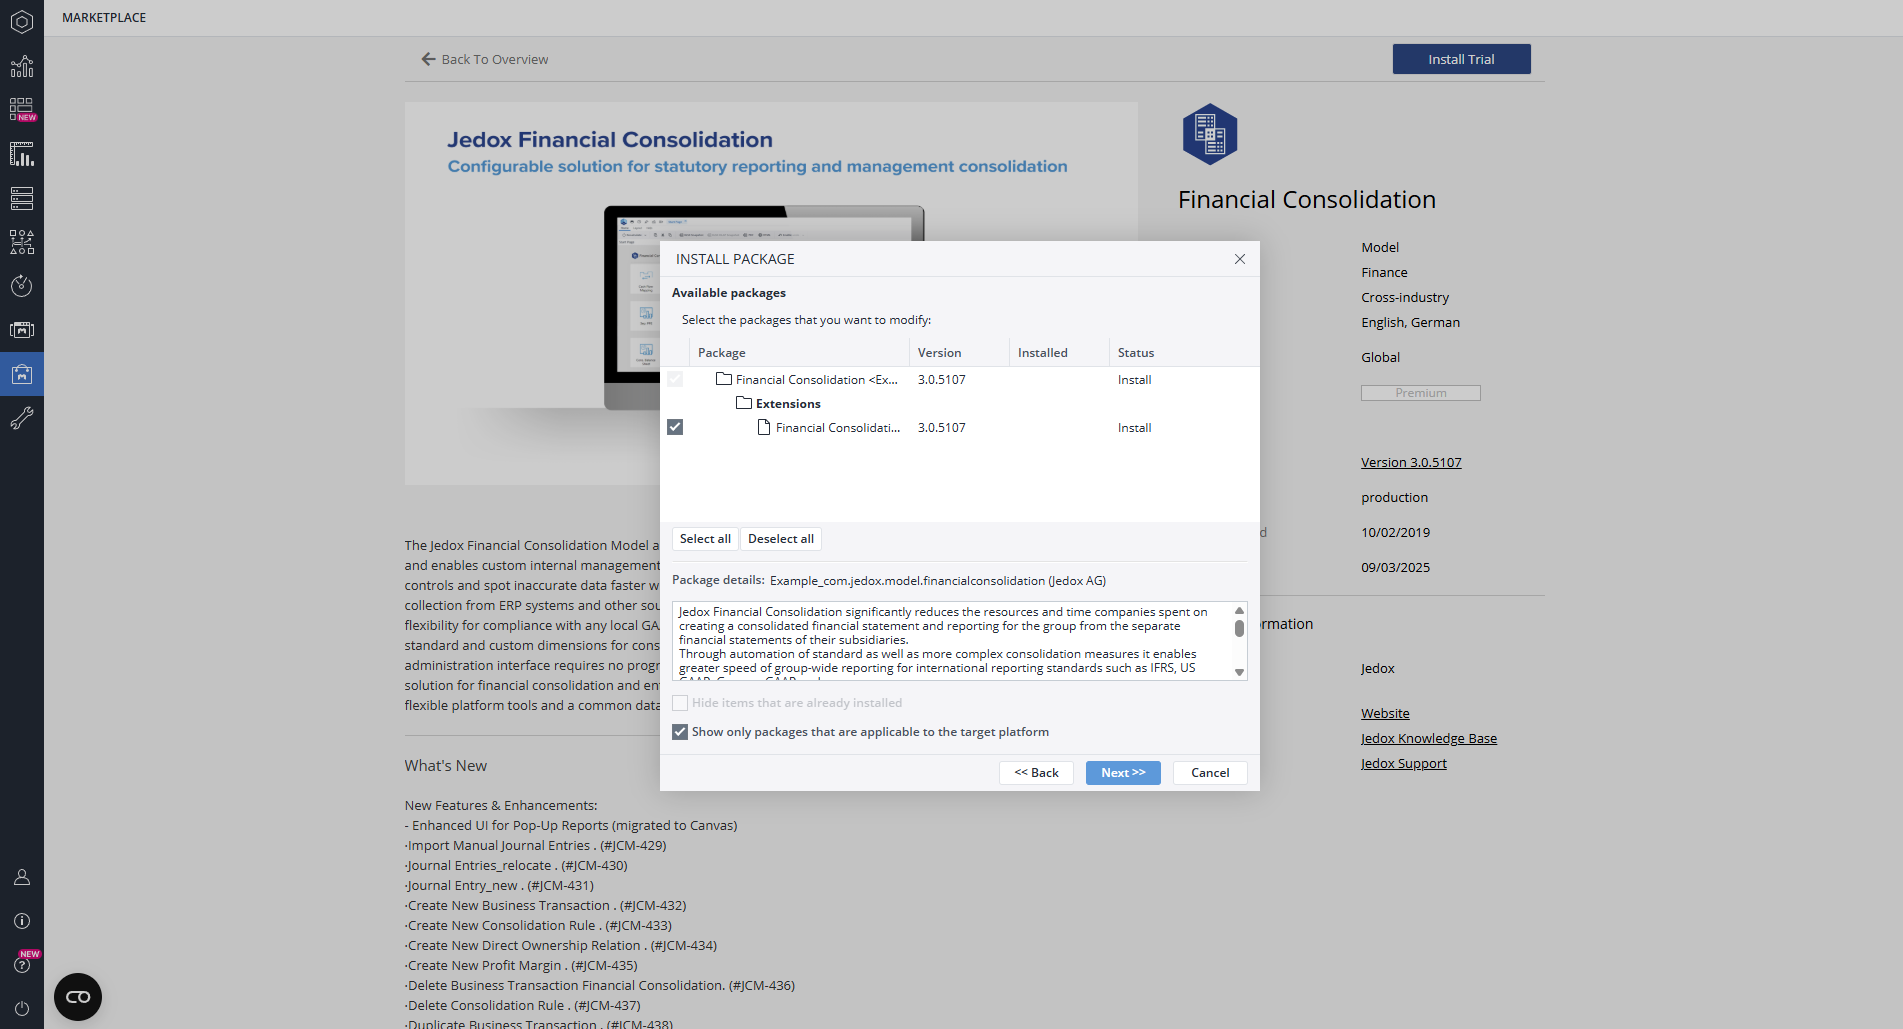
The model includes the "Financial Consolidation - Sample Data" extension package, which is installed by default. This package contains dimension elements and figures intended for demonstration and educational purposes. The sample data extension package is optional and can be disabled. However, without sample data, the cubes and reports will appear mostly empty until you configure the model to your specific needs, and may display errors. Please click “Next >>” to continue.
To access the sample data, navigate to Designer > Models > Financial Consolidation > Files > Sample Data > Financial Consolidation Sample Data (IFRS). -
The final wizard page displays a summary of the selected packages for installation. Click "Finish" to initiate the installation process.
-
During the installation process, the wizard will prompt you to enter a connection name and the name of the OLAP database
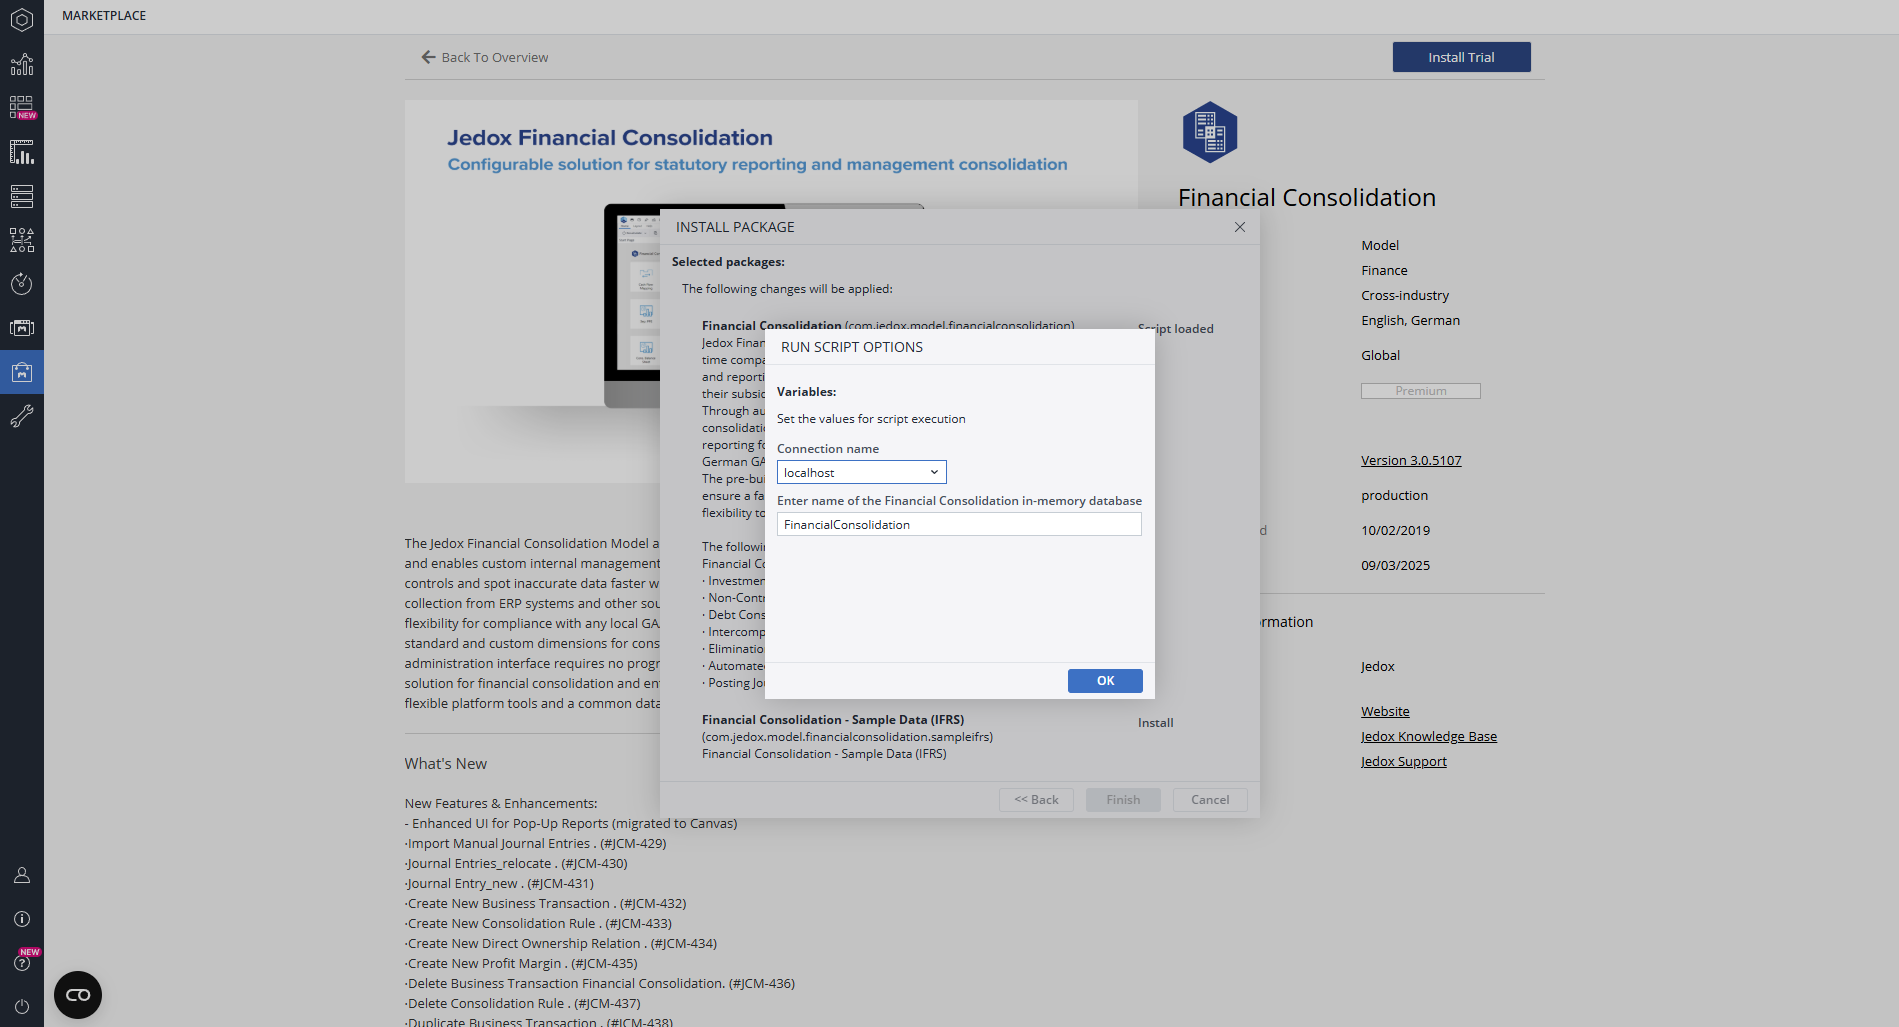
You can either accept the default database name or enter a different one. If the database does not already exist before the installation, it will be created automatically along with all associated database objects, such as dimensions, cubes, and rules, that come with the installed packages. If the database does exist, any missing objects will be created automatically. If any of these objects already exist (for example, if the same or another model that uses the same objects has been previously installed on that database), that object's creation will be skipped without any error message. Multiple models installed on the same OLAP database can share their configurations, enabling integration between cubes.Notes:
-
To easily find the Financial Consolidation instance with a new namespace, you can add the namespace to the name of the in-memory database here. For example, ABC-FinancialConsolidation.
-
The OLAP database name for a model is stored in the model's setting under
system.database. For further information, seeModels (Platform).
-
Repairing an installed model
An installed model that has been damaged can be repaired with the Repair Package wizard, which essentially performs an uninstallation followed by an installation on the same database.
- Export all added or modified files in the Models file group in Report Designer. The update will completely remove and replace the file group. Repeat for added or modified elements in Scheduler and Integrator. Added database objects and data in the OLAP database will remain, unless they are part of the packages being updated.
- In Jedox Web, open the My Models panel. Right-click on the Financial Consolidation model and select “Repair”.
- The Repair Package wizard shows the packages to be repaired with status “Repair”. Click “Next >>”.
- The last wizard page shows a summary of the packages selected for repair and the action "Repair". Click “Finish”.
- Restore the files, tasks, and projects saved in step 1. For modified web reports, such as
//Models/Financial Consolidation/Configuration Reports/StylesheetFinancialConsolidation.wss, restore only a single file at a time using import or drag-and-drop. Do not restore multiple files or import a*.pbfile, because this procedure would recreate the restored files with a new internal ID, thus breaking the links between multiple web reports.
Uninstalling the Financial Consolidation model
- In Jedox Web open the My Models panel. Right-click on the Financial Consolidation model and select “Uninstall”.
- The Change Package wizard shows the packages to be removed with status “Uninstall”. Click “Next >>”.
- The last wizard page shows a summary of the packages selected for uninstallation and the action "Uninstall". Click “Finish”.
- The above procedure removes the model from Reports, Report Designer, Scheduler, Integrator, and Administration Settings. However, the OLAP database is not removed. If the database is not used by other models and all data contained in it can be removed, then the database can be removed manually. To do so, open the Modeler panel, right-click on the database, and select “Delete …”.
Updated April 29, 2026