The Set value Action allows the user to transfer a value from a source to a destination target. The values could be a named range, a range, a static value, a setting key, or a variable.
You can use the Set value Action in both the Jedox Spreadsheet and Canvas. To set this Action up in a spreadsheet, start by selecting a form element such as a button, checkbox, List, DatePicker, or combobox. In Canvas, you should add a native component that supports Actions, such as a combobox, button, or checkbox.
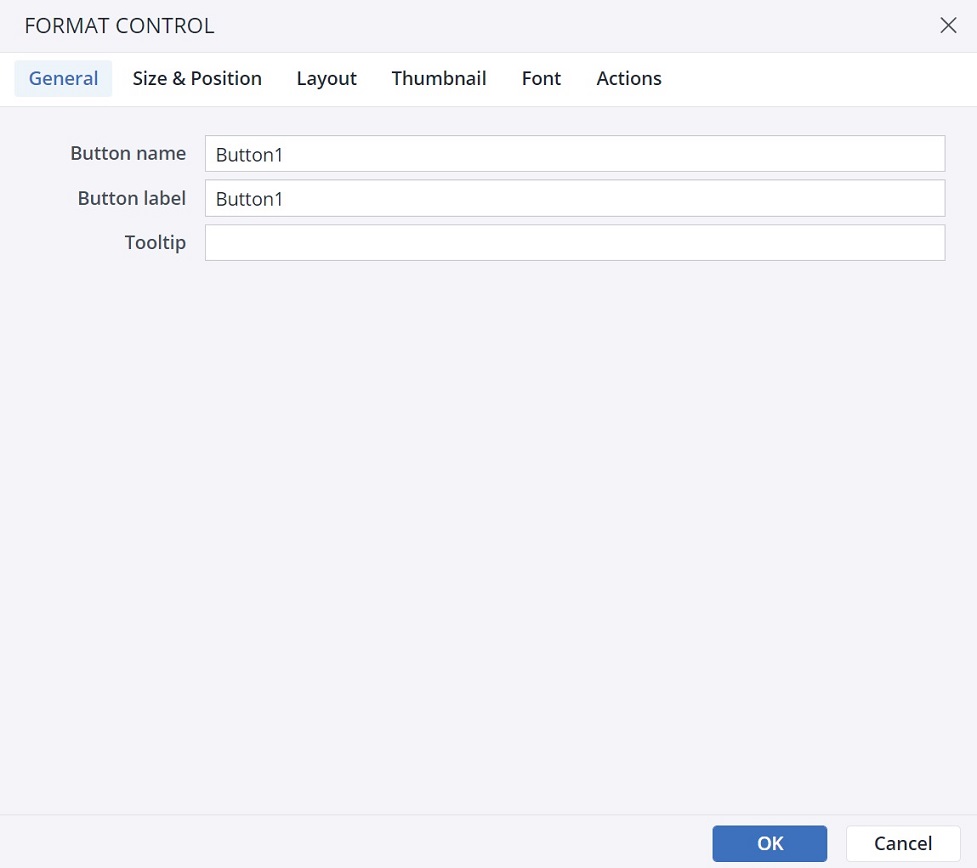
Below are the steps for configuring the Set value Action for a Button in a spreadsheet. These steps are also applicable for setting up this Action in Canvas.
-
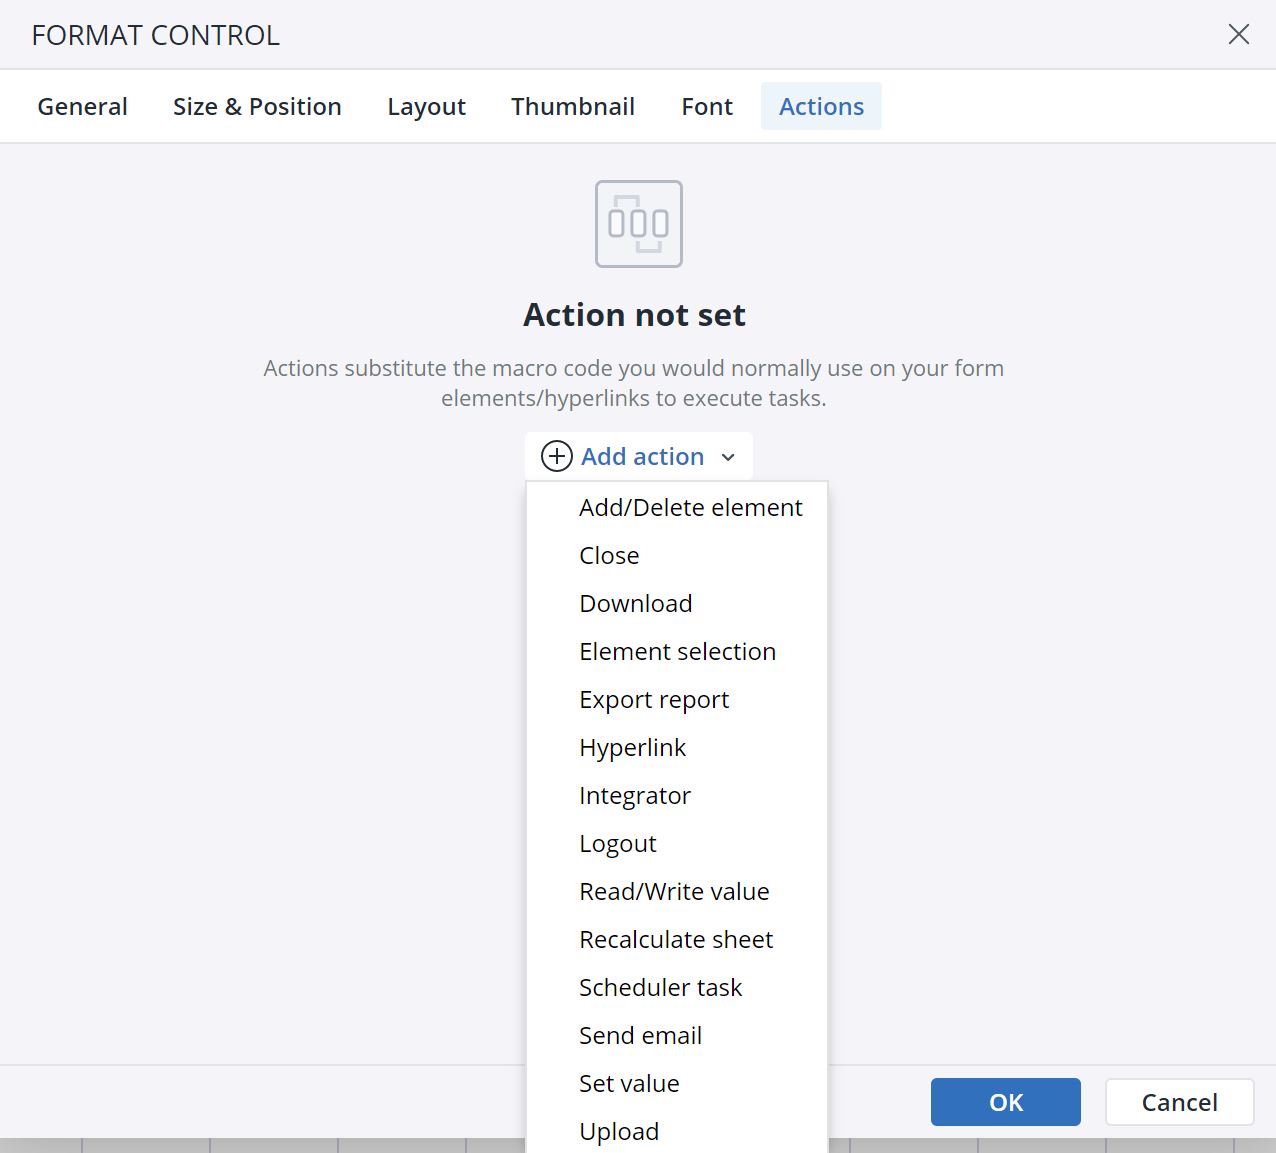
Click on the Actions tab and click on Add Action. Select the Set value Action.
-
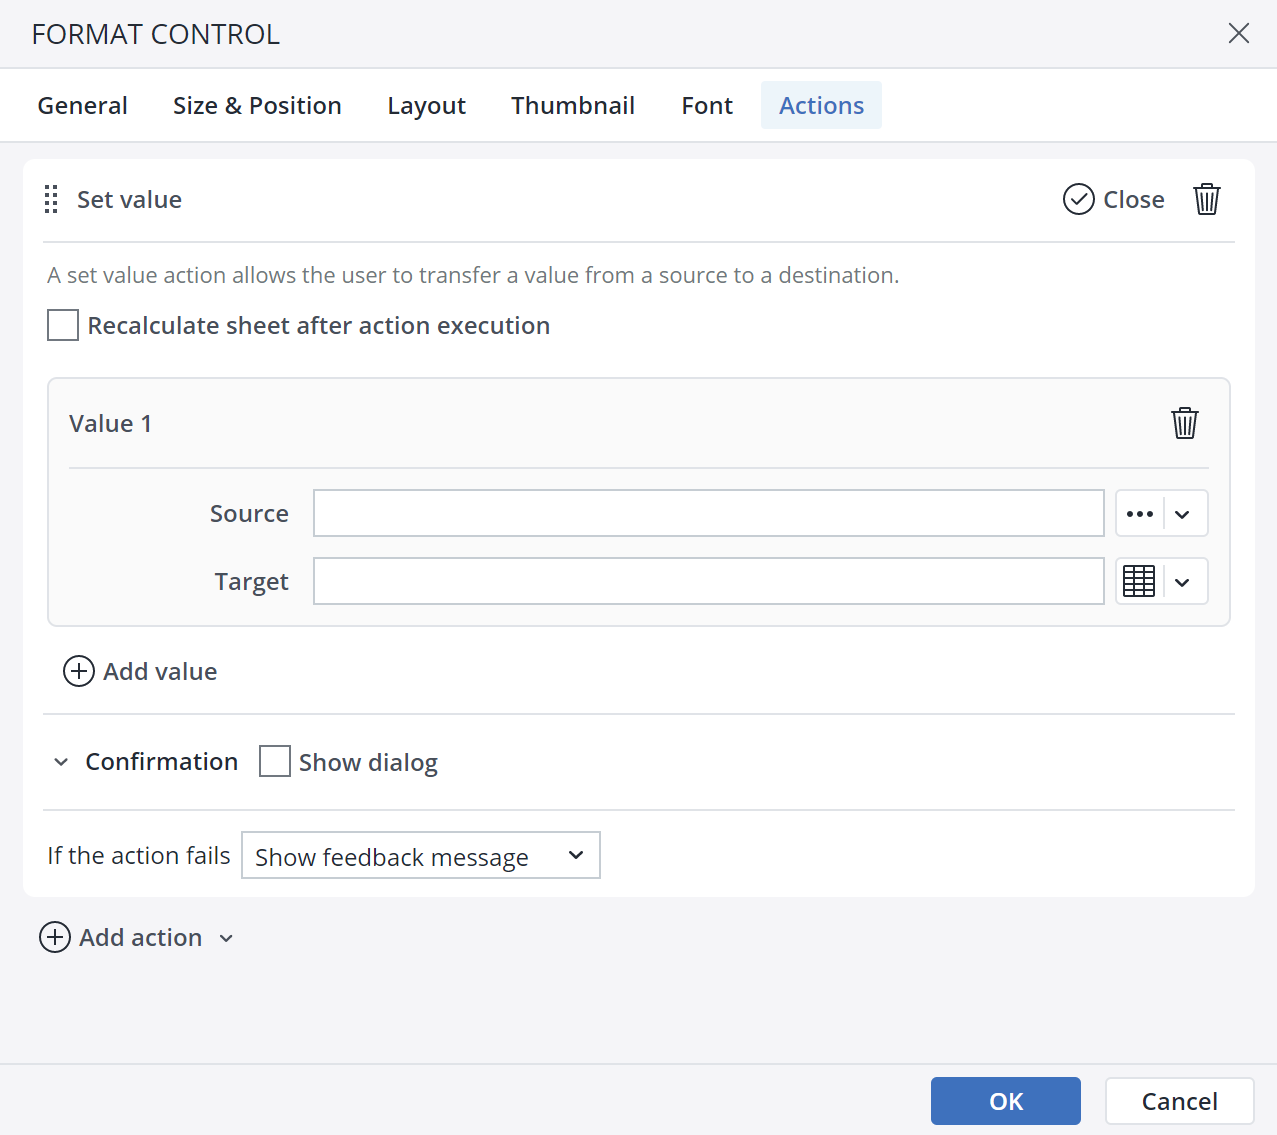
The next dialog offers several options for the Action. Using the close button, you can close the Action, and by clicking on the Bin icon you can delete the Action. Here you can set the Source and the Target. The target could be a named range, a range, a setting key, or a variable. For a source, you can choose a static value too.
When choosing the variable in the target or the source, you can see the current value of the variable, and check whether it is a Global or a Private variable. Additionally, you can create a new variable and change the existing ones from within the variables dialog.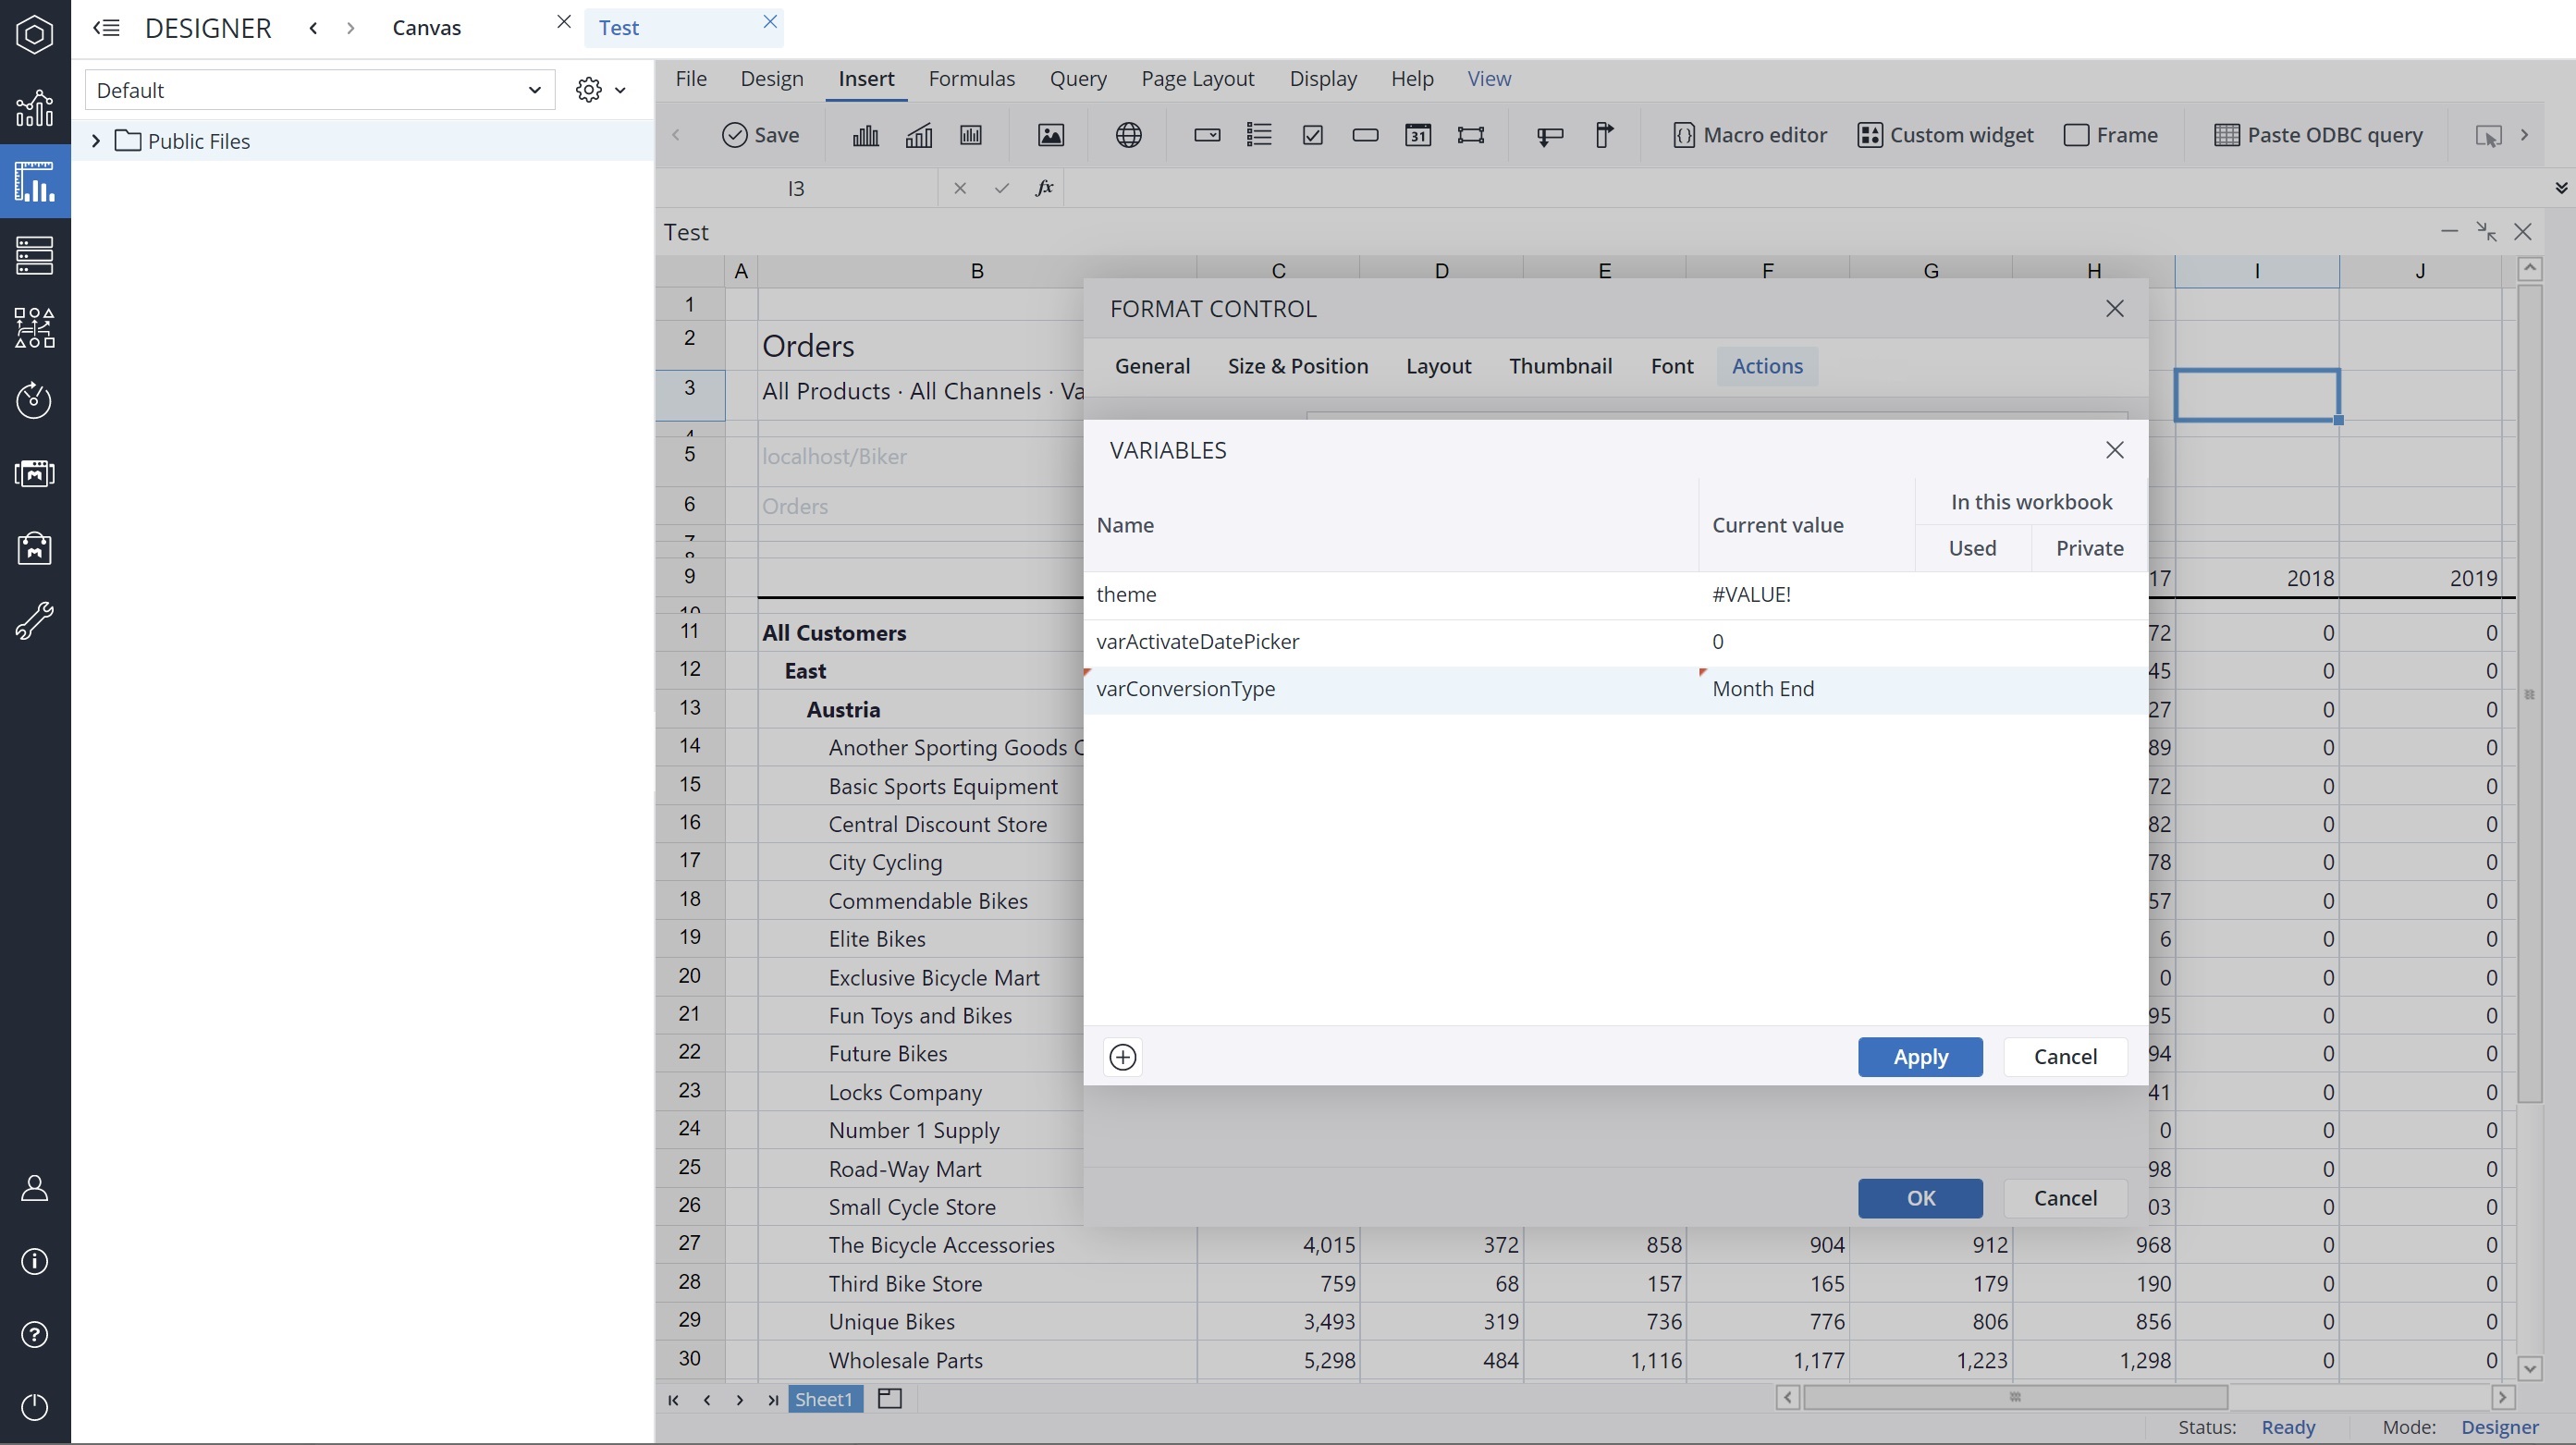
You can also add more than one value by clicking the Add value button. You can use the same source for multiple source/target pairs and different targets. However, when defining multiple source/target pairs, you cannot use one pair’s (new) target value as the source for another.
Using setting keys as source or target
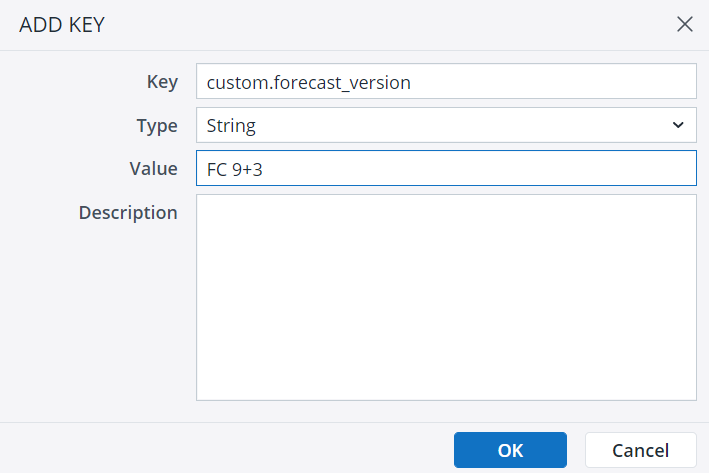
To be able to use a setting key in the "Global" scope as the source or target of an Action, the key’s ID must begin with the prefix "custom.". Note that the prefix must be added to the key ID during the key creation, and renaming the key ID after creation will not work. For model settings, the use of the prefix "custom." is not required.
Set Value Confirmation dialog
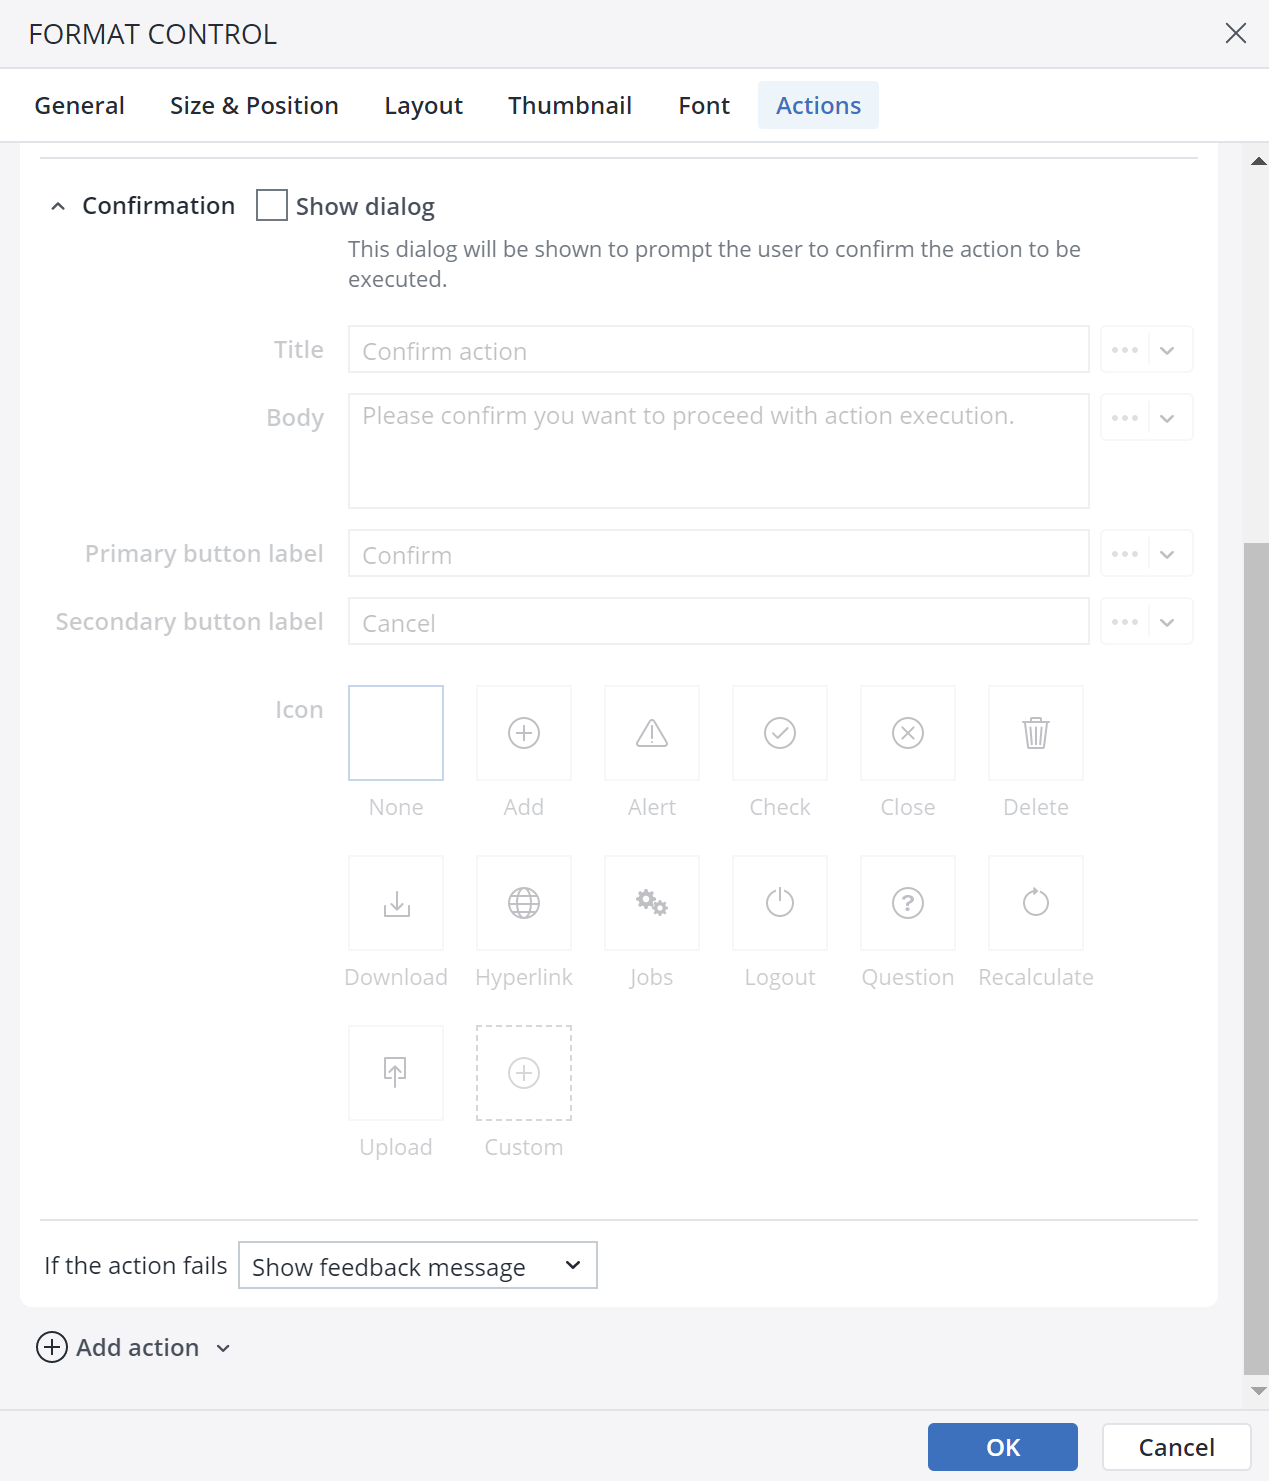
When you choose the Set value Action in the Type of Action dropdown menu, you can see the Confirmation dialog option at the end of the Action dialog.
In the Confirmation dialog, you can customize a confirmation message for the end user. You can add a Title, Body, Primary button label, Secondary button label, and an Icon to your customized message. The screenshot below shows a confirmation message:
Assigning Actions to Workbook event
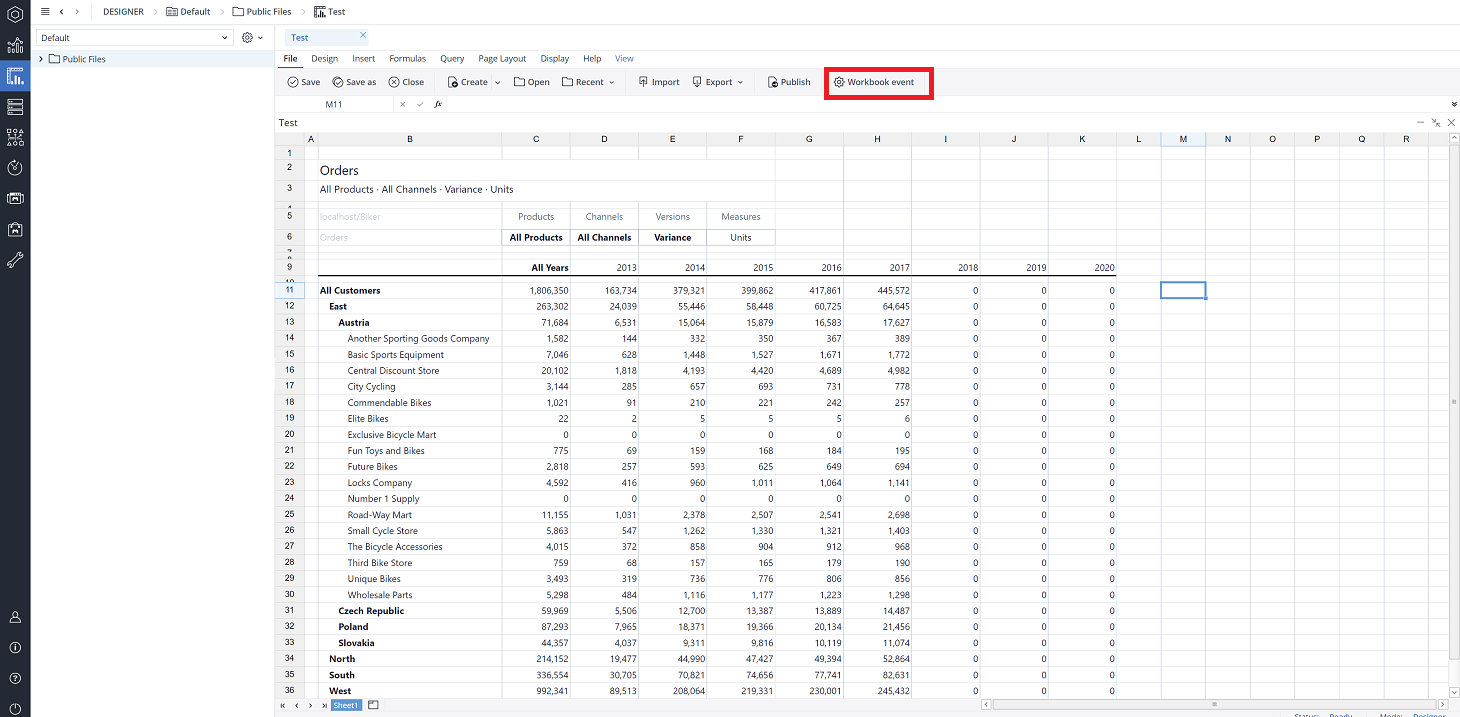
As a Jedox Report Designer, you can assign an Action to open, load, and close workbook events. This way, the states are initialized or cleaned up without needing to write any Macros.
To assign an Action for workbook events, click on File > Workbook event.
You can assign a Set value Action to all workbook events.
Actions assigned to the Workbook events in the "Resource" workbooks (workbooks loaded in the background while some reports are opened) will not be executed.
Note that during PDF creation, Actions at workbook level, e.g. variables, can neither be passed nor executed. The reason for this is that PDF creation is handled on the server, while Actions are fully implemented on the client side. As a workaround, a custom solution via macros can be created.
Set Value Action in Canvas
When using a Canvas, only Actions assigned to the workbook events in the current workbook, which contains the Canvas, are executed. Actions assigned to the workbook events in other workbooks, from which the content is loaded into the Canvas, will not be executed.
Handling of empty or uninitialized variables
As a Jedox Report Designer, you can use the Only populate if empty option of the set value Action to check for an unset or uninitialized variable, set a default value for it, and then present it to the end user. This is especially useful in the workbook event "Open". Enabling this option ensures that the Action does not overwrite any custom selection of an end user. If this option is disabled, the value is set without any condition, the same as it was working without this feature.
Note that this option is only available if the target is of type "variable".
Action failure
You can choose between two options in case an Action fails. First, choose to show a pop-up feedback dialog, and second, ignore the failure and go to the next Action.
Updated November 27, 2025

