You can send an email to inform people about workflow changes or other collaborative topics as part of an Action. The "Send email" Action uses SMTP settings defined in Administration>Settings and makes it possible to include multiple attachments, add CC or BCC recipients, as well as letting an end user write a custom email subject or body.
You can use the Send email Action in both the Jedox Spreadsheet and Canvas. To set this Action up in a spreadsheet, start by selecting a form element such as a button, checkbox, list, DatePicker, or combobox. In Canvas, you should add a native component that supports Actions, such as a combobox, button, or checkbox.
Below are the steps for configuring the Send email Action for a Button in a spreadsheet. These steps are also applicable for setting up this Action in Canvas.
-
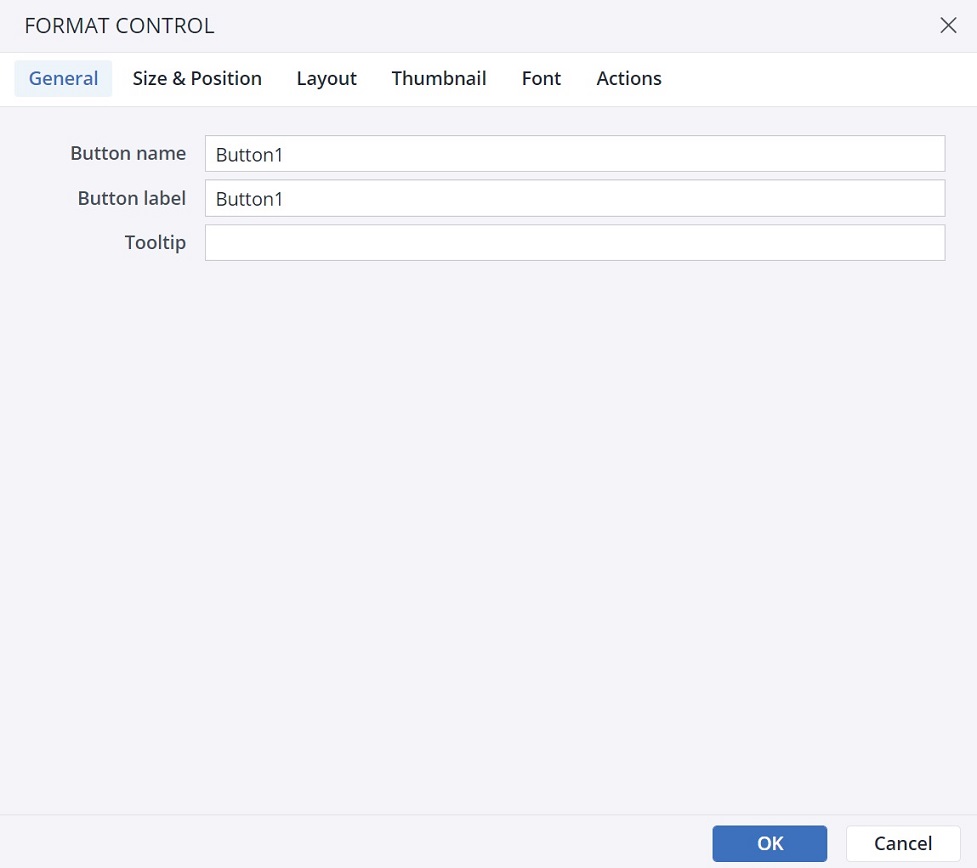
In the Insert menu, click on the Button icon.
-
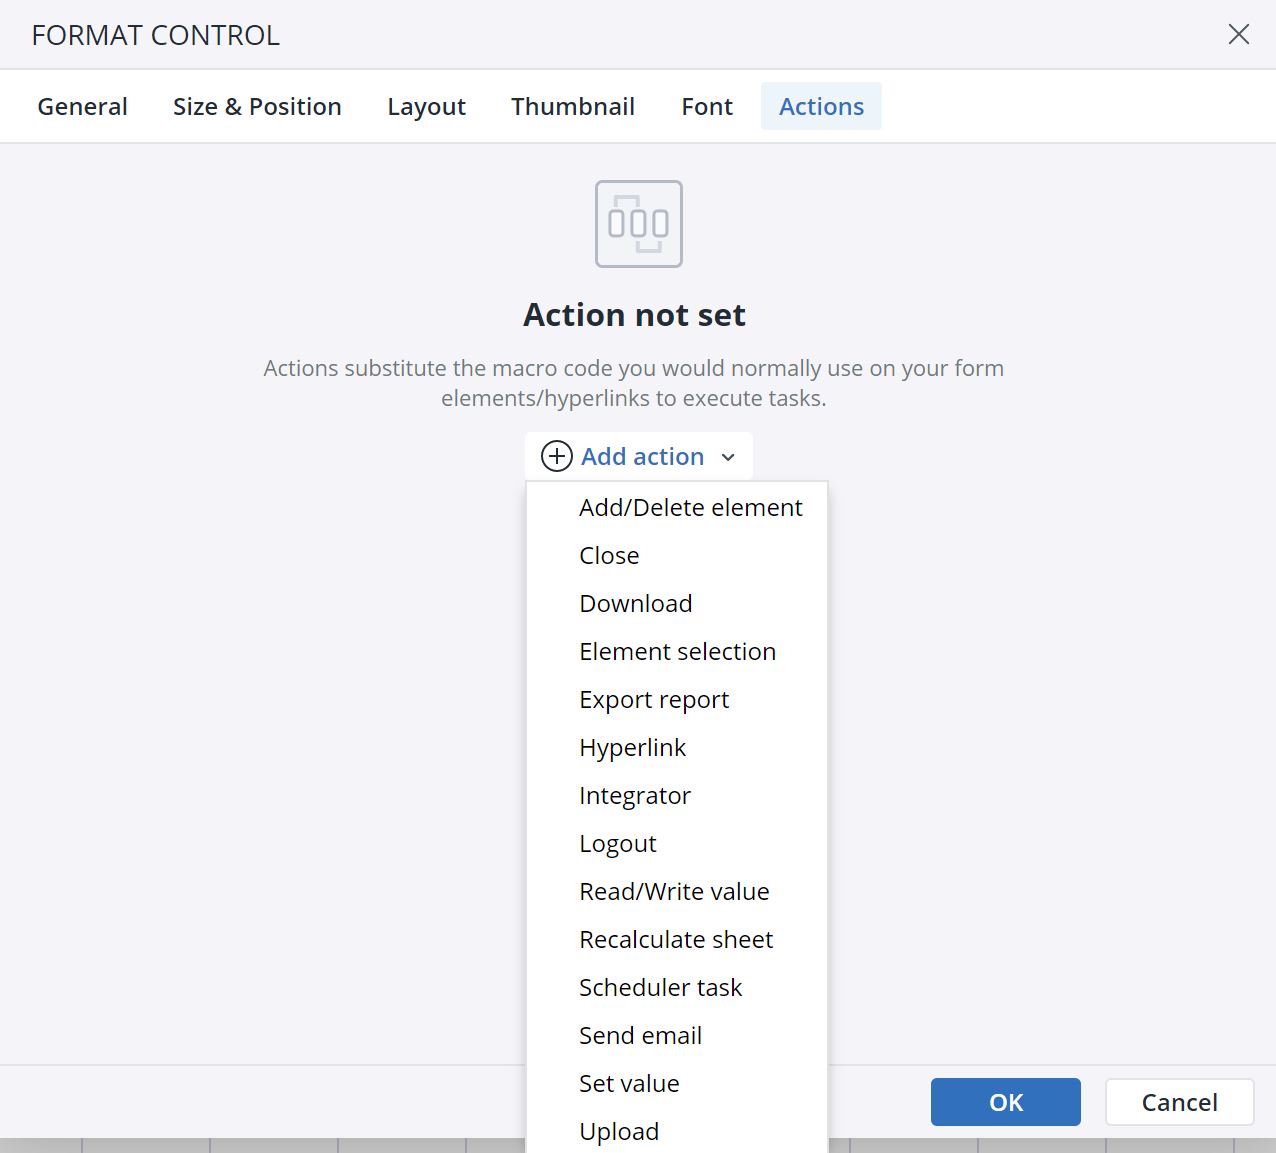
Click on the Actions tab and click on Add Action. Select the Send email Action.

-
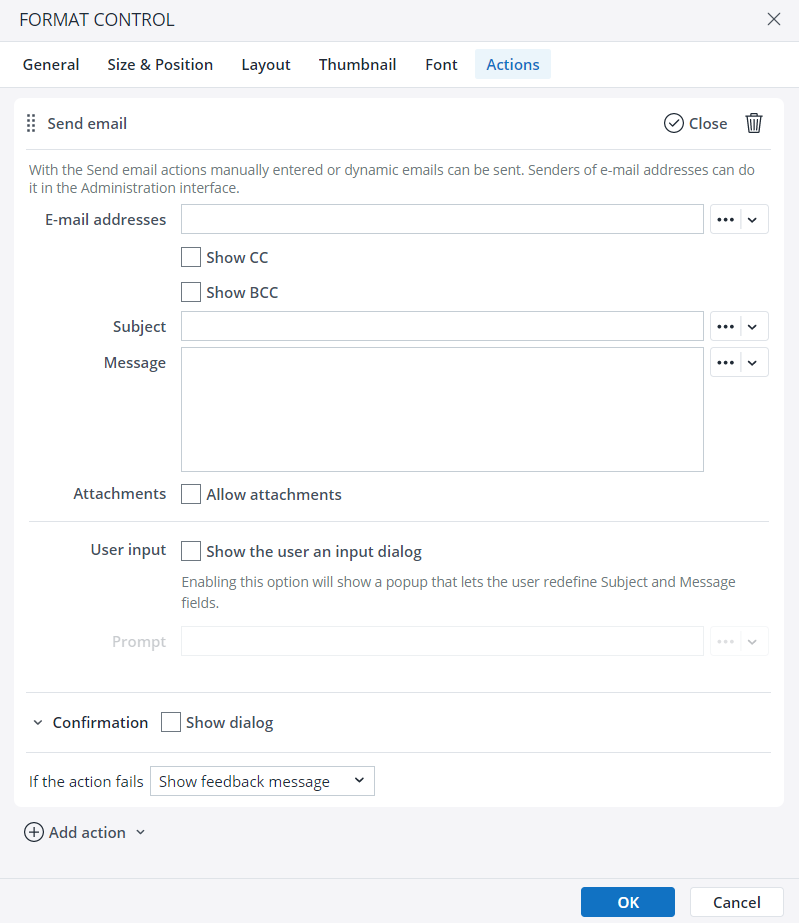
The next dialog offers several options for the Action. You can add the recipient's email address, CC, BCC, Subject, Message, and attachment here.

-
Enabling the User input option allows you to add information/ definition for the element that will be added to the dimension. This definition is shown to the end user through a pop-up message.


Send email Confirmation dialog
When you choose the Add/ Delete element Action in the Type of Action dropdown menu, you can see the Confirmation dialog option at the end of the Action dialog.
In the Confirmation dialog, you can customize a confirmation message for the end user. You can add a Title, Body, Primary button label, Secondary button label, and an Icon to your customized message. The screenshot below shows a confirmation message:
Action failure
You can choose between two options in case an Action fails. First, choose to show a pop-up feedback dialog, and second, ignore the failure and go to the next Action.
Updated November 27, 2025


