Occasionally, end users need to read from or write into a cube directly from a spreadsheet. The Read/Write value Action enables the end user to do this.
You can use the Read/Write value Action in both the Jedox Spreadsheet and Canvas. To set this Action up in a spreadsheet, start by selecting a form element such as a button, checkbox, List, DatePicker, or combobox. In Canvas, you should add a native component that supports Actions, such as a combobox, button, or checkbox.
Below are the steps for configuring the Read/Write value Action for a Button in a spreadsheet. These steps are also applicable for setting up this Action in Canvas.
-
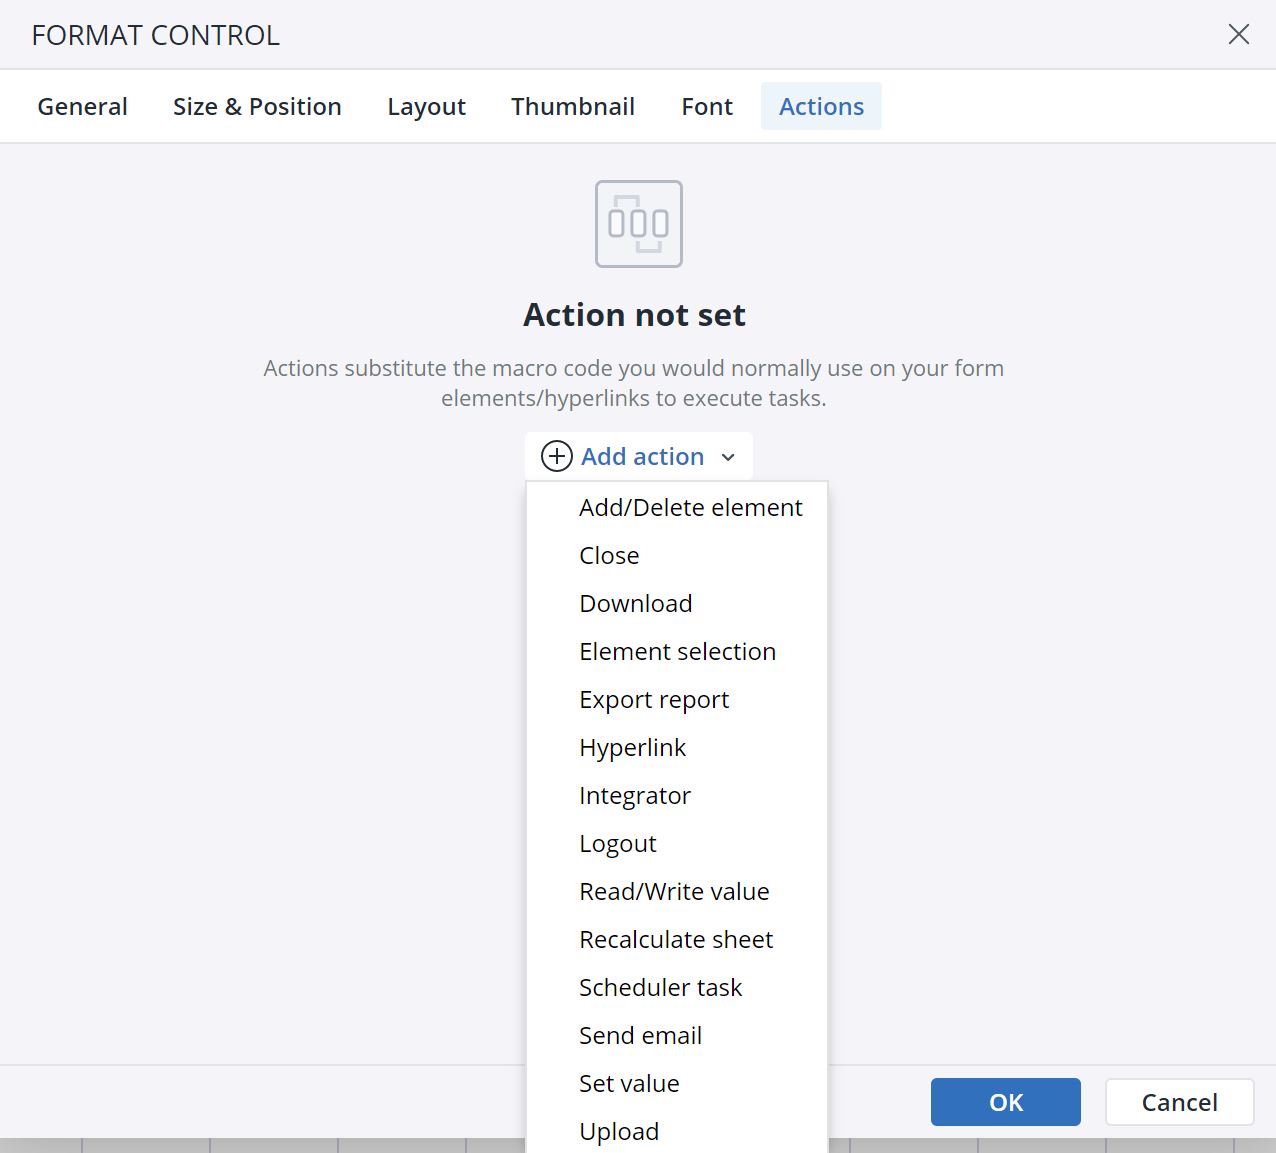
Click on the Actions tab and click on Add Action. Select the Read/ Write value Action.
-
The next dialog offers several options for the Action. Using the close button, you can close the Action, and by clicking on the Bin icon you can delete the Action.
Read Action
The Read Action allows a value to be read from a cube and set into a range, named range, or variable.
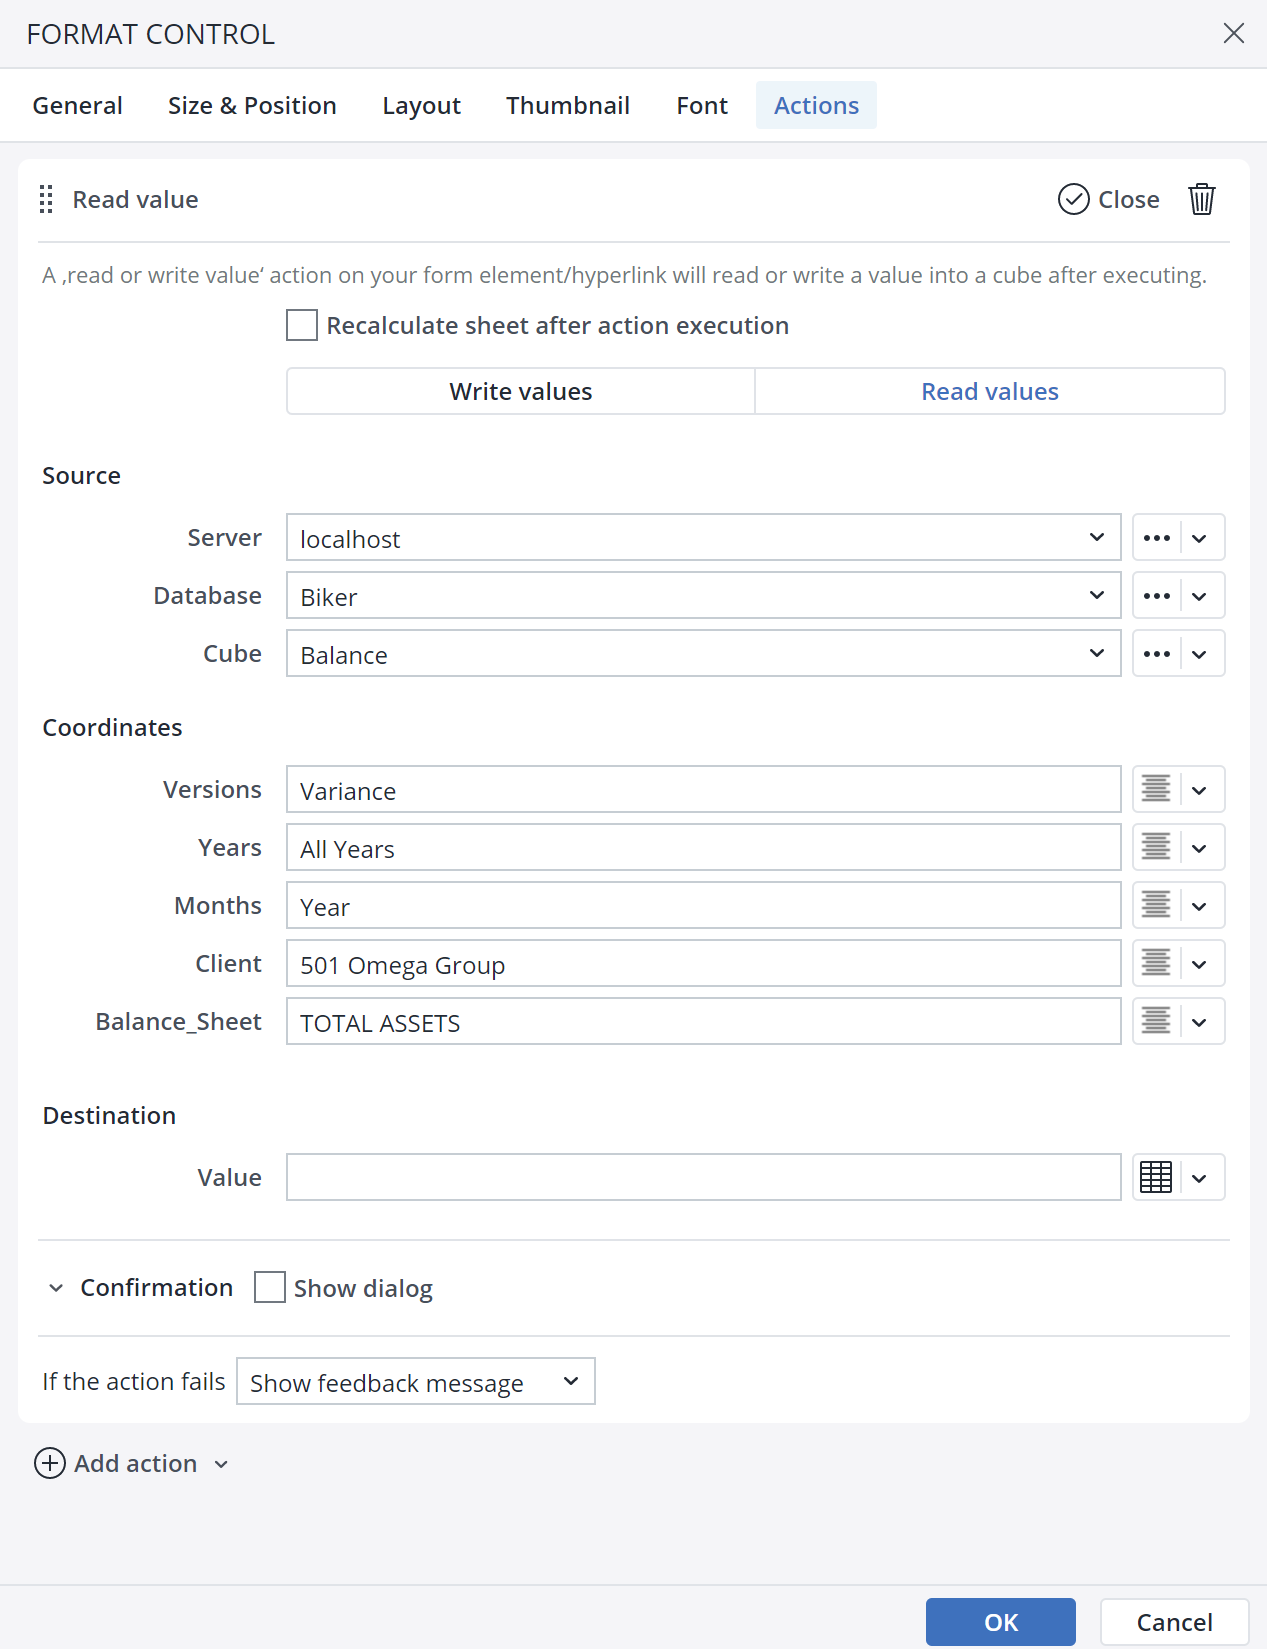
In the Read menu, you can define the source, coordinates, and destination for your element.
In the Read/Write value Action, you can also opt to enter the In-Memory DB connection and the database in a single, merged field, rather than entering them separately. This feature is helpful when a single named range (or @variable) is used, such as "rngServer" containing a value such as "localhost/Demo."
Write Action
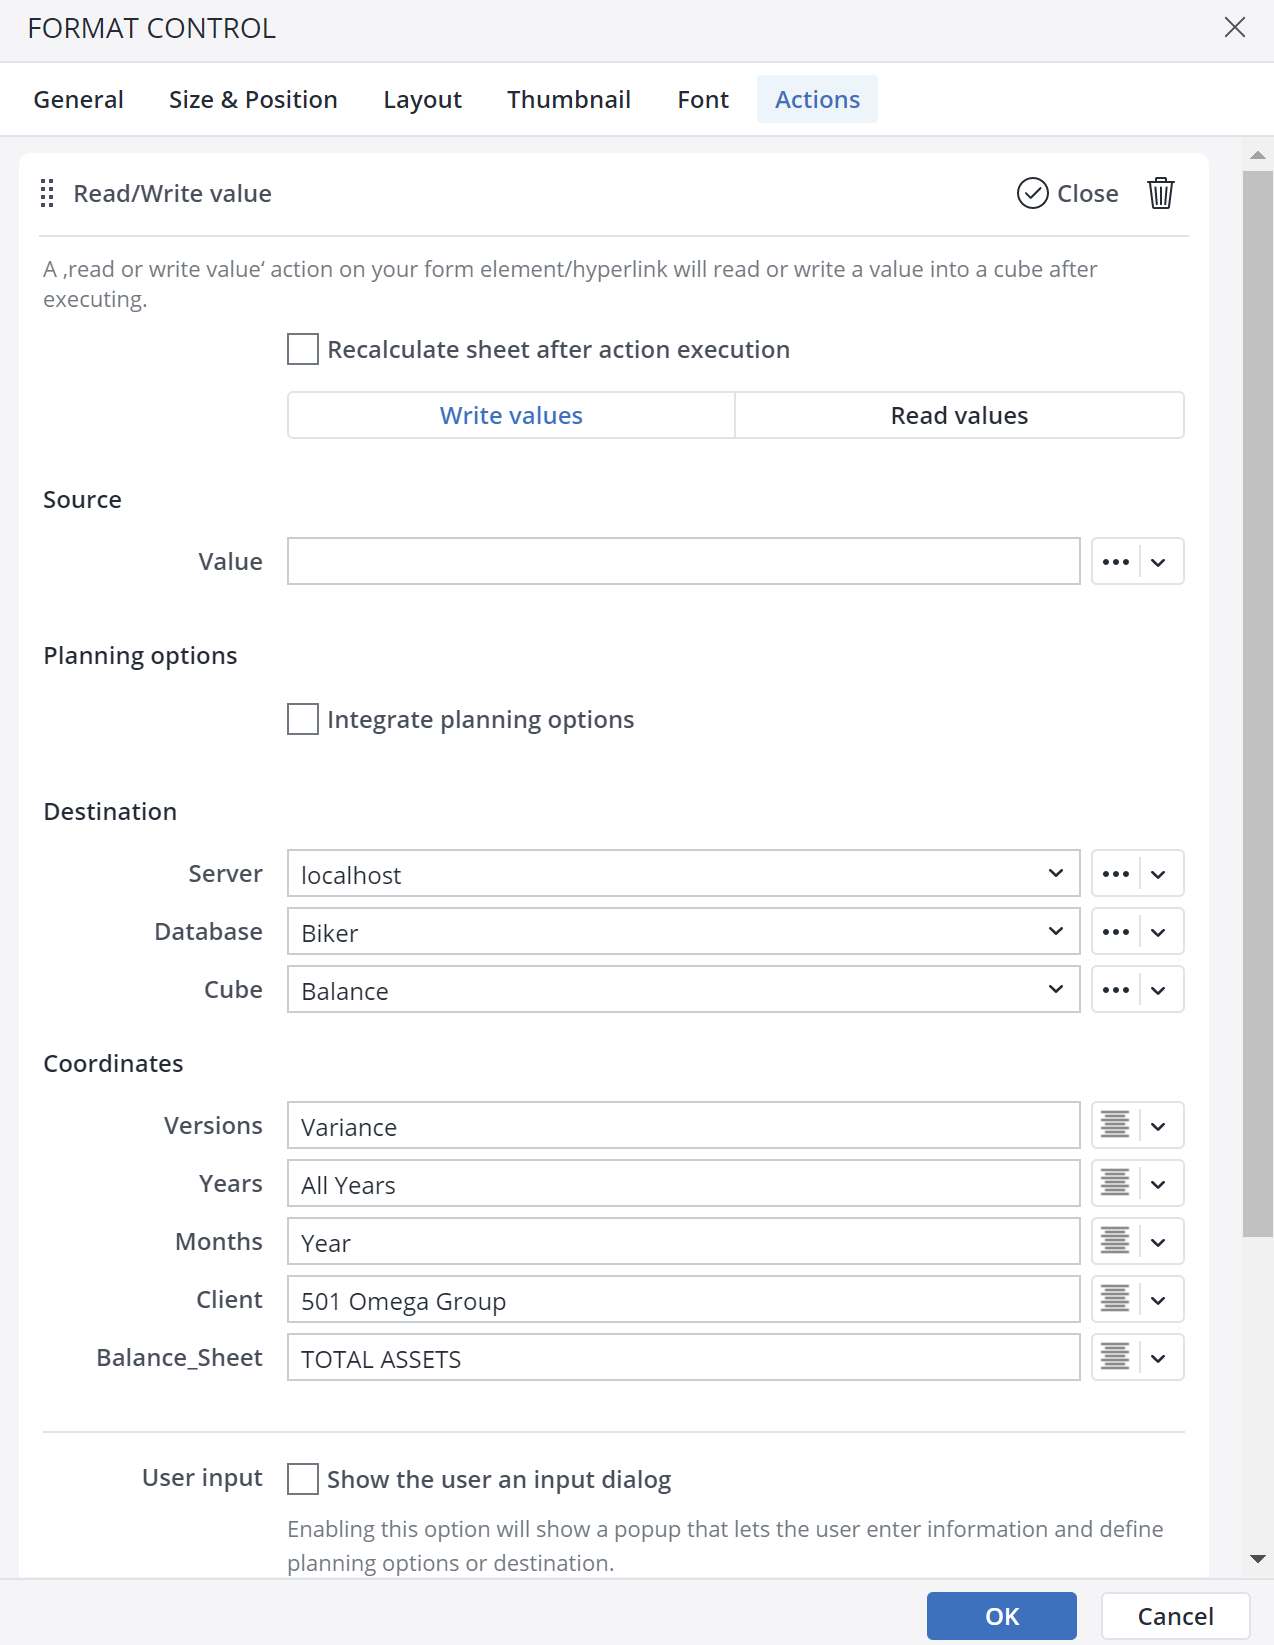
The Write Action allows a value to be written directly from the spreadsheet, named range, or variable back into a Jedox cube.
In the Write menu, you can define the source, coordinates, planning options, and destination for your element.
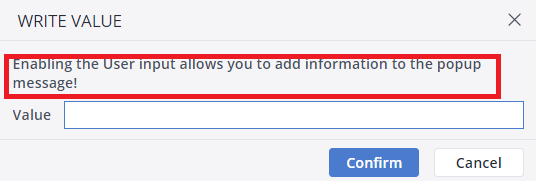
Enabling the User input option allows you to add information or a definition for the planning options or destination. This definition is shown to the end user through a pop-up message.
Read/Write Value Confirmation dialog
When you choose the Read/Write Value Action in the Type of Action dropdown menu, you can see the Confirmation dialog option at the end of the Action dialog.
In the Confirmation dialog, you can customize a confirmation message for the end user. You can add a Title, Body, Primary button label, Secondary button label, and an Icon to your customized message. The screenshot below shows a confirmation message:
Virtual Dimensions in Read/Write Action
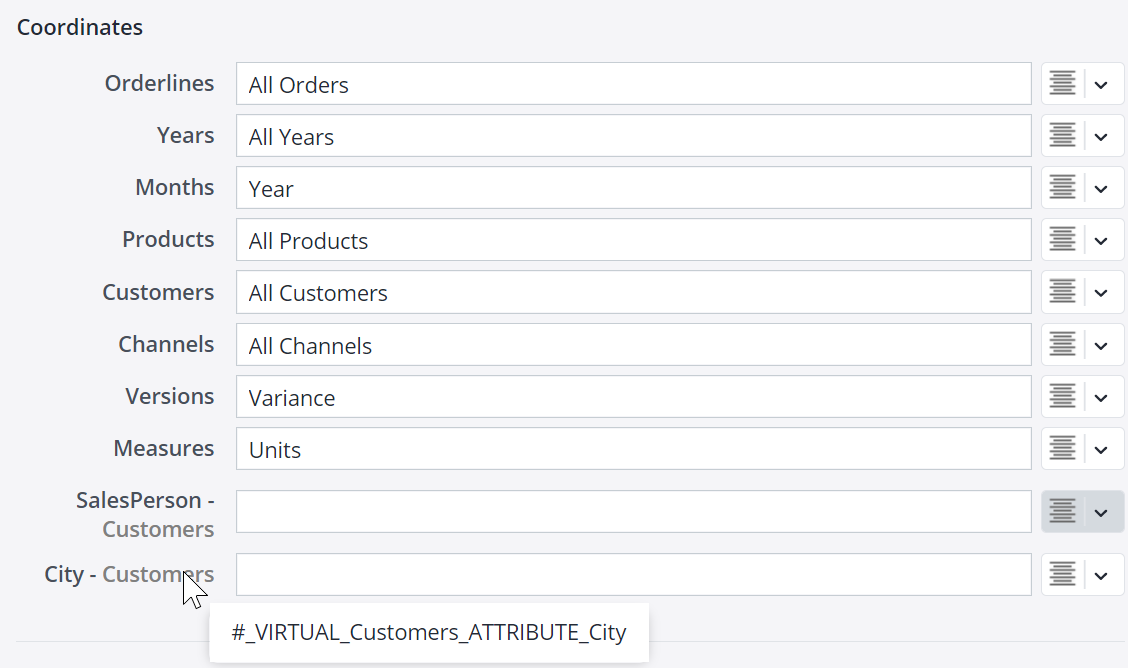
When a cube with Virtual Dimensions is selected, you can see the Virtual Dimensions in the Coordinate section of the Read/Write Action dialog. The order of displaying the Virtual Dimensions is the same as in the cube in the Modeler.
Like in the Modeler, you can distinguish Virtual Dimensions with their names, and a Virtual Dimension has the name of the original dimension in front of it. Also, hovering your mouse over Virtual Dimension results in a tooltip that shows the technical name of the Virtual Dimension.
Leaving the element value of a Virtual Dimension as blank is similar to leaving a Dimension in the 'Source' in the Paste View dialog. In this scenario, the Virtual Dimension will not be used.
Adding/Deleting a Virtual Dimension after defining a Read/Write Action
When a Read / Write Value Action is created before a Virtual Dimension was built in the respective cube, the UI displays the Virtual Dimension but does not set any input value. It would help if you edited the Action to ensure the new Virtual Dimension can also be used in the Action.
If a Virtual Dimension is removed, existing Read/Write Actions continue to work.
Notes
-
Read/Write Action with Virtual Dimensions works on a form element in a Canvas.
-
If a user has no access to a Virtual Dimension, the Dimension will not show in the Coordinate dialog of the Action.
Assigning Actions to Workbook event
As a Jedox report designer, you can assign an Action to open, load, and close workbook events. This way, the states are initialized or cleaned up without needing to write any Macros.
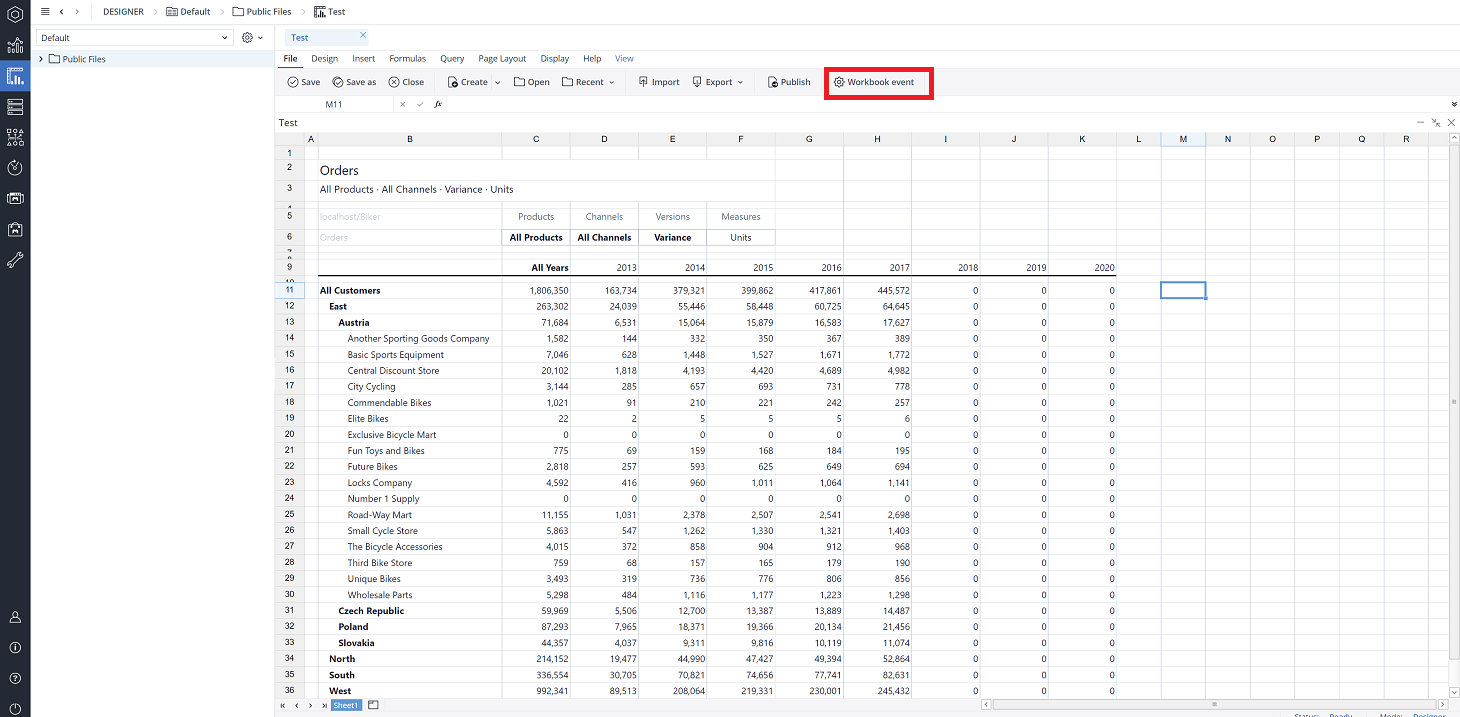
To assign an Action for workbook events, click on File > Workbook event.
You can assign a Read/Write value Action to all workbook events.
Notes:
-
Actions assigned to the Workbook events in the "Resource" workbooks (workbooks loaded in the background while some reports are opened) will not be executed.
-
When using a Canvas, only Actions assigned to the Workbook events in the current Workbook, which contains the Canvas, are executed. Actions assigned to the Workbook events in other workbooks, from which the content is loaded into the Canvas, will not be executed.
Action failure
You can choose between two options in case an Action fails. First, choose to show a pop-up feedback dialog, and second, ignore the failure and go to the next Action.
Updated November 27, 2025


