While the fundamental purpose of a hyperlink is to guide the user to a different location, the Hyperlink Action has been expanded to facilitate additional functionalities, such as executing an Integrator process.
You can use the Hyperlink Action in both the Jedox Spreadsheet and Canvas. To set this Action up in a spreadsheet, start by selecting a form element such as a button, checkbox, List, DatePicker, or combobox. In Canvas, you should add a native component that supports Actions, such as a combobox, button, or checkbox.
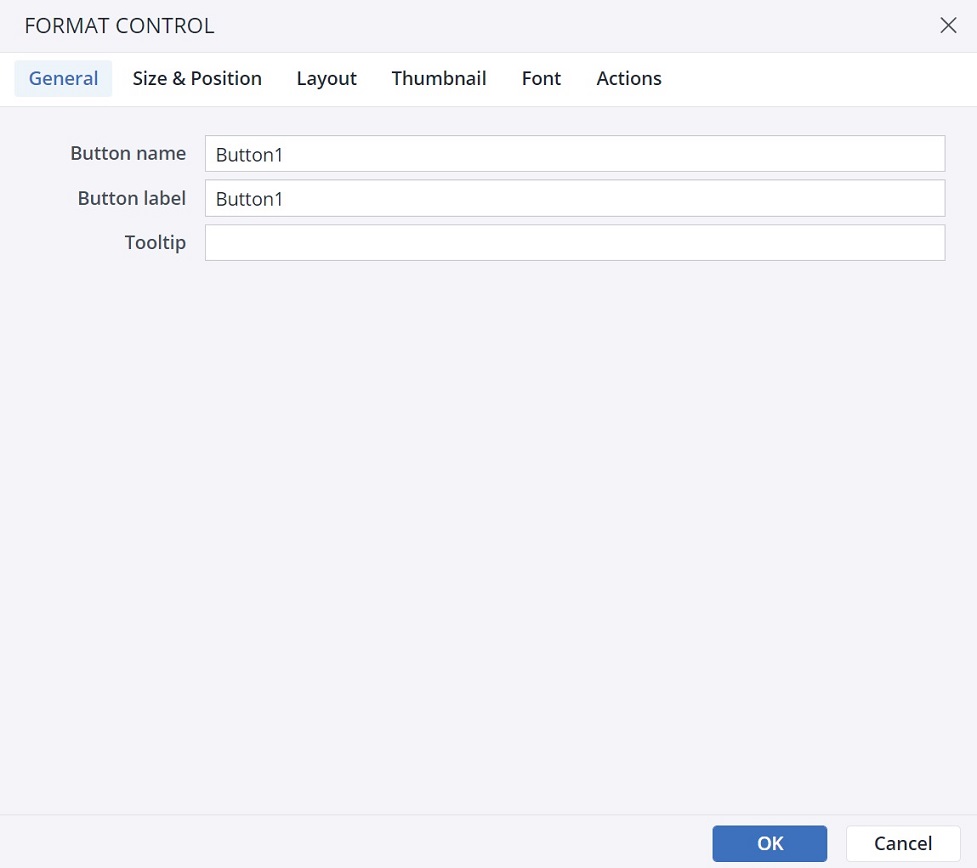
Below are the steps for configuring the Hyperlink Action for a Button in a spreadsheet. These steps are also applicable for setting up this Action in Canvas.
-
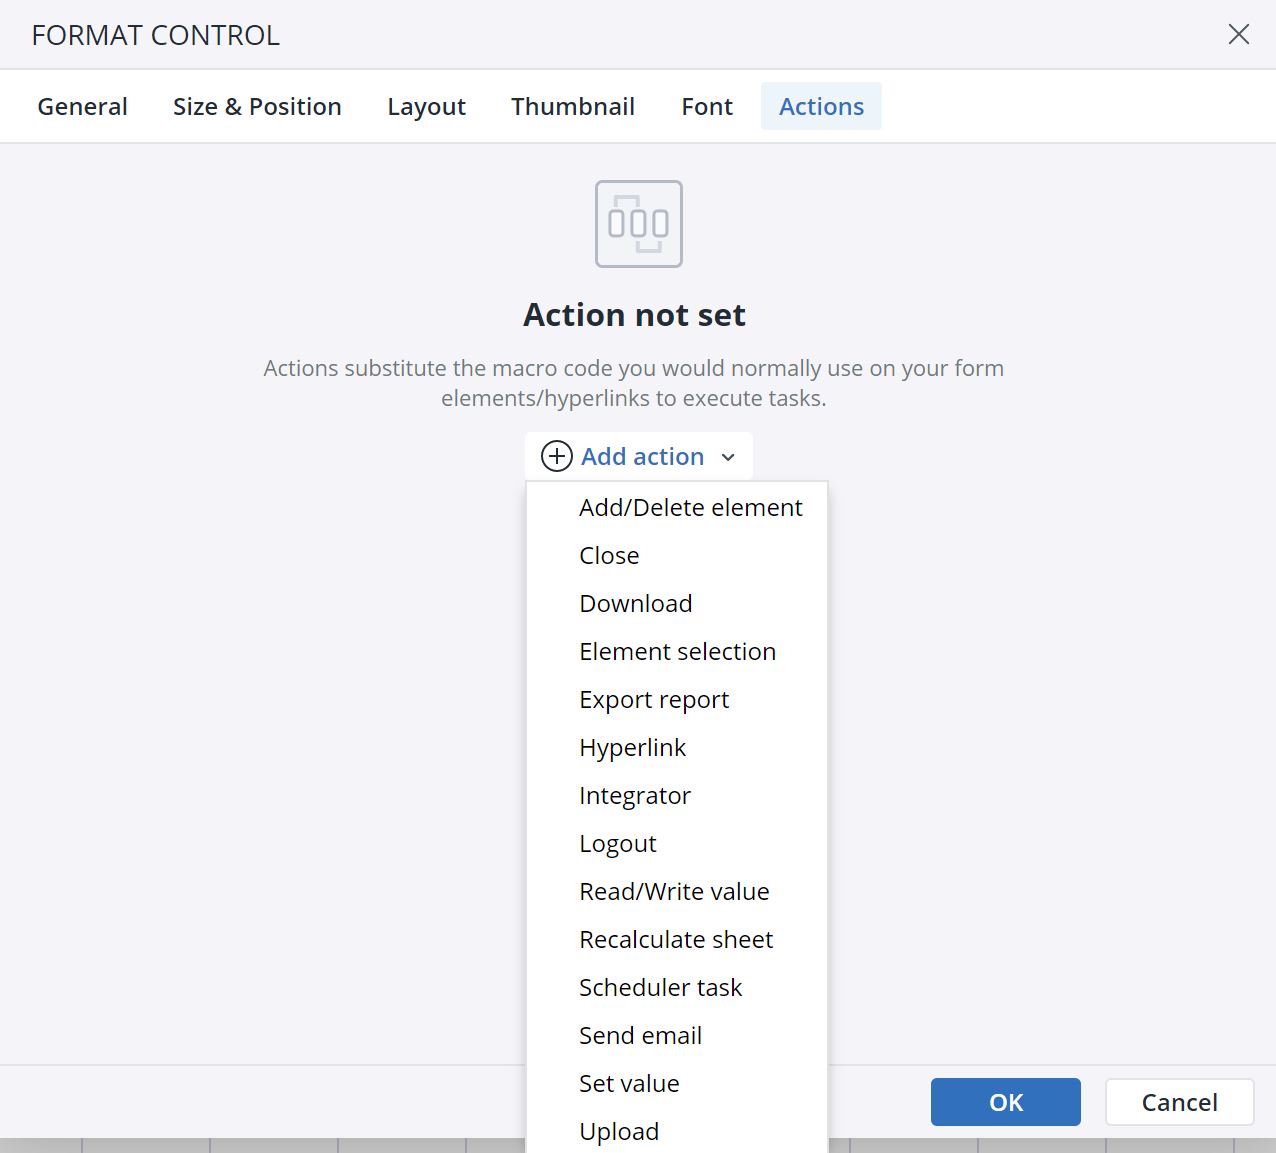
Click on the Actions tab and click Add Action. Select the Hyperlink Action.
-
The next dialog offers several options for the Action. Using the close button, you can close the Action, and by clicking on the Bin icon you can delete the Action.
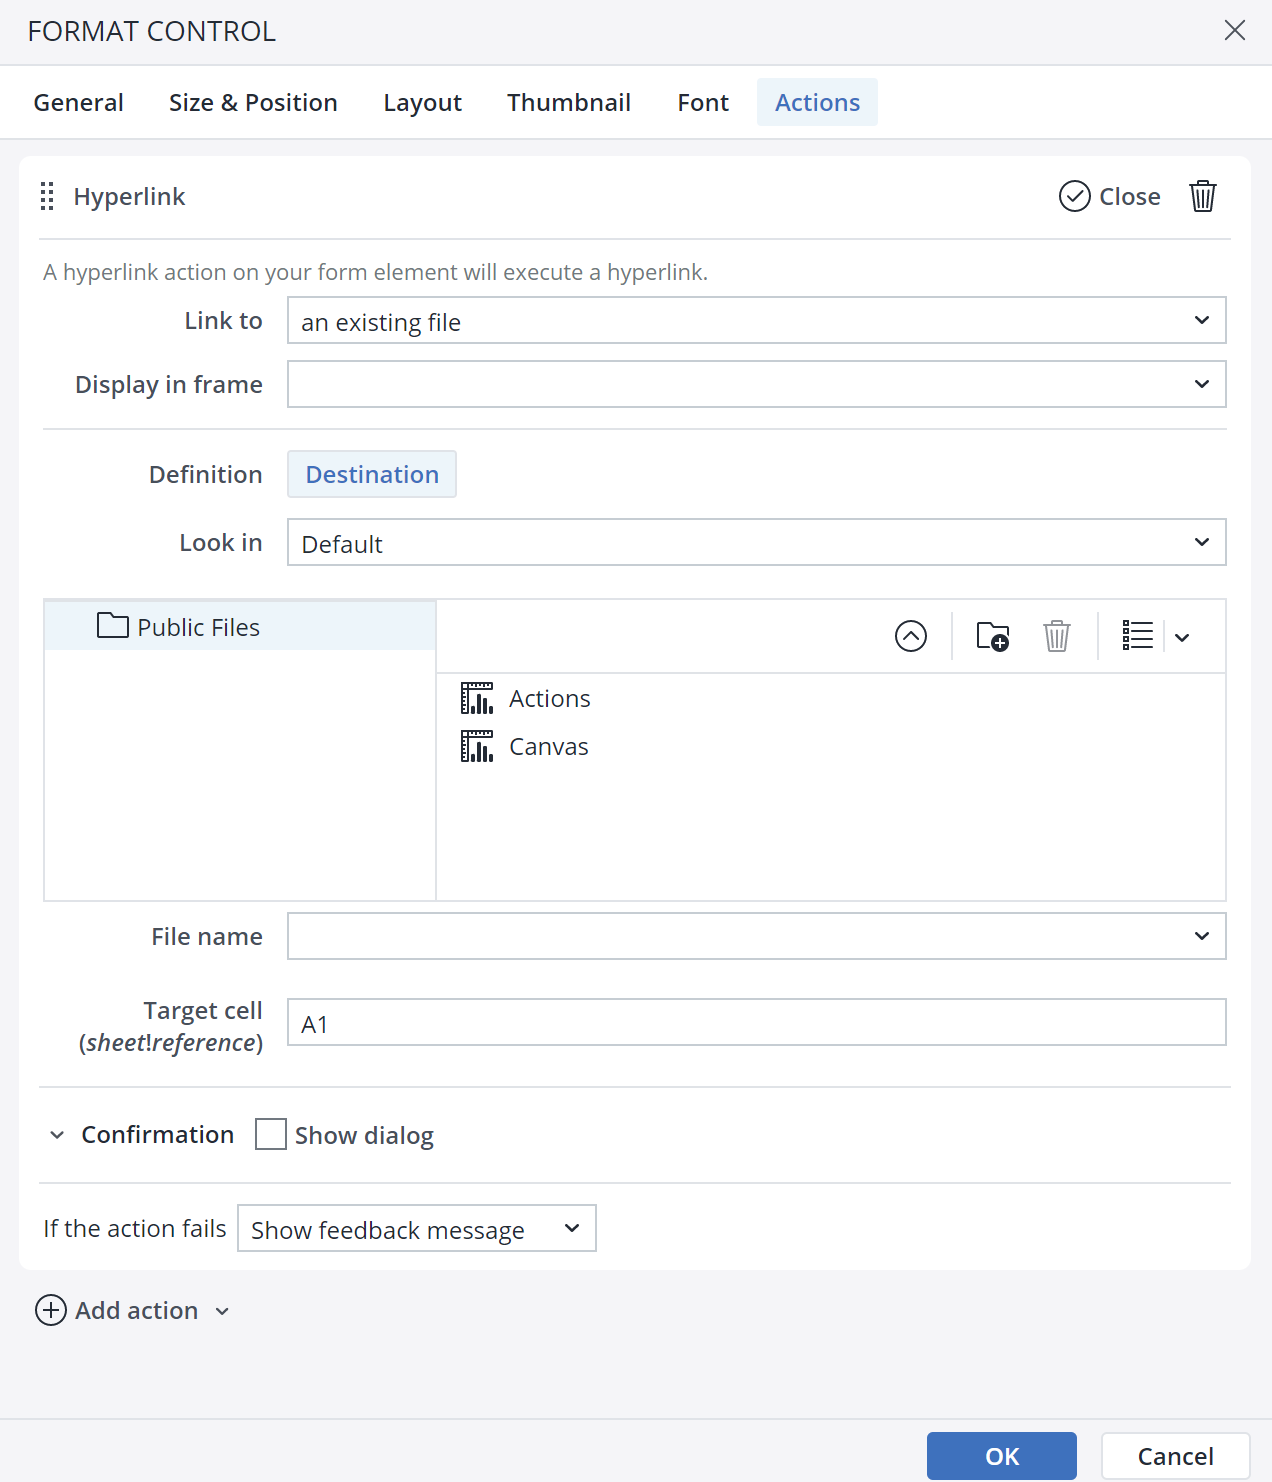
With the Hyperlink Action you can link the Button to an existing file, a place in the same document, a web page, or an email address.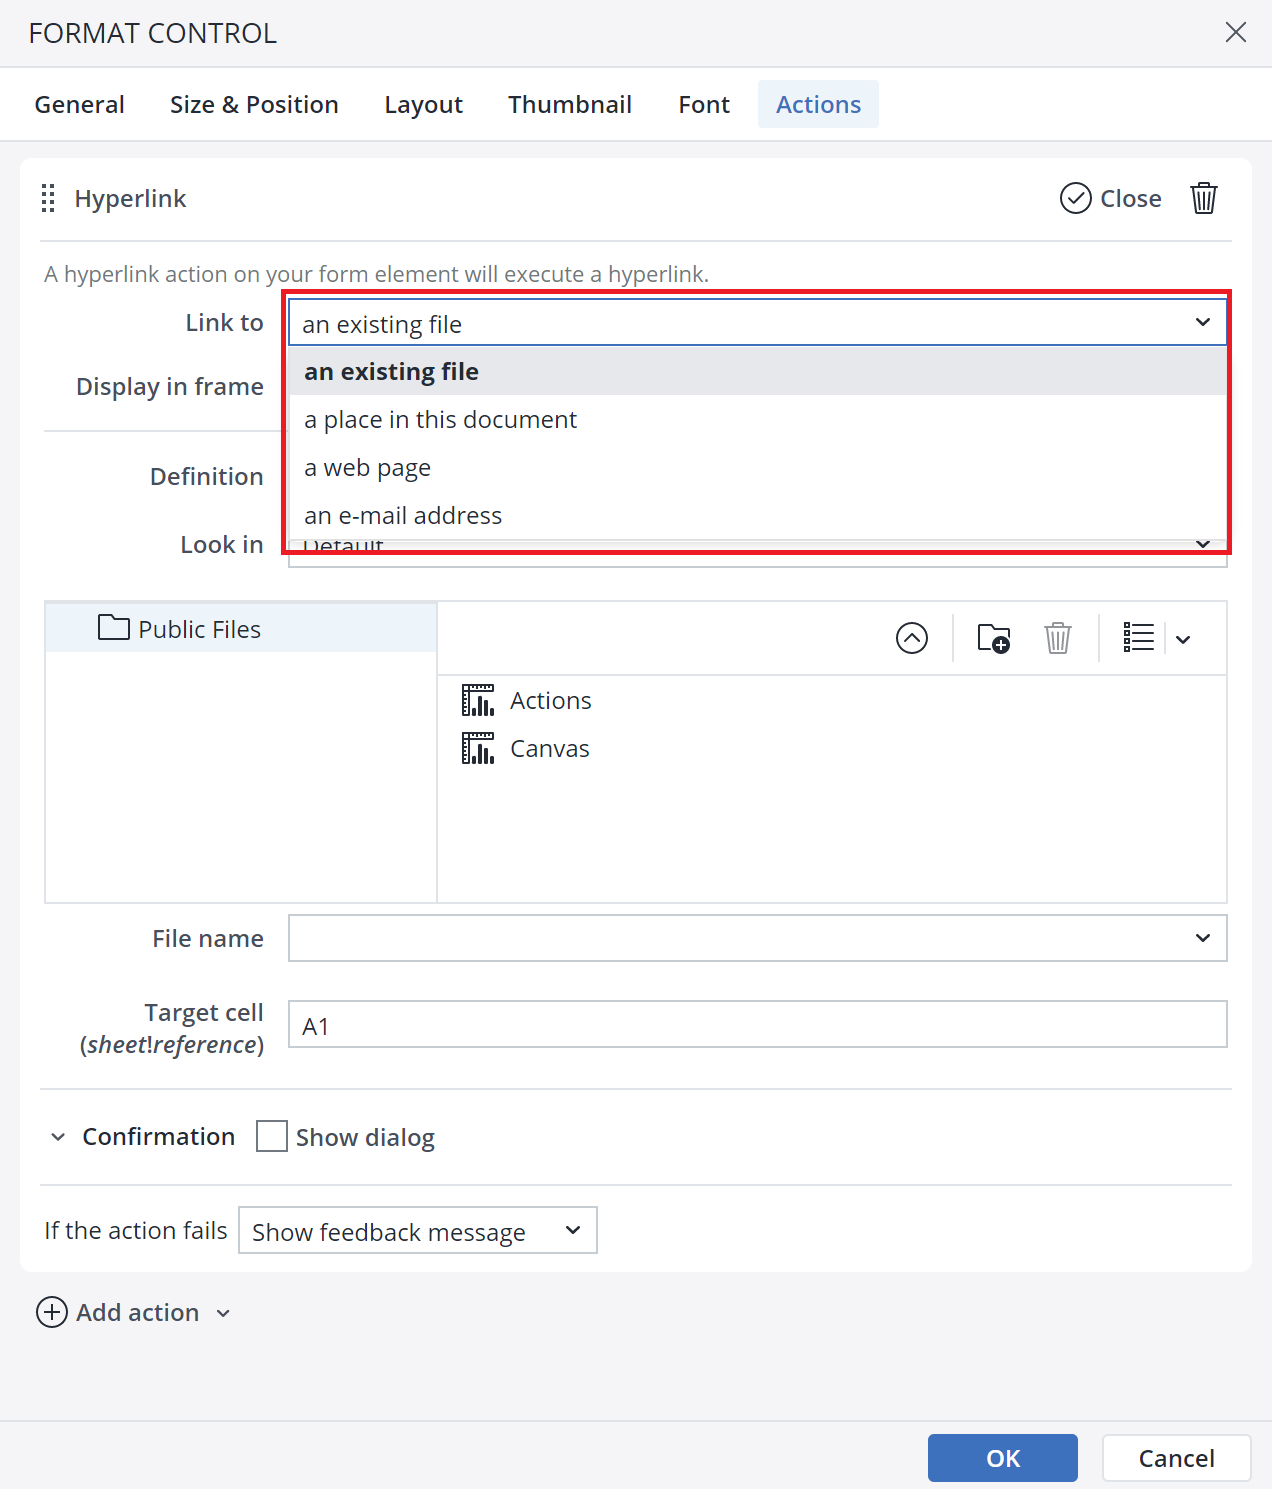
Using the Target cell (sheet!reference), you can pinpoint and link to a particular sheet or cell within your workbook.Note that as there are no cells in a Canvas, when you want to link to a Canvas sheet from a Canvas-only workbook, the option’s name will change to Target sheet.
Note that deleting DynaRange elements via the Hyperlink defined Action always removes just the first element in the DynaRange.
Hyperlink Confirmation dialog
When you choose the Hyperlink Action in the Type of Action dropdown menu, you can see the Confirmation dialog option at the end of the Action dialog.
In the Confirmation dialog, you can customize a confirmation message for the end user. You can add a Title, Body, Primary button label, Secondary button label, and an Icon to your customized message. The screenshot below shows a confirmation message:
Assigning Actions to Workbook event
As a Jedox Report Designer, you can assign an Action to open, load, and close workbook events. This way, the states are initialized or cleaned up without needing to write any Macros.
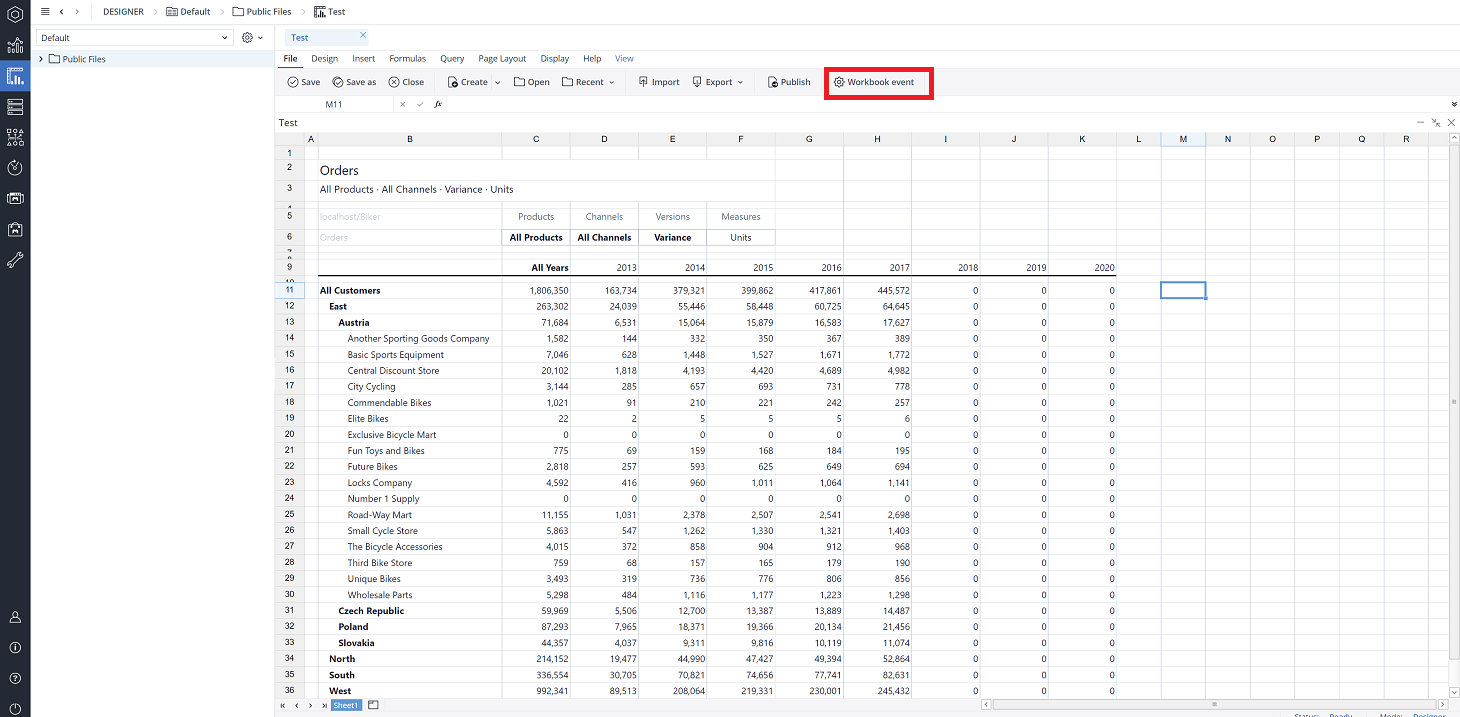
To assign an Action for workbook events, click on File > Workbook event.
You can assign a Hyperlink Action to the Close workbook event.
Notes:
-
Actions assigned to the Workbook events in the "Resource" workbooks (workbooks loaded in the background while some reports are opened) will not be executed.
-
When using a Canvas, only Actions assigned to the Workbook events in the current Workbook, which contains the Canvas, are executed. Actions assigned to the Workbook events in other workbooks, from which the content is loaded into the Canvas, will not be executed
-
Actions are not supported in the Hyperlink() formula at this time
-
Execution of the Hyperlink Action is disabled in User Preview mode.
Action failure
You can choose between two options in case an Action fails. First, choose to show a pop-up feedback dialog, and second, ignore the failure and go to the next Action.
Updated November 27, 2025

