As a Jedox Report Designer, you can give the end users the ability to select elements from a dimension and use that selection as a part of a planning process. This eliminates the need to build specific reports, like those seen in the AIssisted Planning Wizards.
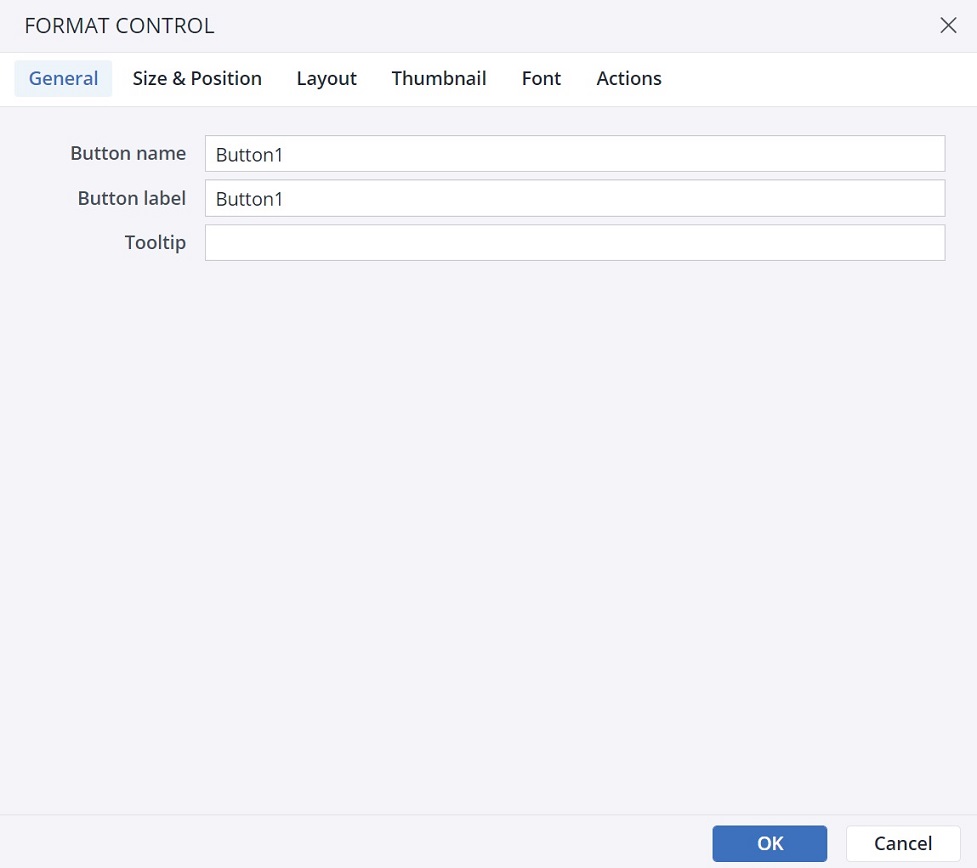
You can use the Element selection Action in both the Jedox Spreadsheet and Canvas. To set this Action up in a spreadsheet, start by selecting a form element such as a button, checkbox, list, DatePicker, or combobox. In Canvas, you should add a native component that supports Actions, such as a combobox, button, or checkbox.
Below are the steps for configuring the Element selection Action for a Button in a spreadsheet. These steps are also applicable for setting up this Action in Canvas.
-
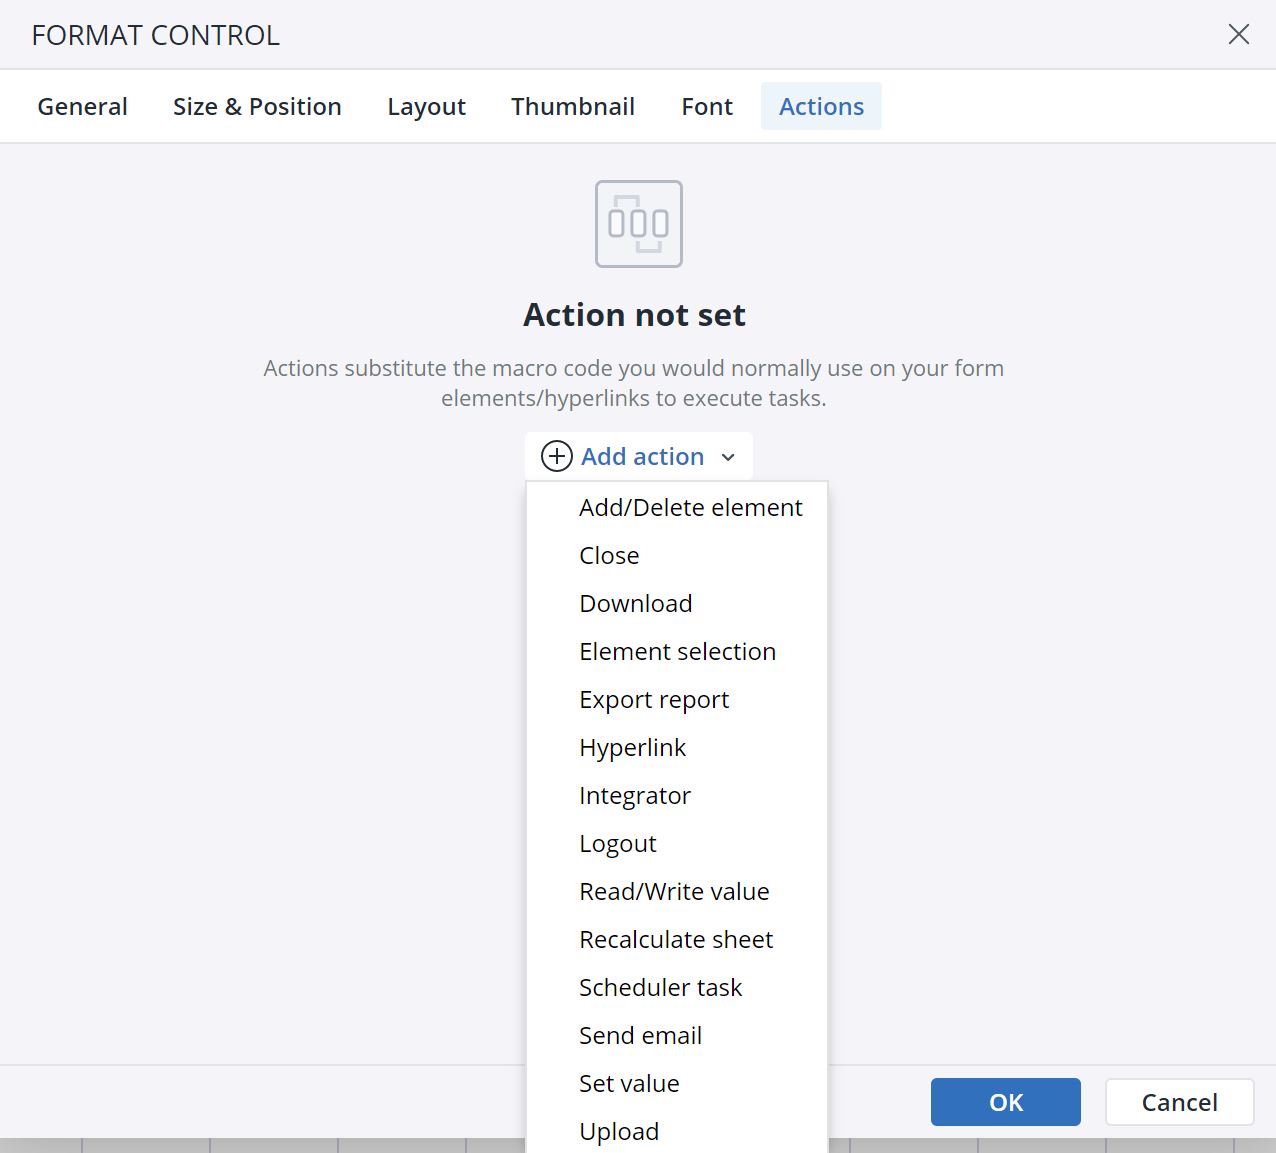
Click on the Actions tab and click on Add Action. Select the Element selection Action.

-
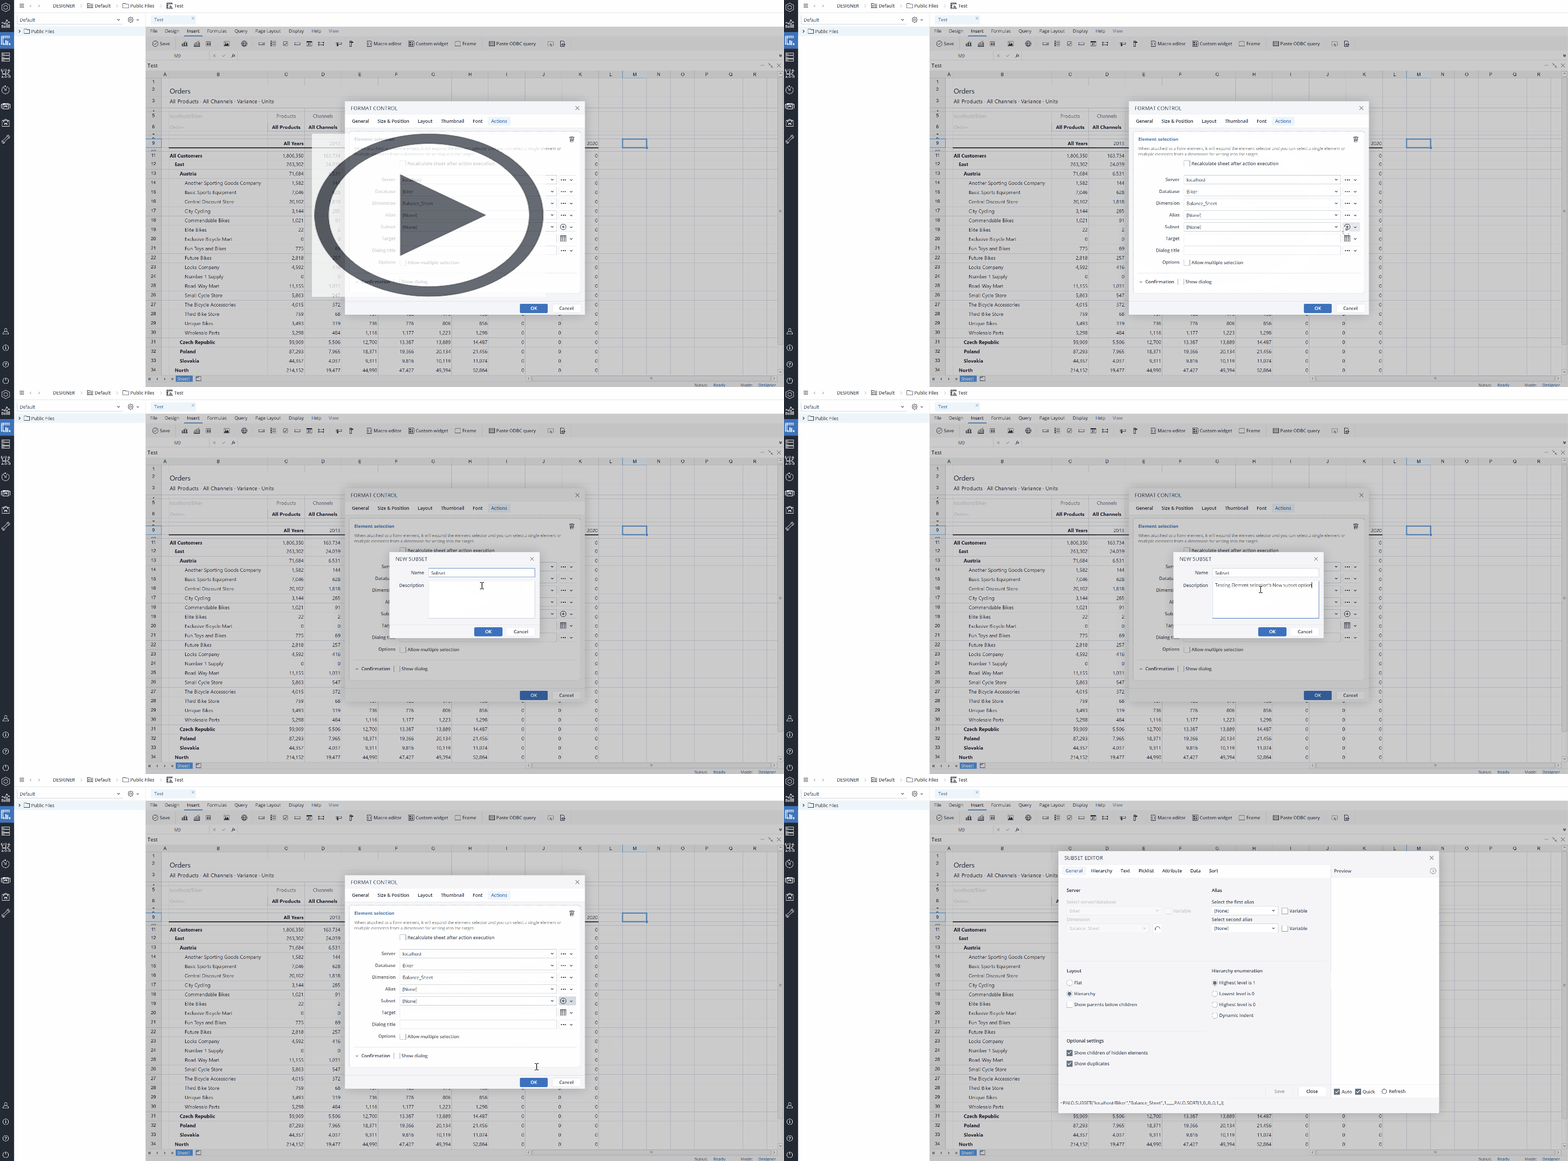
The next dialog offers several options for the Action. Using the close button, you can close the Action, and by clicking on the Bin icon you can delete the Action.

In the pull down menus, you can select a named range, range, static value, settings key, or a variable for the different options of the Element selection Action. You can also merge the Server and Database. In the dimension section, you can choose between normal and virtual dimensions.
In the Subset section, you can choose between an already defined Subset or build a new Subset.
Element Selection Confirmation dialog
When you choose the Element selection Action in the Type of Action dropdown menu, you can see the Confirmation dialog option at the end of the Action dialog.
In the Confirmation dialog, you can customize a confirmation message for the end user. You can add a Title, Body, Primary button label, Secondary button label, and an Icon to your customized message. The screenshot below shows a confirmation message:
Note: if you rename a sheet after setting up the Action, you must reset the Action too, or it will not work.
Action failure
You can choose between two options in case an Action fails. First, choose to show a pop-up feedback dialog, and second, ignore the failure and go to the next Action.
Updated November 27, 2025


