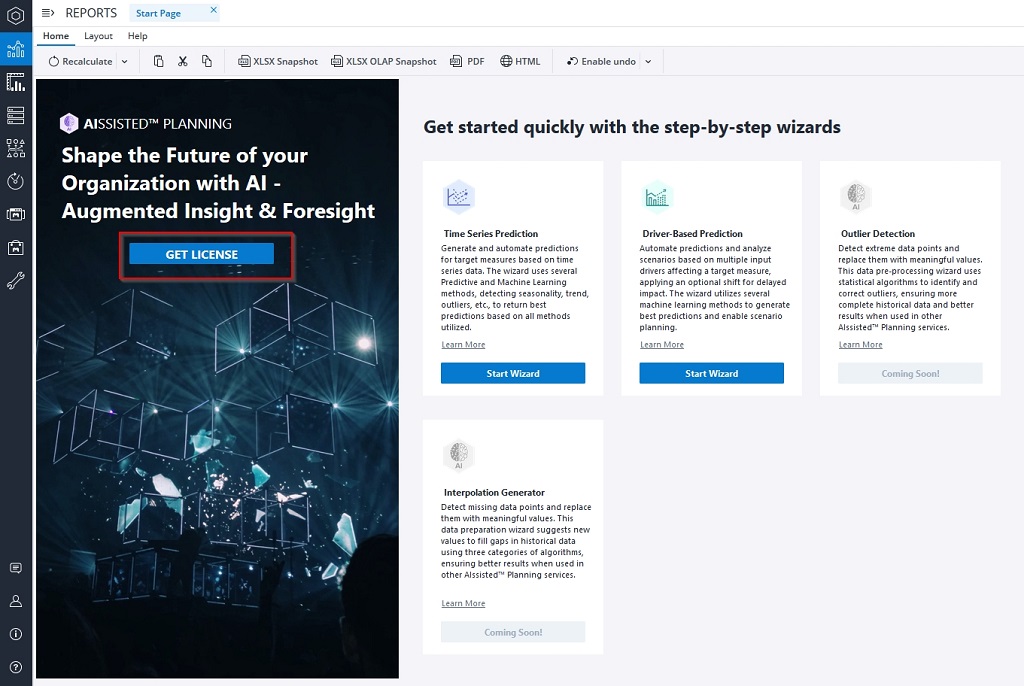
After downloading the AIssisted™ Planning Model, you may see the Get License button on the Start Page, as indicated below:
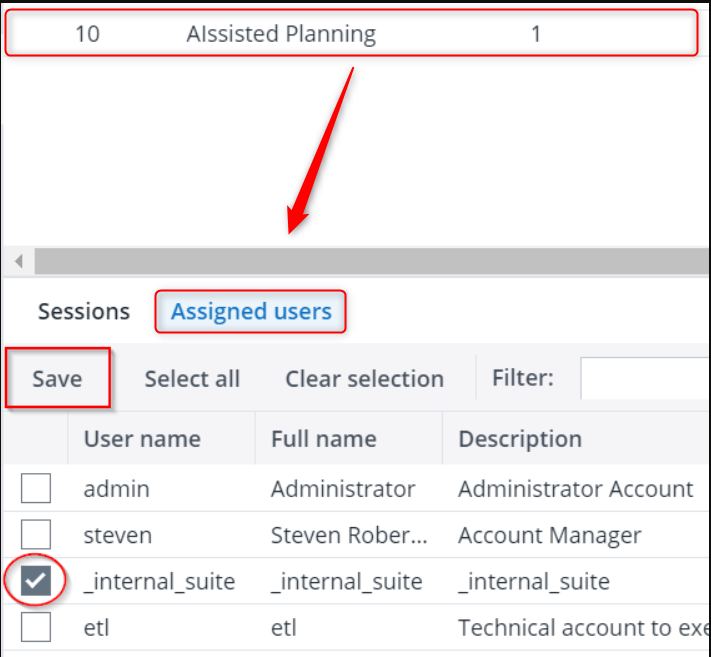
The Jedox Cloud infrastructure allows you to run the AIssisted™ Planning Wizard without requesting special credentials, only a special license. Check if that is the case by visiting your license area under Administration. The license is either named "Individual" or “AIssisted Planning” and has 1 seat allocated. If you do not have the license, contact your partner manager / sales manager.
Select the license and make sure that it is assigned ONLY to the "_internal_suite" user.
Once you have determined your license is applicable, go to Administration > Settings > AIssisted™ Planning. Everything can be left blank except the fields below, which should be filled as follows:
-
Aissisted url = jedox
-
Aissisted apikey = APIKEY
-
Intergrator server url = http://jedox-etl
Updated November 27, 2025


